
Build #2, my beautiful RAT bike, is going through a transformation. I wasn’t happy with throttle and controller setup, controller placement on the bike, or the front derailleur and crank set, so I tore those parts off and am waiting for new parts to arrive from AliExpress in China (and waiting, and waiting – parts are cheaper when ordered directly from China, but patience is a MUST). I’m also swapping the battery I got with the mid-drive kit for the Joyisi battery on Build #2 since the mid-drive battery, although a similar spec, is a slightly smaller form factor and should permit me to mount the controller bag above it, under the top tube. That’s the theory which will be easy to test since I already have these parts.
One other useful factoid is I’m trying out a single-speed 48 tooth front chain ring. This eliminates the need for the front derailleur (a good thing), but it’s also a fairly big gear. My rationale for making this change is to allow me to continue to pedal at higher speeds. It might turn out to be too much gear, but it’s one of those things that I need to try out to know for sure. I expect it’s going to work perfectly – always the optimist!

Regarding Build #3 (my amazing Gary Fisher mid-drive build), all I have left to do is adjust my new brake pads and brakes, and the rear derailleur, mount a new 48v 14.5ah Joyisi battery arriving next week, and I’m done. The mid-drive motor counted up perfectly. I mounted brackets and crank arms properly without paying attention to how they should actually be mounted (that was just dumb luck, but I never tighten things down until I know things have been done correctly, so no harm done).

Also, something I learned with this build is you can’t perform wire management in a COLD garage! Most of the connectors have itty bitty wires and water-tight connectors. Trying to plug these together when the plastic is cold is impossible. Move your bicycle into a warm space so the plastic parts are more pliable, then connect these wires. You’ll thank me for this advice by not bending and braking your connectors. Also, be sure to properly route the cables BEFORE connecting them. Disconnecting and reconnecting these fragile parts is just not a good idea.
Also coming from China* is a 2-pin adapter cable (*estimated between Tue. Mar. 1 and Mon. Apr. 25 – patience!) that connects a 6v light output from the Bafang motor to a front headlight I purchased from JohnnyNerdOut. Why the headlight didn’t come with this specific connector I don’t know, but sorting this out with the right adapter is an easy fix, and allows me to practice my soldering skills…
** Update **
The 2-pin headlight adapter arrived and has been wired into the system on Build #3. Also, after a bit of an ordering disaster (I checked one of my suppliers off my future orders list), I purchased a Lekkie chainring from JohnnyNerdOut (still very much on my supplier list) that I’ll talk about in a future post. The photo shown above has this new chairing installed.
** Update **
Yup, yet another update! If you ever decide to build your own e-bike, you’ll realize the building process never ends. First, my chains jumps a bit on the rear cluster in the highest gears (smallest diameter cogs on the rear gear cluster). Thinking this might still be a minor chain alignment problem, I added a 2mm spacer to the Lekkie chain ring and it made all the difference in the world! Chain alignment is perfect now… And
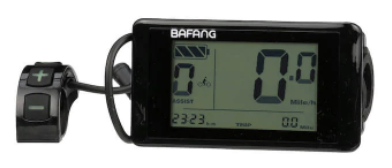
I also decided to upgrade my C961 display with a 850C display. Below I show pictures of both, and I think the change will be worth the ~$85 the upgrade set me back. Not only is the new color display a more attractive and functional than the original black and white display, but I’m hoping it packs a few new features the old display was lacking, like being able to power on my headlight. For those interested in learning more about this BBSHD-compatible display, this video covers the topic really well: https://www.youtube.com/watch?v=12OLFqD1bFY.
Before
After

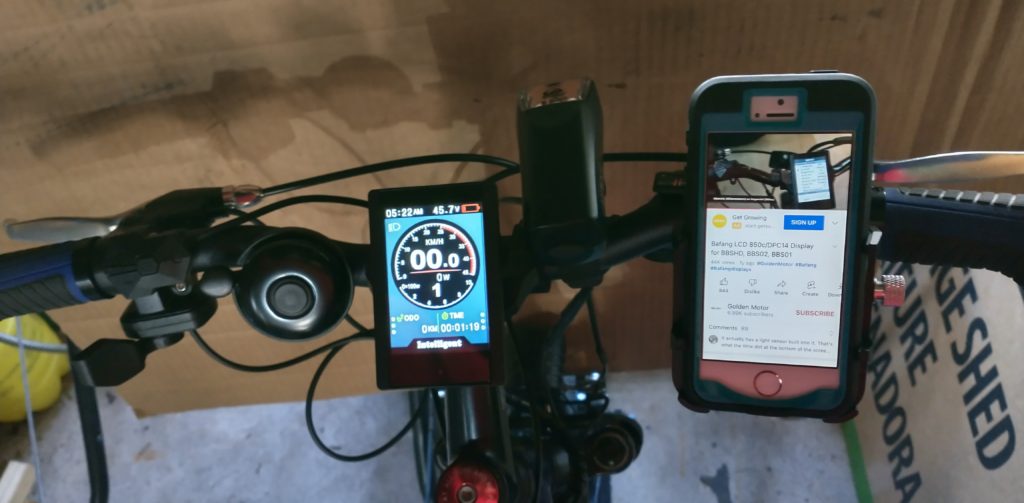
And a picture of my handlebar with this new display installed:
Oh, and by the way, when I was visiting my son recently, he had installed a GUB smartphone mount on his Rad e-bike. I thought it looked like a really good product for a very reasonable price, so of course I had to have one. Here’s a picture of the GUB. It’s spectacular!
