
I just can’t leave well enough alone! My $80 Trek frame has been fine, so why upgrade? Well, here’s the thing; I have been wanting to build a ‘full-suspension’ e-bike ever since Matt Robertson built his full-suspension e-bike. It’s just something I have to do! And since I built the Rat Bike from the ground up, I’m thinking I can just strip Build #2 down to the bare frame and put all the components on the new frame. So, here’s what I’m starting with:
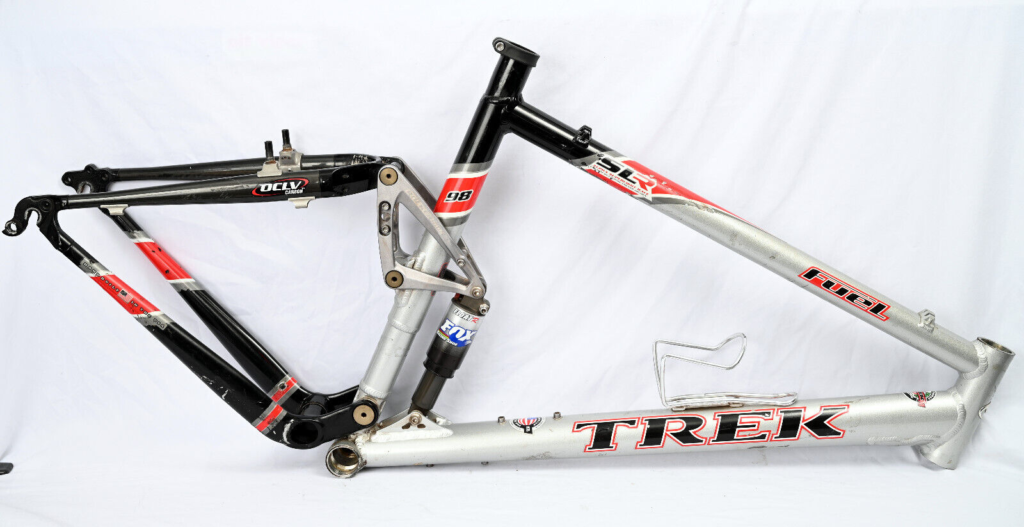
From the photo, the frame appears I’ll have enough room to mount the battery and Epessa bag. This spacing was a critical decision point when choosing this type of frame. Most full suspension frames leave little room in this area for e-bike components. Once I receive the frame, I’ll need to measure everything to make sure head and crank bearings are transferrable, and verify that the frame is serviceable. It looks great in the picture, but…
This is a big project that will take several weeks to complete, and some will think I’m loony bins for attempting it. But here we go. I hope you’ll accompany me on this next journey!
Monday 11/28/22
In anticipation of the full-suspension frame arriving today, I completely disassembled the Build #2 ‘rat’ e-bike. This was the build using an $80 Trek frame with all new components and the 1000w Voilamart rear hub motor.
Thought process: move all the new components from the old Trek frame to the new (to me) full suspension frame.
Issue: the new frame arrives, but the steering head on the old Trek frame is 3.5″ and the new frame is 5.5″. The fork tube (aka ‘steerer’) is too short. Drat! So I ordered a new front fork, which won’t be here for a few days.
Tuesday 11/29/22
New plan: completely disassemble Build #1, the red rocket, which now has the new 500w Bafang motor, and move all those components over to the new frame. Turns out the fork tube is the right size and everything fit (rear disk brake adapter, cassette clearance, seat tube, etc.). Then move all the rat bike components back to the red rocket.
Build #1 is now completely disassembled. It got to keep its crank bearing, pedals and chainring, but that’s it. For those keeping score, I now have two of my 3 e-bikes completely disassembled and am now in the process of building another from the ashes of the other two. We’ll call this one the ‘Silver Phoenix’.
Wednesday 11/30/22 (rainy day)
What else to do on a rainy day except build e-bikes? So that’s what I did. Here’s Build #5 about 75% complete. I will replace the front fork with the new one in a could weeks, but otherwise all that’s missing is a chain, plus cable and wire management (oh, and a battery, though the battery mount is installed and tested for clearance). I also needed to build an extension cable that connects the battery to the controller. Otherwise, everything fit up really nicely!
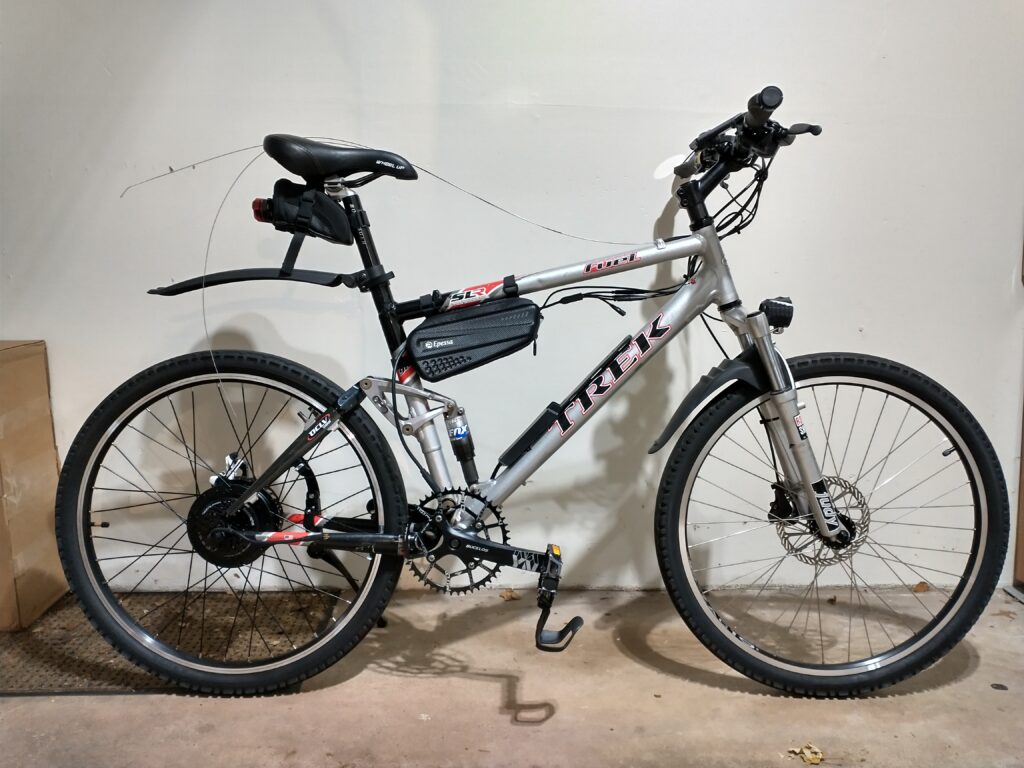
Next: Cable and wire management, replace the front fork when the new one arrives, rebuild the red rocket with the 1000w Voilamart motor, give Build #3 back her kickstand, etc.
By the way, I think I need to start naming my builds. Here’s a start:
Build #1 – Red Rocket (Voilamart 1000w rear hub)
Build #2 – Rat (Voilamart 1000w rear hub, retired, though the Rat might be reincarnated with spare parts – not currently on the radar)
Build #3 – Blue Wave (Bafang 1000w mid-drive)
Build #4 – Fatty (Sutto geared rear hub, sold)
Build #5 – Silver Phoenix (Bafang 500w geared rear hub)
Is this a ridiculous idea or what?
** Update **
And the moment you (or at least I) have been waiting for:
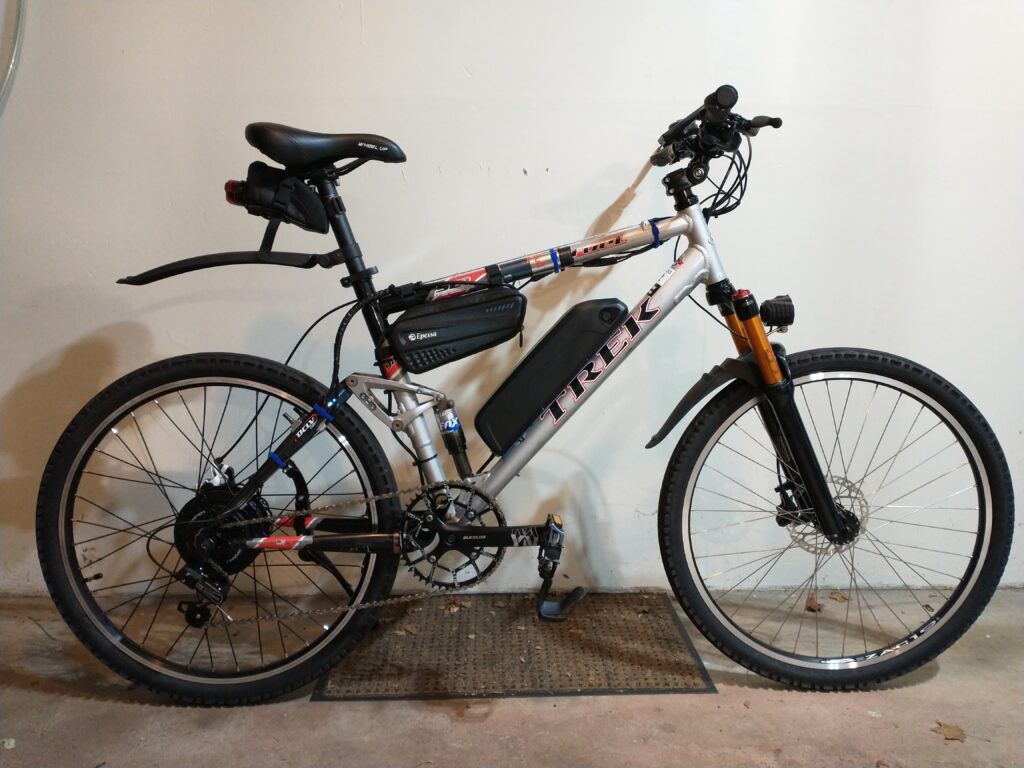
Next, test ride and tweak…