
First for a bit of history:
Last year (2021), when everyone was hunkered down due to the pandemic, I decided to try my hand at building an e-bike using an aging Trek 4500 that wasn’t getting ridden much. After reviewing a number of YouTube videos, I invested in the main (and most expensive) components – rear-hub motor, controller, and battery. And about $900 later (not including the cost of the original bicycle), I had this:
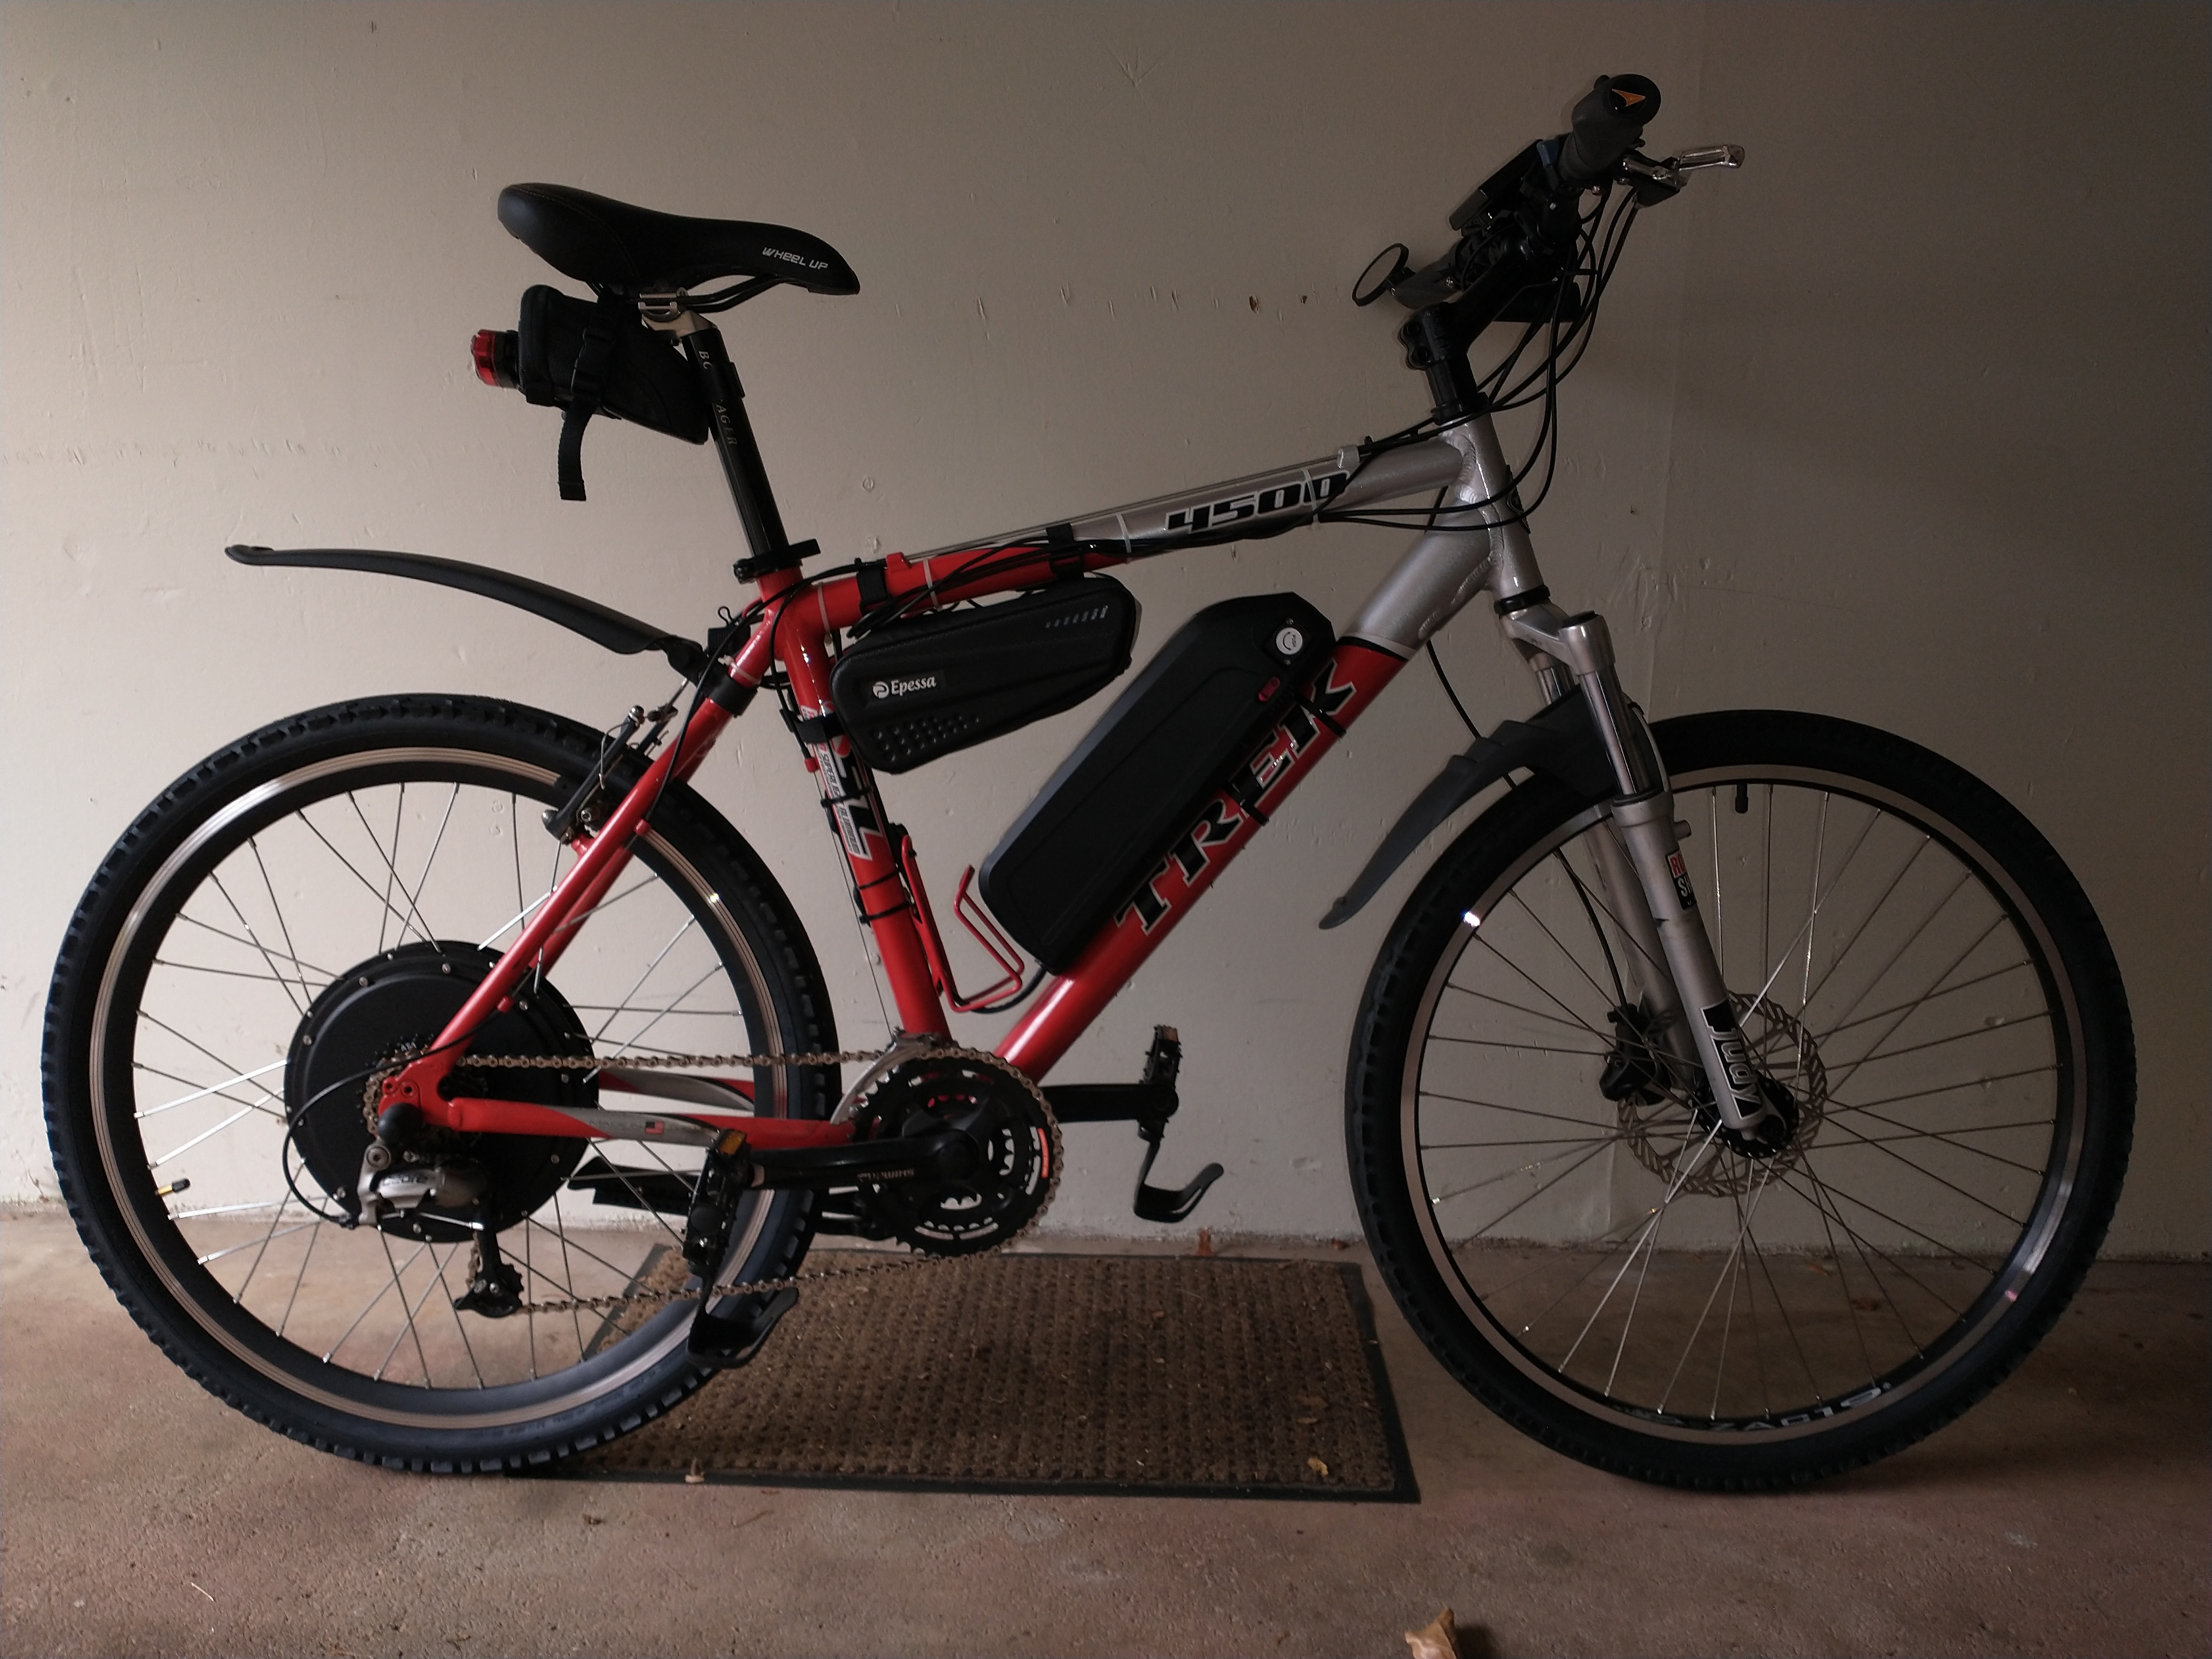
In this first build, I’m using a 48 volt, 1000 watt Voilamart rear-hub motor with controller and LCD display and a Joyisi 14 amp-hour battery. For more information on this build, I tell the whole story on my other site (here). Suffice to say. I learned a lot of valuable lessons along the way and in the end created an e-bike that I’m very happy with! So happy in fact, that I decided to do it again. And that’s the story I want to tell now…
Staying true to the spirit of this website, I subscribe to the ‘form follows function‘ principle. What’s important is that the final result is safe and performs well, versus being a work of art. Then there’s also the fact that I’m only willing to spend a certain amount of money on these builds, so cost control is important as well.
So let’s get started.
The important task is to find a suitable bicycle to build on. This is not as simple as it might seem. When preparing a bicycle for a rear-hub e-bike build, here are a few things to consider:
- Frame size and space for your battery and controller
- Frame construction – good, strong welds, and suitable for upgrades like disk brakes
- Standard parts – you’ll probably be replacing worn out parts so things like steering head bearings, crank bearings, derailleurs, and even seat posts and handlebar and handlebar stem diameters matter (ask me how I know).
- I’ll think of a few more and add them here as I go along…
So, having built my first e-bike on a Trek 4500 frame, I went shopping for something similar. As it turns out, early Gary Fisher mountain bike frames have a lot in common with Trek mountain bike frames so initially I purchased a Gary Fisher bike but decided it was ‘too good’ as a regular bicycle to turn into an e-bike (more on that later). Then I went shopping for a Trek 4500. Here’s what I bought for $80:
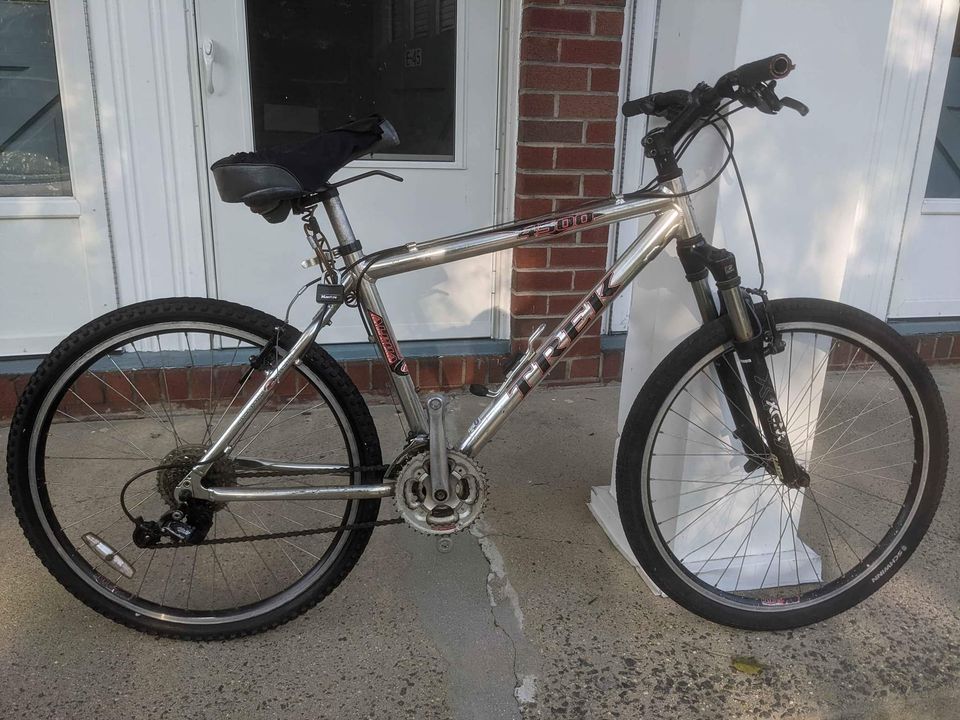
Looks OK. BUT when I started checking out the components on this bike, this is all I could use. Everything else was unusable!
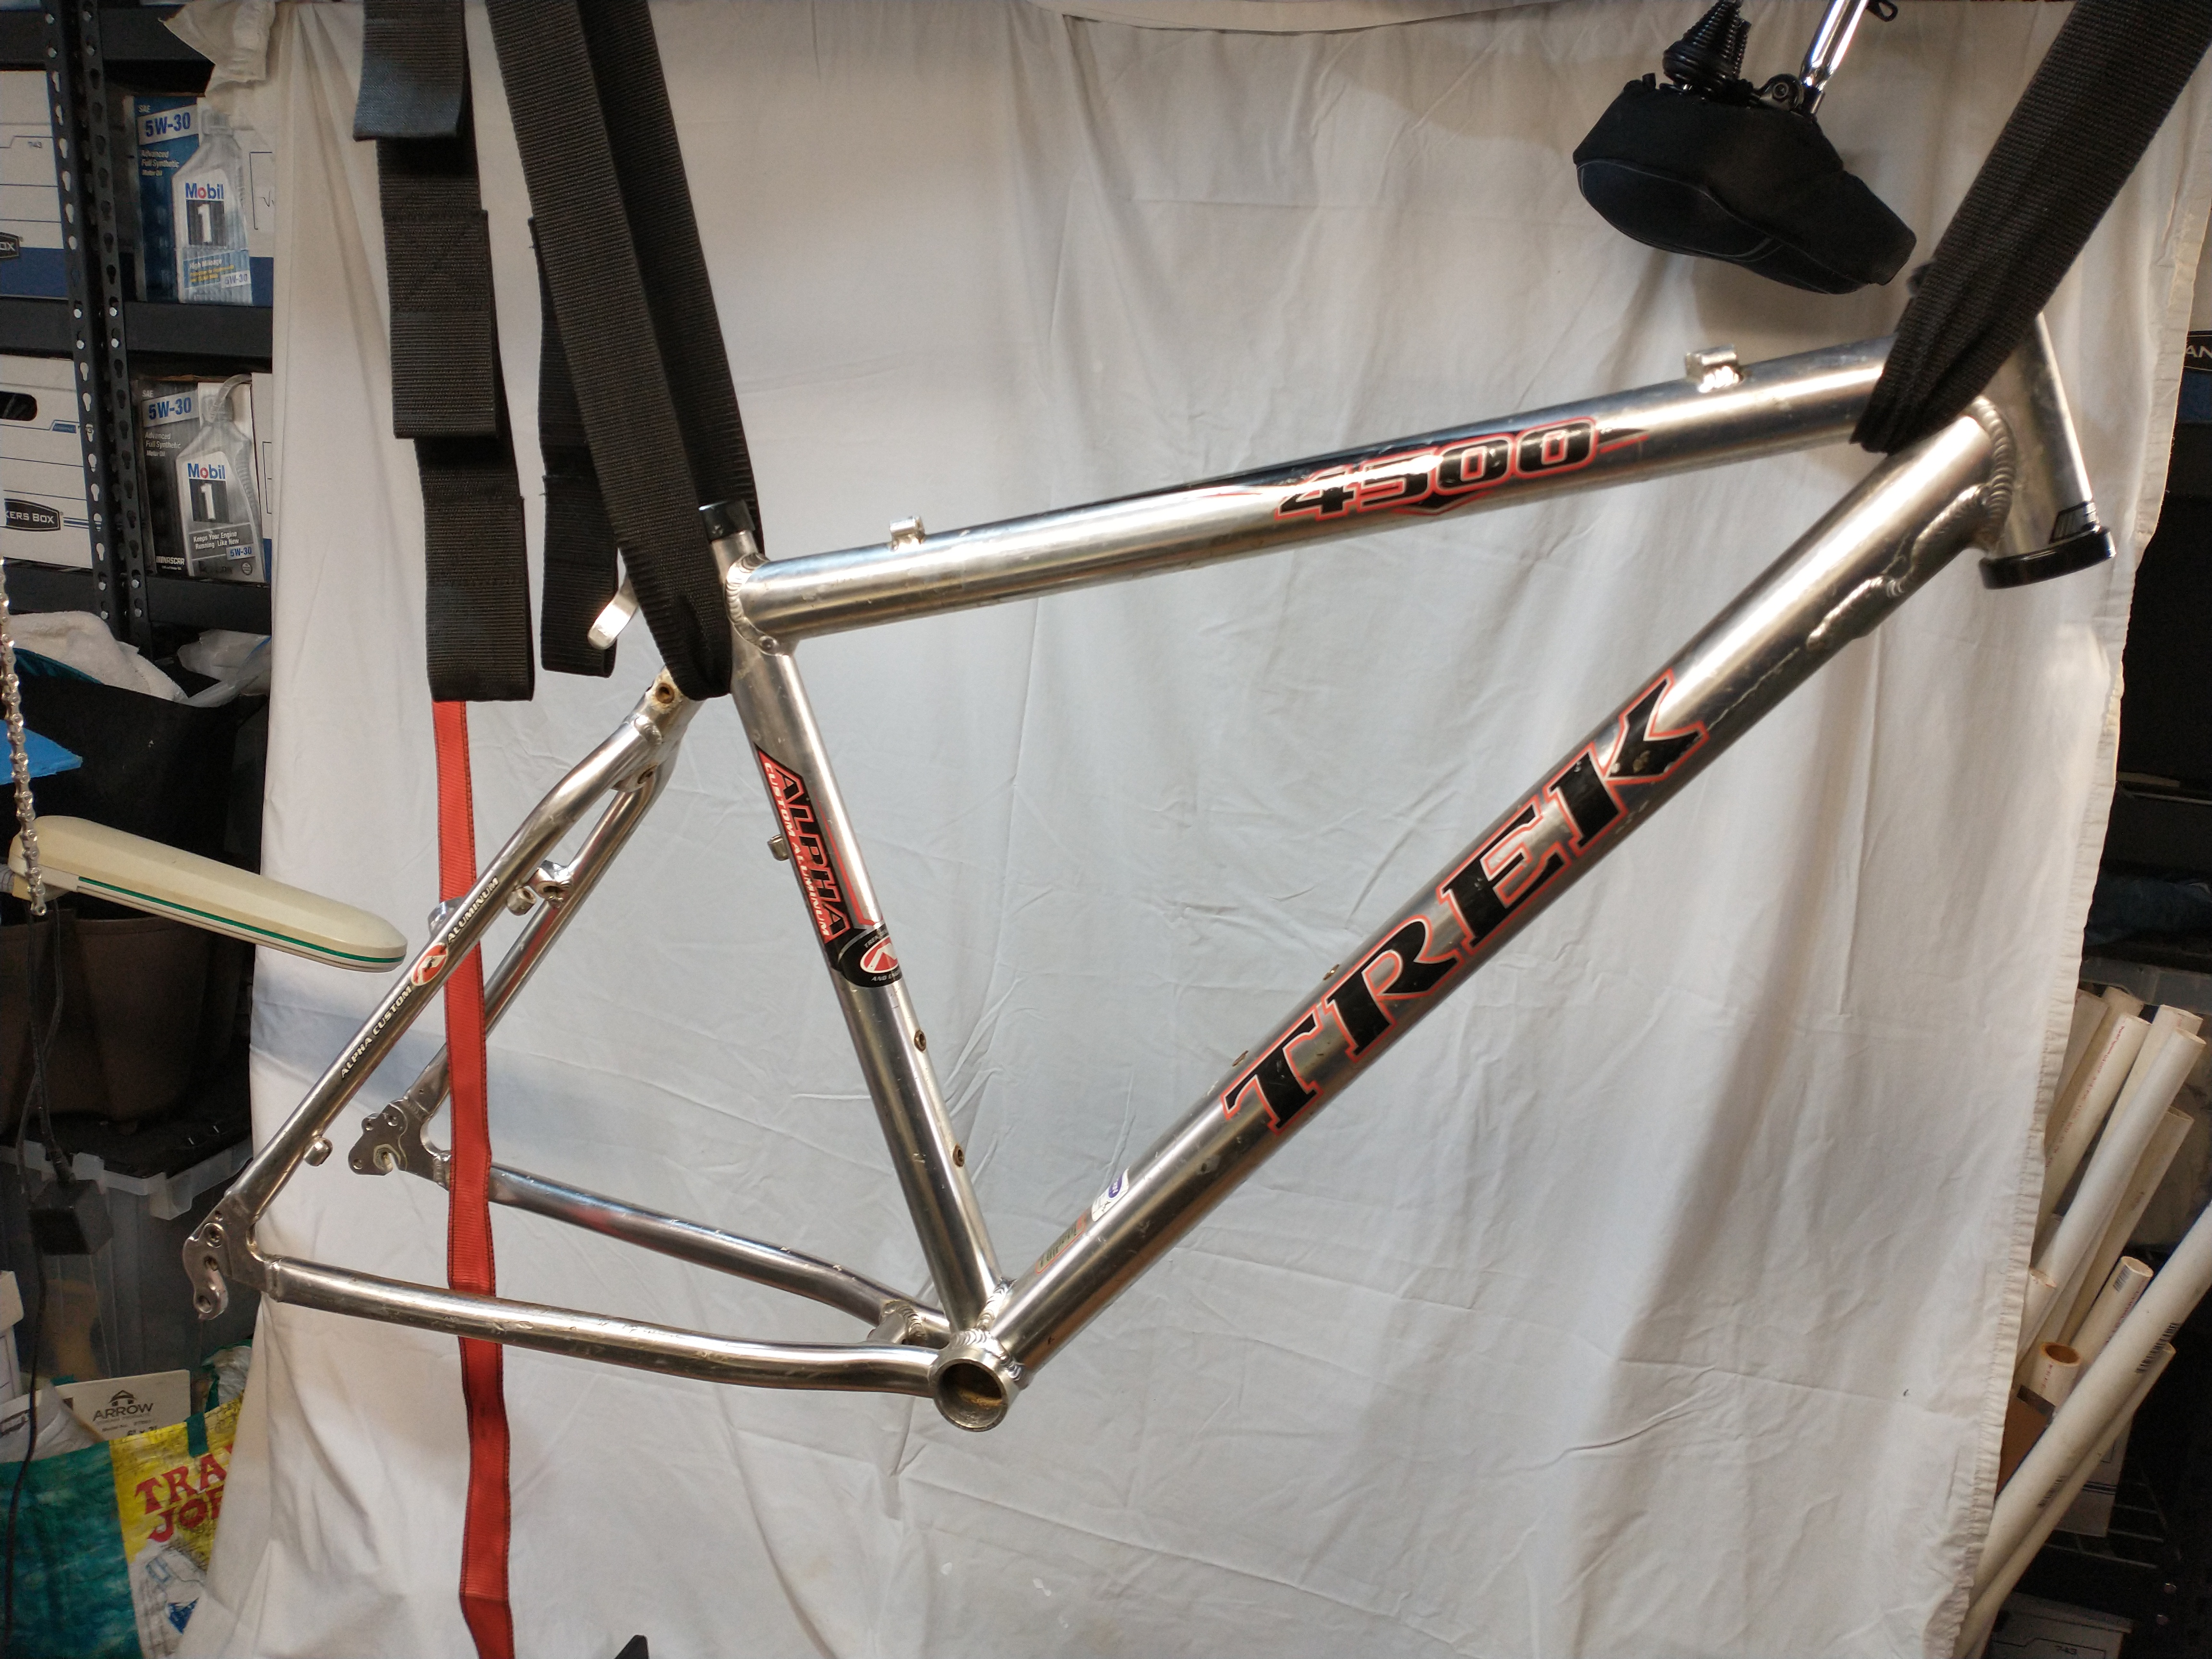
Lesson learned: It’s better to buy a used bicycle with at least some usable parts than starting from scratch. Before adding the rear hub motor, this bicycle cost just over $700 to rehabilitate. Big ticket items like a new front wheel and disc brakes helped to drive the price up quickly, but stuff just adds up. Later on, I’ll show all of my build expenses.
For the sake of this discussion, I’m going to jump right to the final build photo, then cover some of the challenges with this build. Then as time permits, I’ll add other posts that talk about tools needed to complete these builds, specific parts I used and why, and then I’ll also point you in the direction of some YouTube videos that I found useful along the way.
So here’s a picture of my (almost) completed second DIY e-bike build:
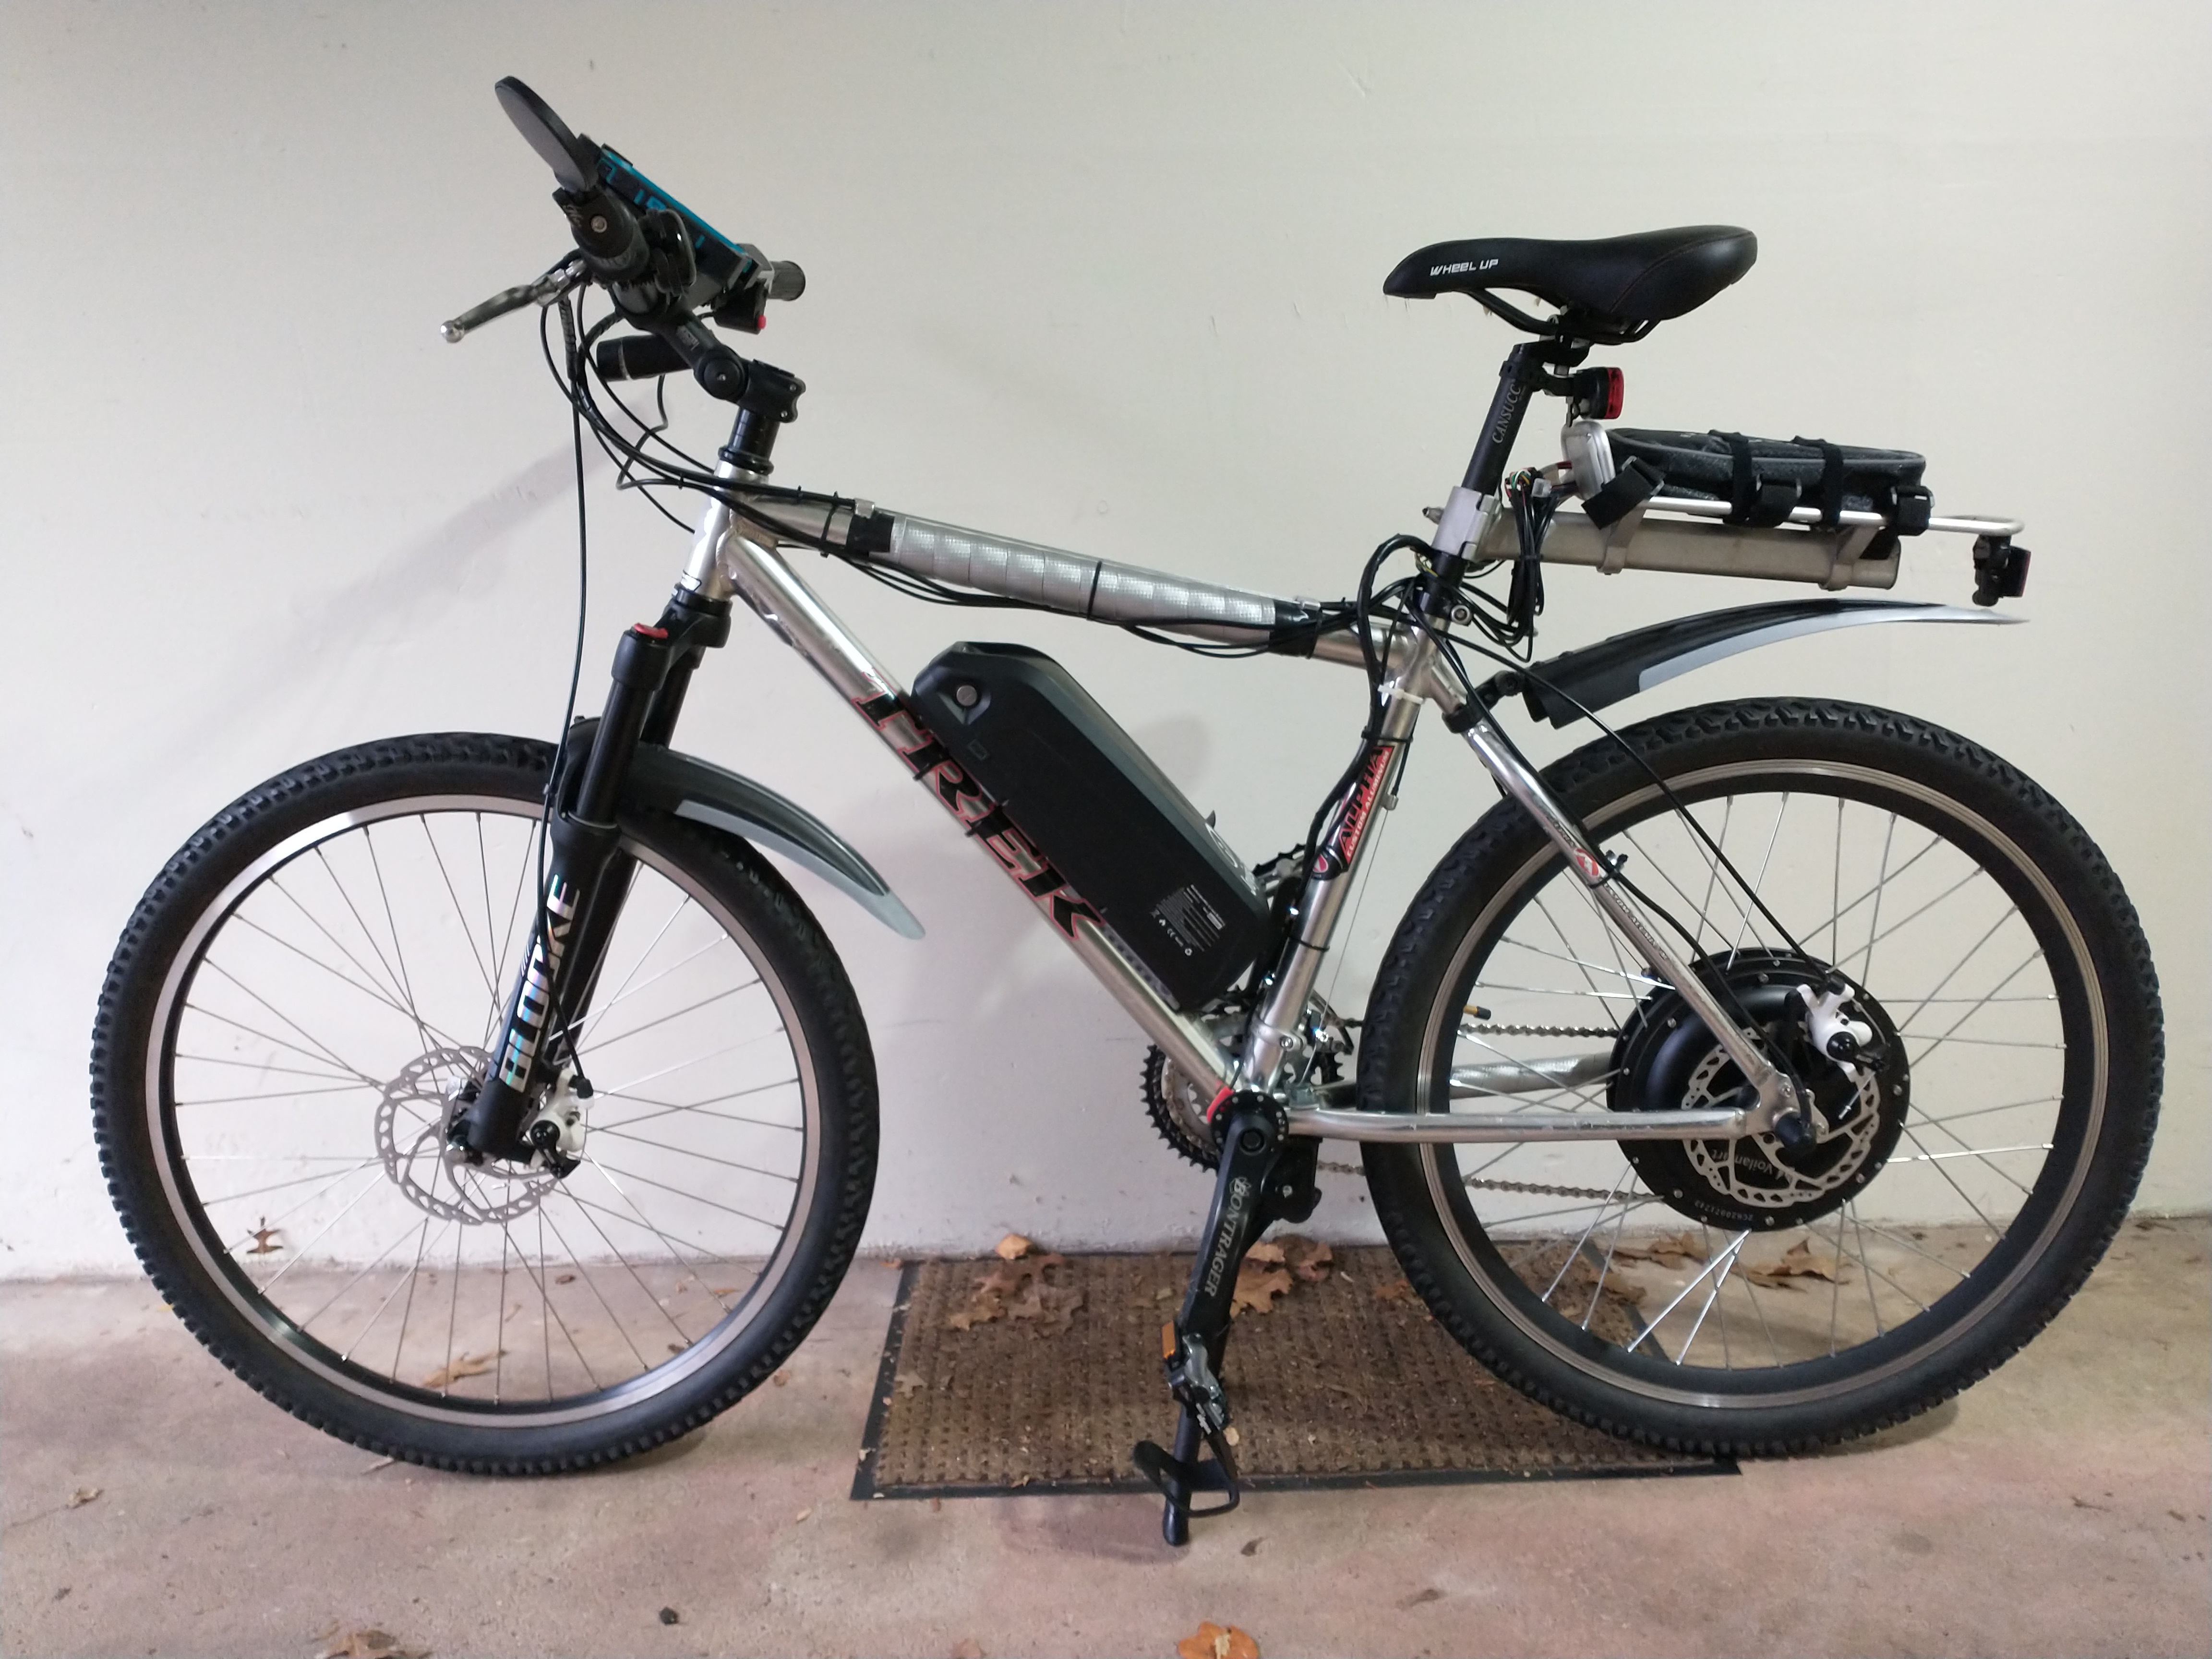
I say ‘almost’ because when I purchased this Voilamart rear-hub kit, I didn’t realize I was ordering the ‘dumbed-down’ controller and display. With this setup, I have no control over the PAS (Pedal Assist System) setting and the interaction between the pedals and throttle is very awkward. I ordered a new controller, LCD display, and thumb throttle (my preference) from China. They will arrive sometime in February, and when installed, I’ll have a much more functional e-bike. Notice also that I put the controller on the luggage rack since this frame is slightly smaller than my previous Trek 4500 (call me surprised).
There’s a lot more to this story that I’ll get to soon, but for now, I want to encourage you to be brave and not only embrace the e-bike revolution that’s happening right now, but also feel like this is something YOU can do! You might not save a whole lot of money over the RadCity 4 Commuter Bike you have been lusting after (which by the way is a smokin’ deal), but when your DIY build is complete, it will be something YOU created and feel comfortable changing, modifying, upgrading to your heart’s content.
In the future, I’ll be talking about other things as well, like e-bike classifications and laws, about battery maintenance (very important!), and I’ll also be comparing rear-hub builds to ‘mid-drive’ builds. Shortly, I’ll be modifying my lovely Gary Fisher mountain bike into a 48 volt, 1000 watt Bafang mid-drive e-bike. I think it’s going to be a completely different animal to the rear-hub e-bike, and I’m looking forward to comparing the two to see which I like building and riding better.
That’s all for now. Thanks for listening!
Update: As mentioned above, I wasn’t happy with Build #2 when I wrote this post. But having changed a bunch of things (all spelled out in gory detail in future posts), I am now VERY happy with this build. I’m still trying to sort out why PAS isn’t working properly on this bike, but it’s no biggie since I’d rather run throttle-only with these rear hub bikes anyway. So here’s a picture of my creation in its final incarnation for your inspection:
