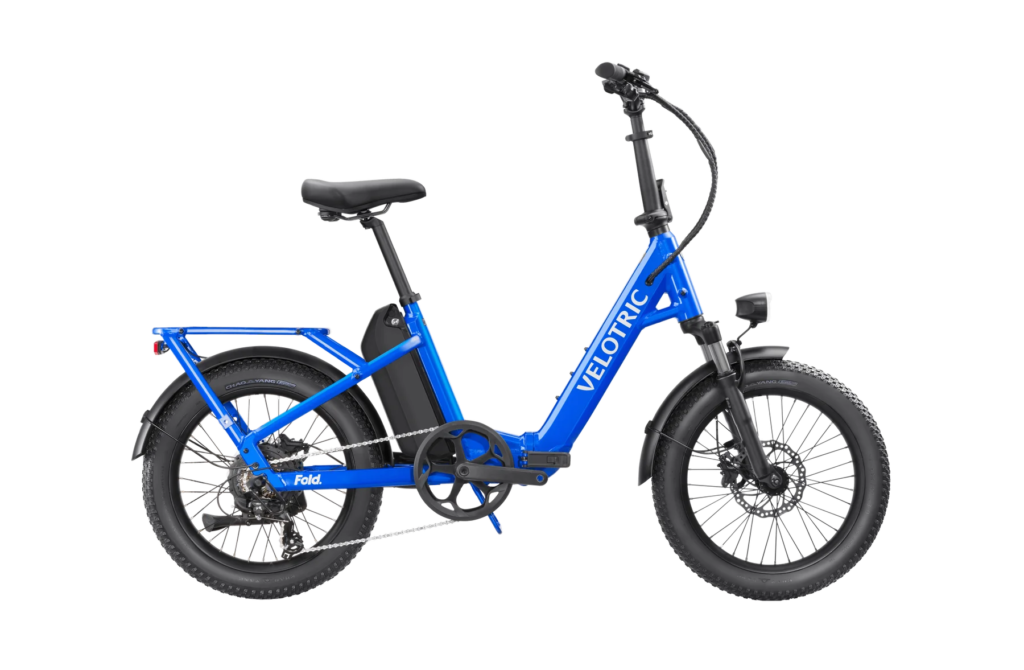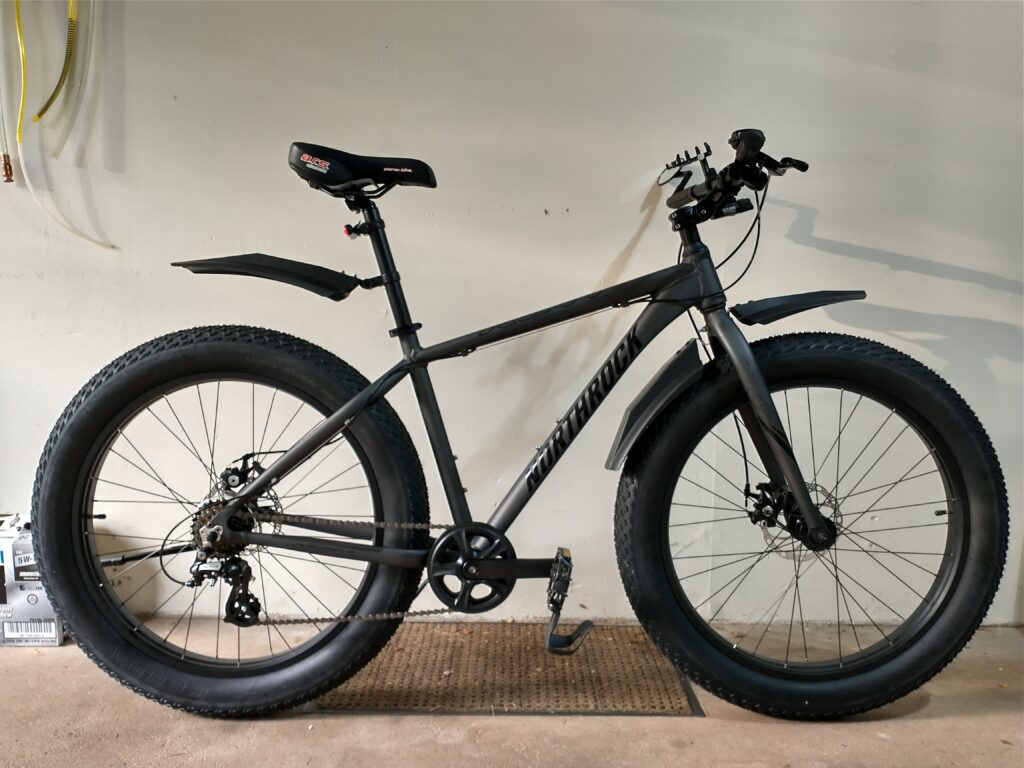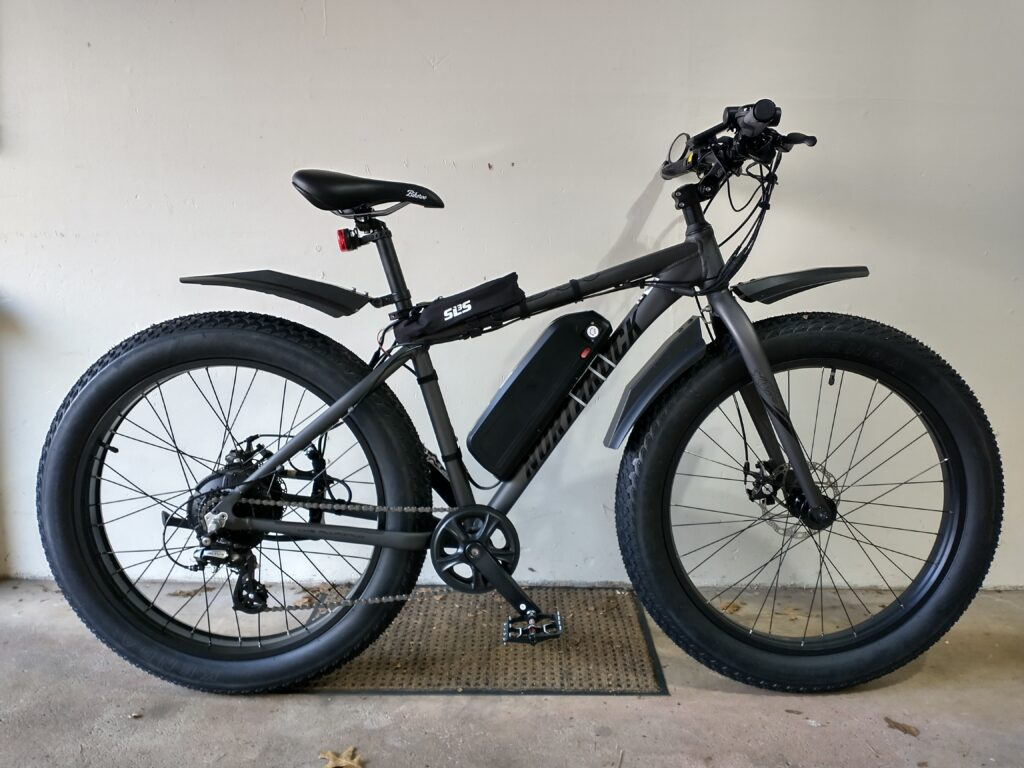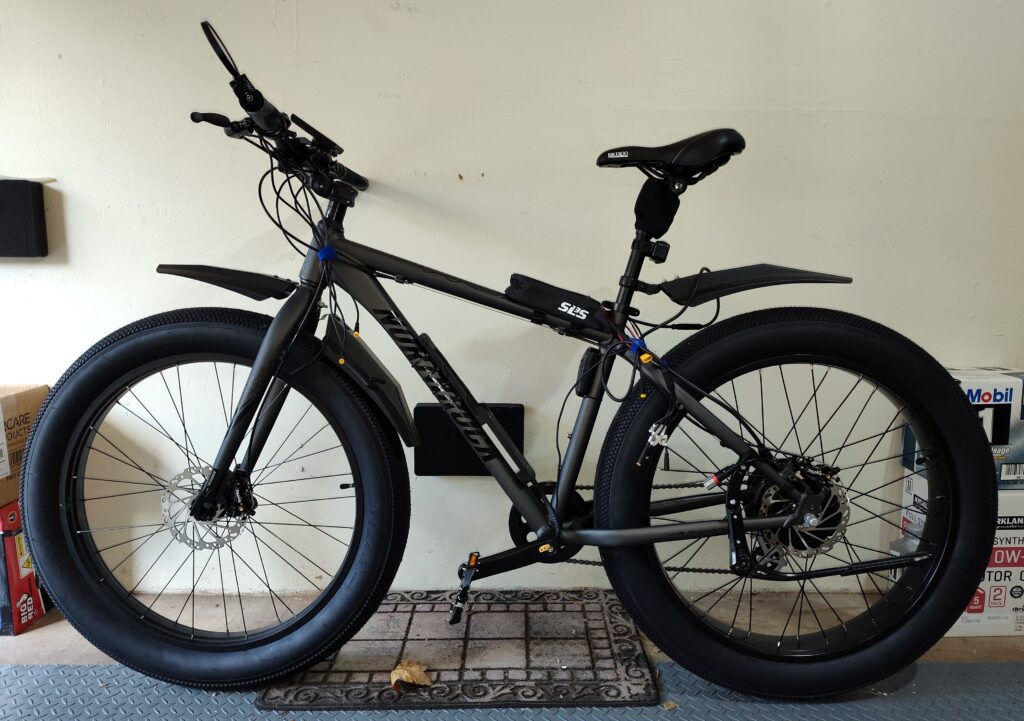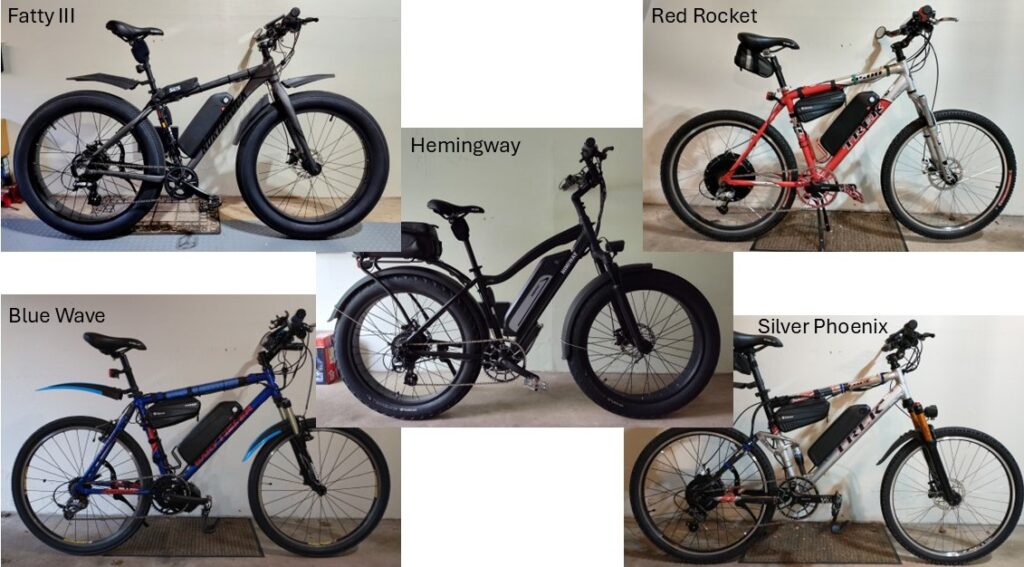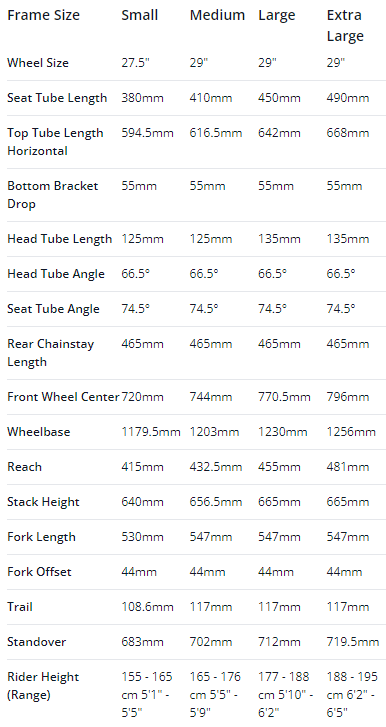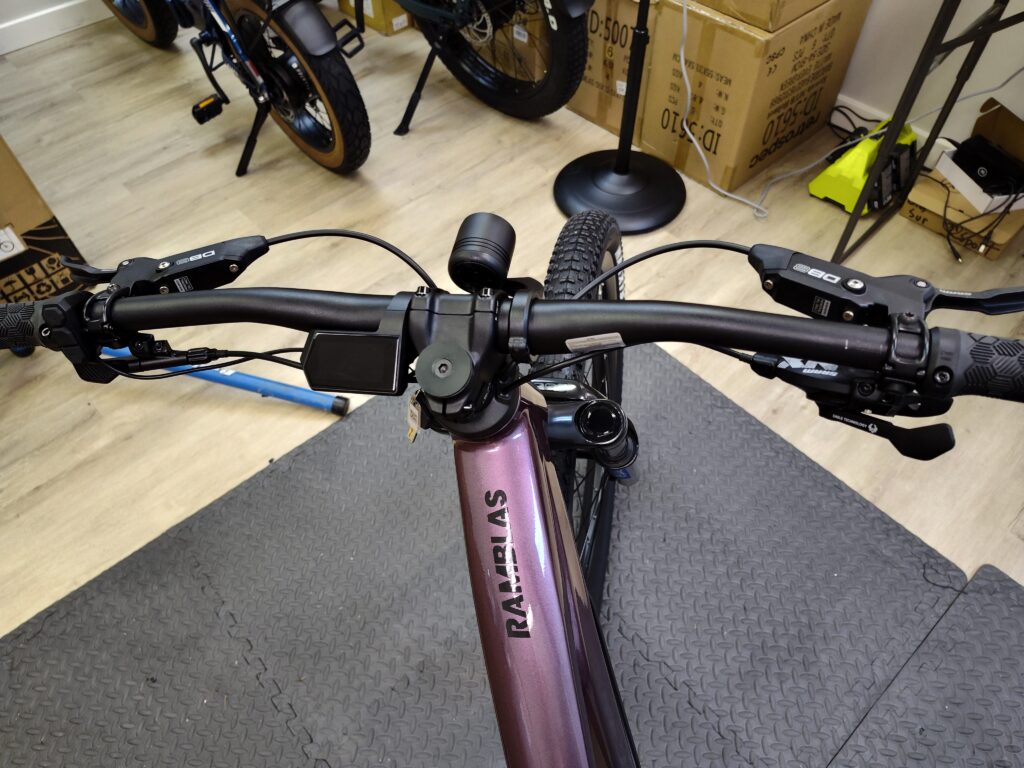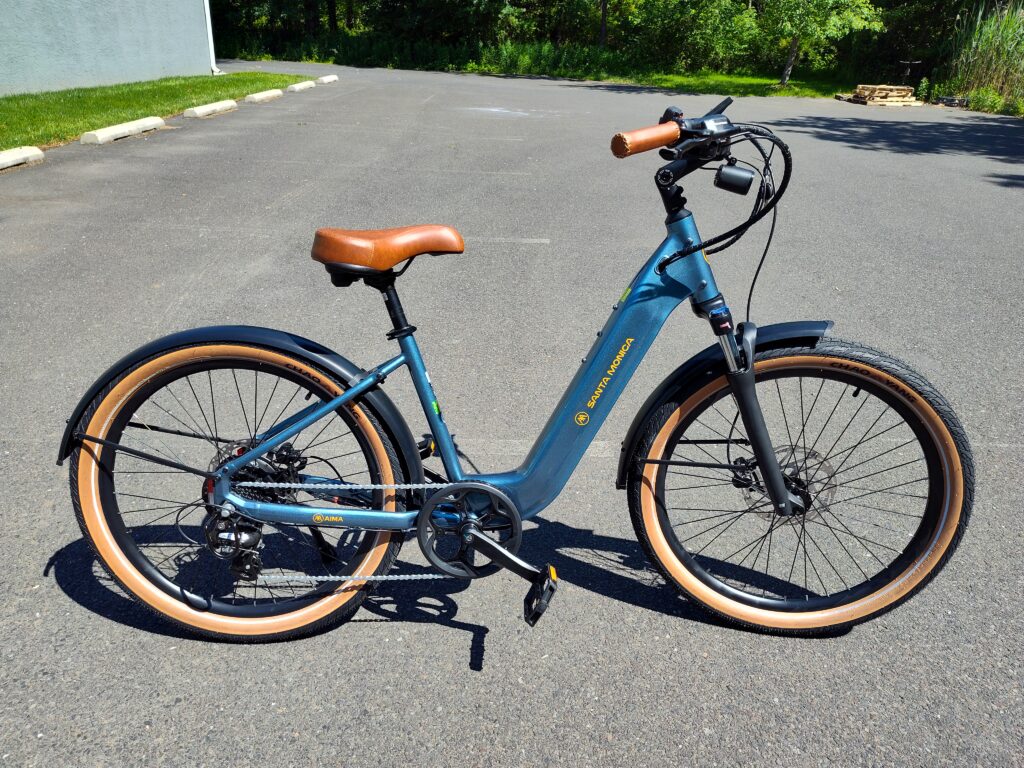
Here’s a picture of Red Rocket (RR) before surgery:
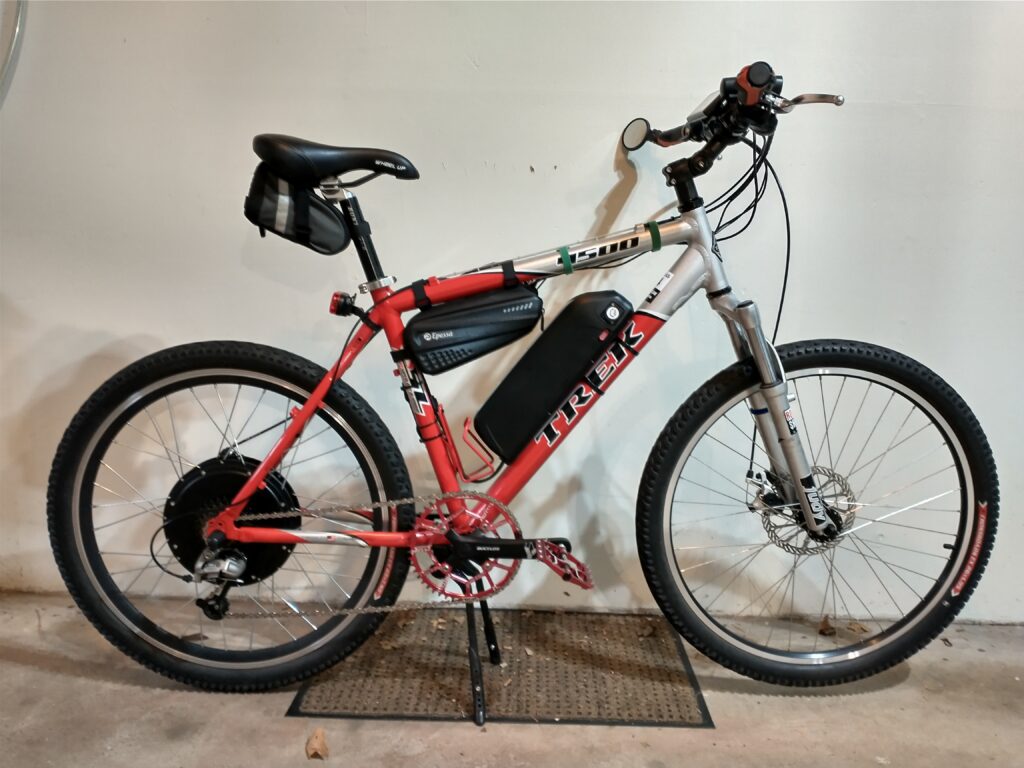
RR has a 48v 1000w Voilamart brushless, gearless motor driving the rear wheel and a 50-tooth narrow-wide chainring driving a 7-speed freewheel. With all that power and speed, I thought it might be interesting to convert RR to a single-speed. Also, I never put PAS on this bike, so it’s pedal power or throttle only, which works fine for this bike.
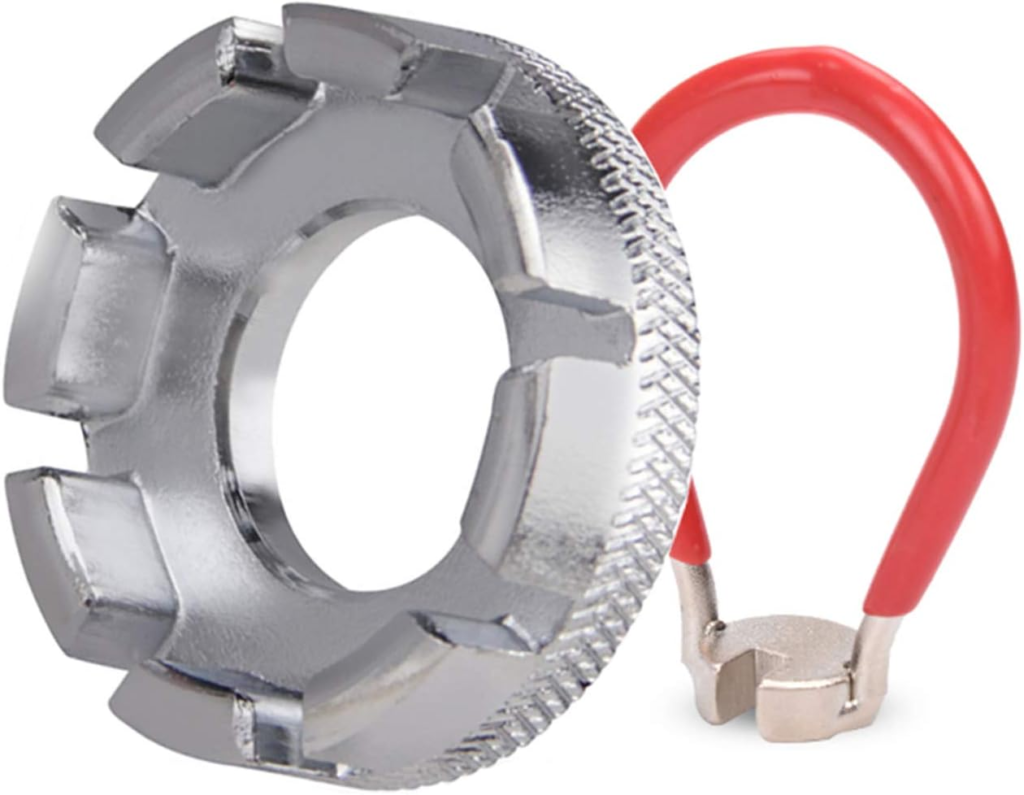
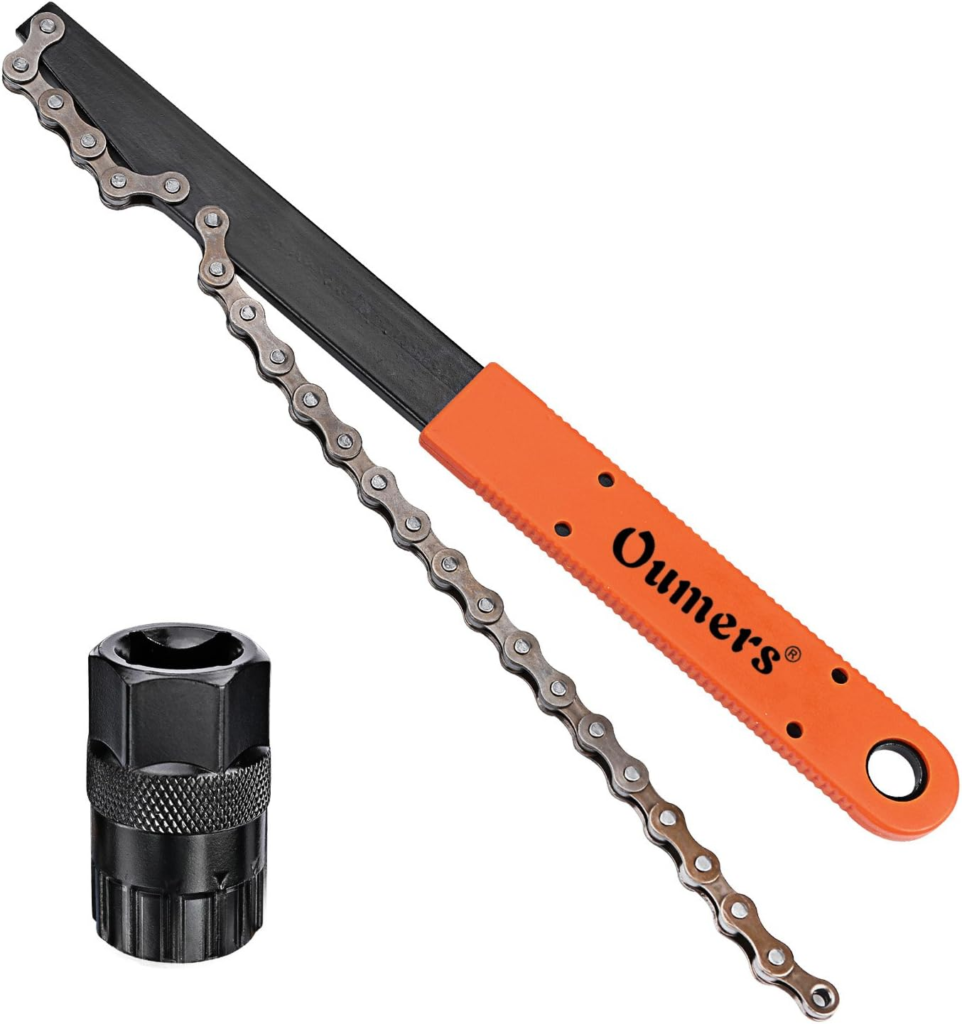
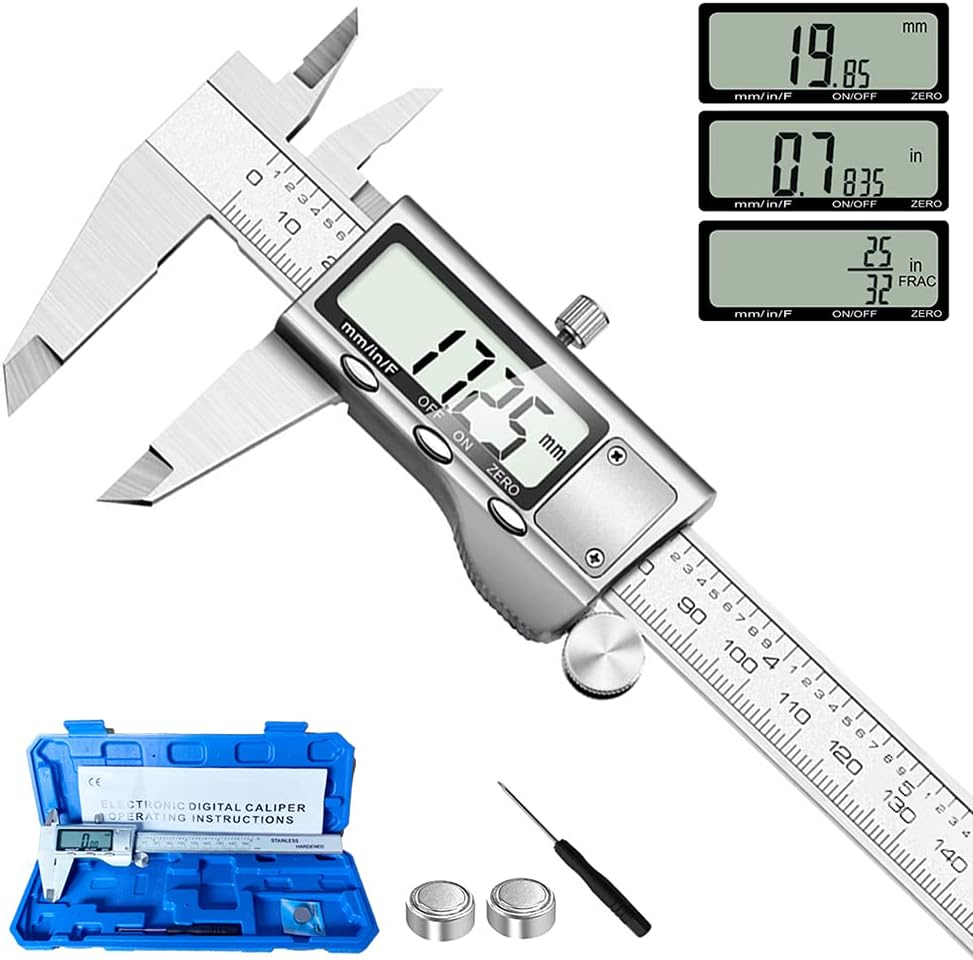
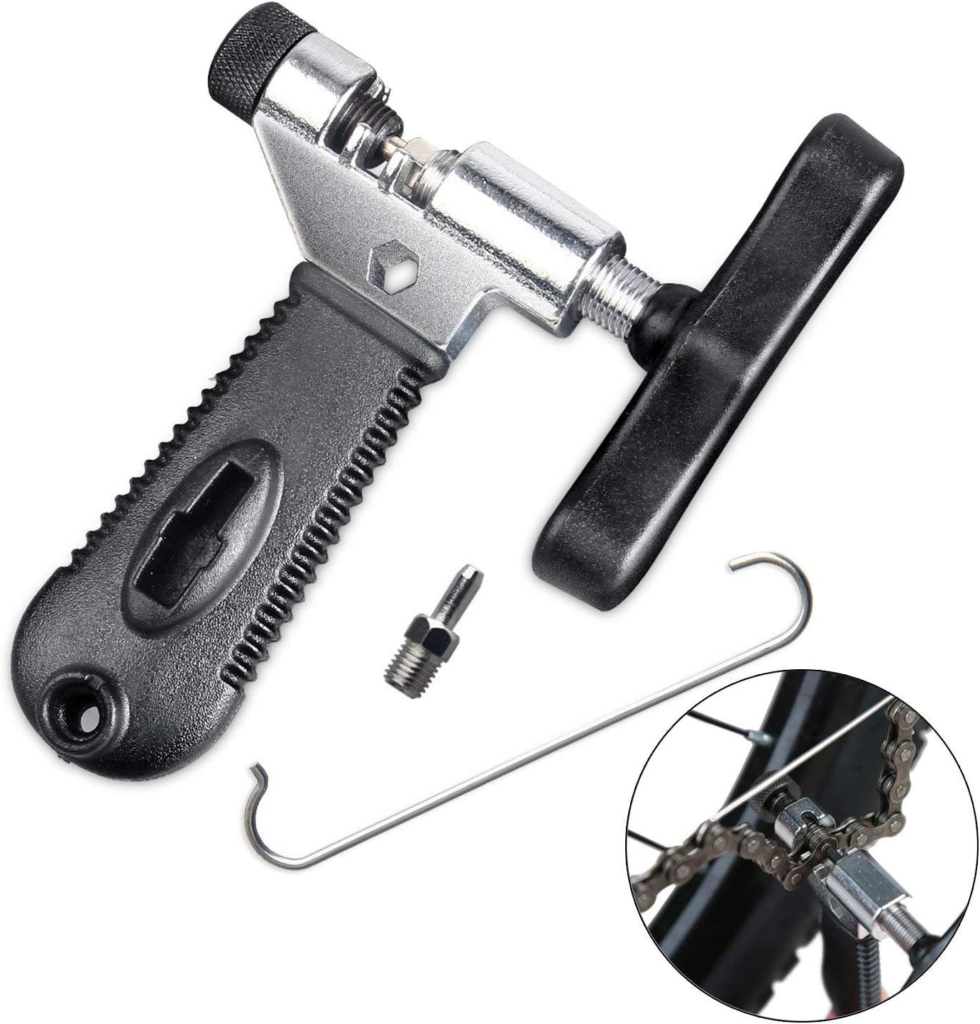
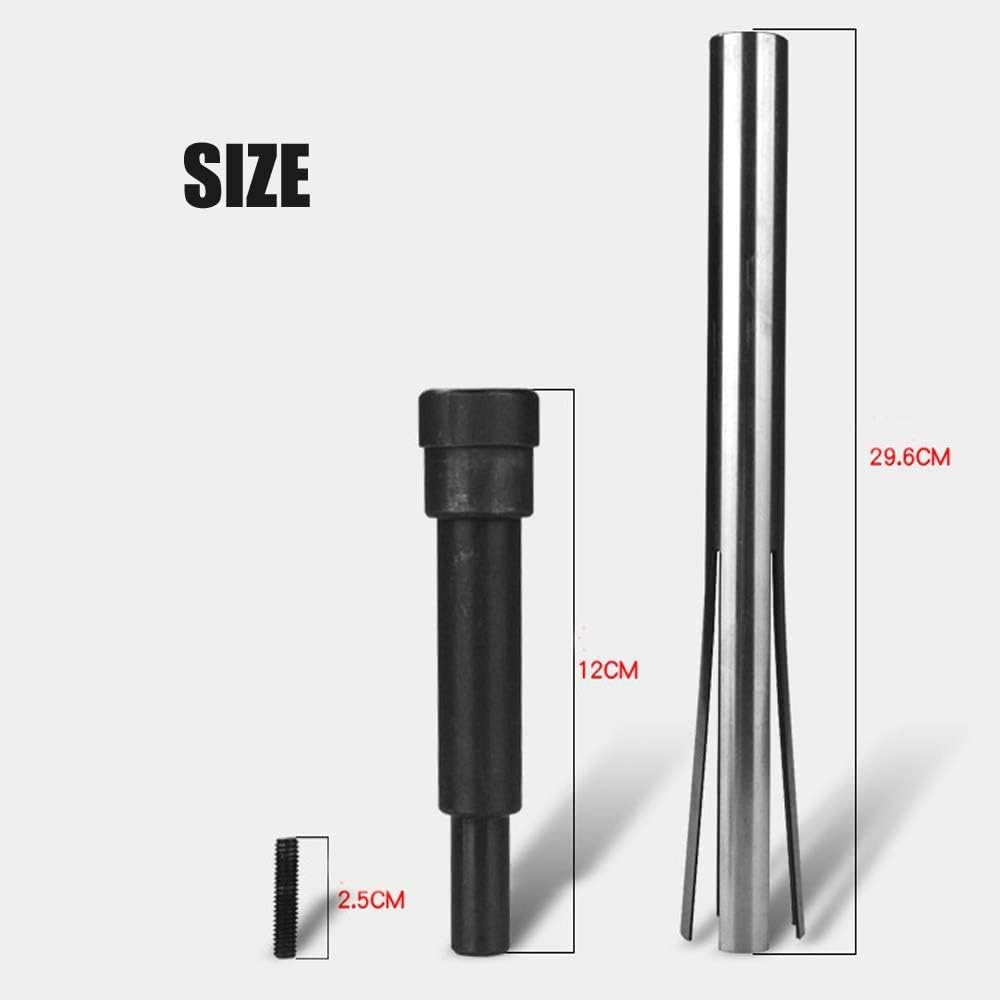
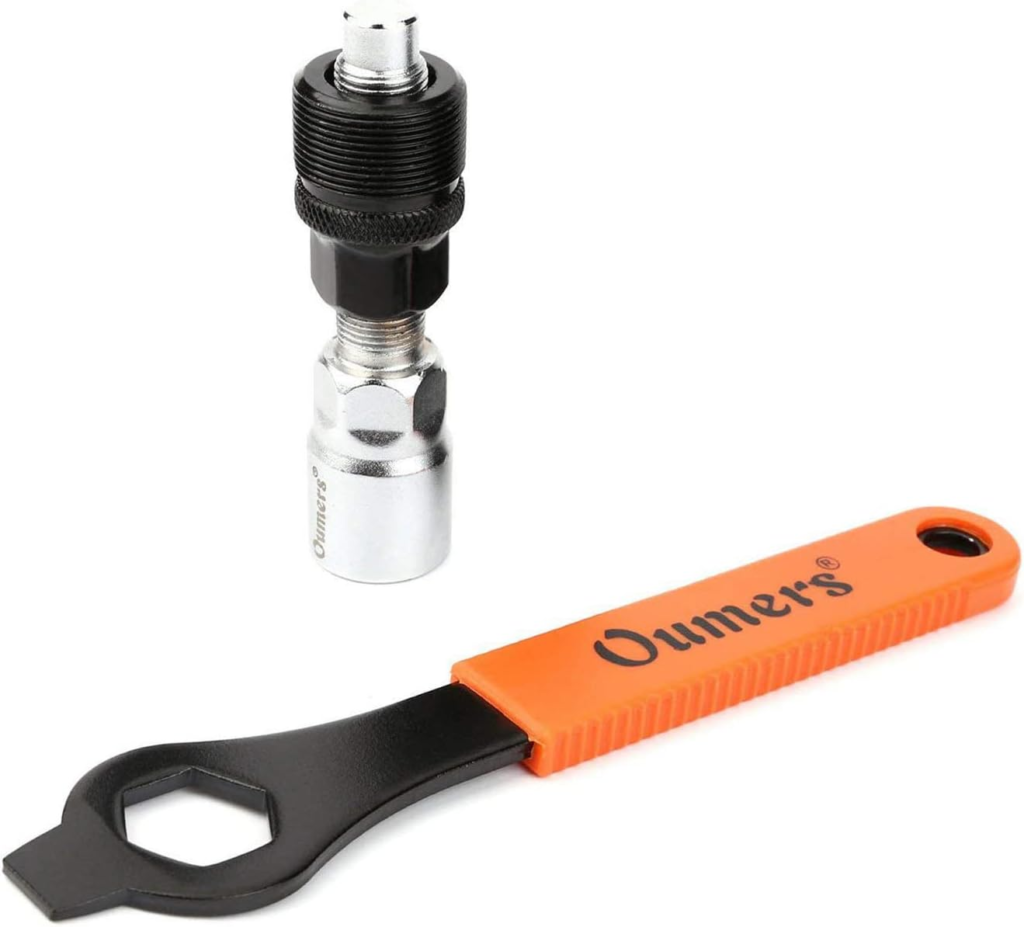
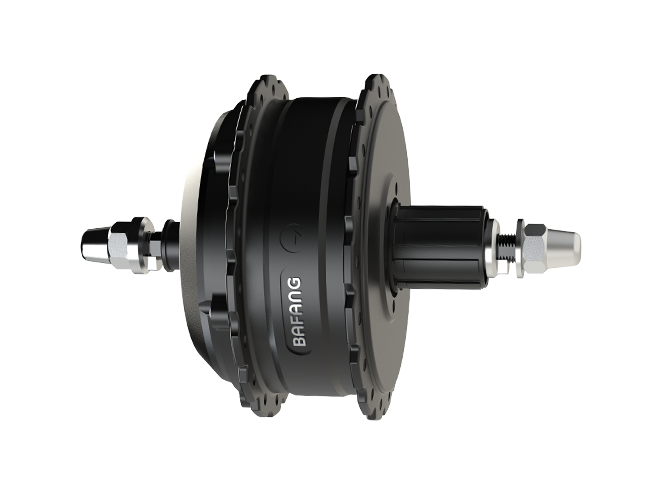
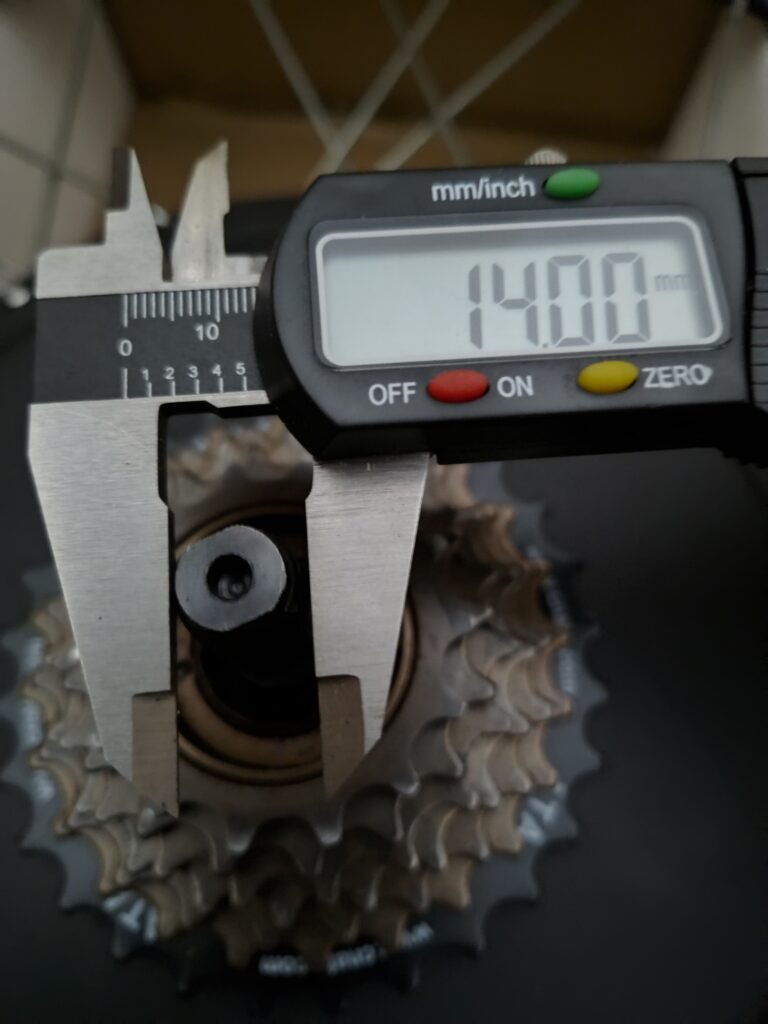
So, a couple things to think about when executing this conversion. First, freewheel removal. Turns out this ebike, like most, has a rather thick ( ) rear axle. This means the freewheel removal tool center opening needs to be wider than this – most aren’t.
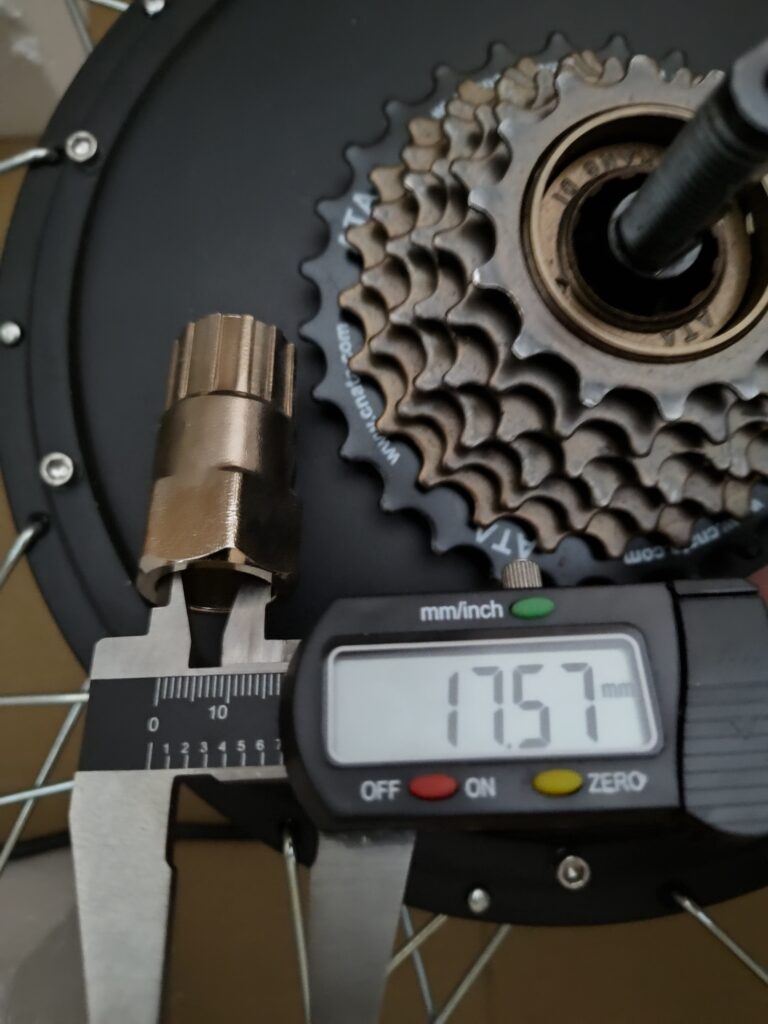
I bought this freewheel removal tool on Amazon and it works perfectly.
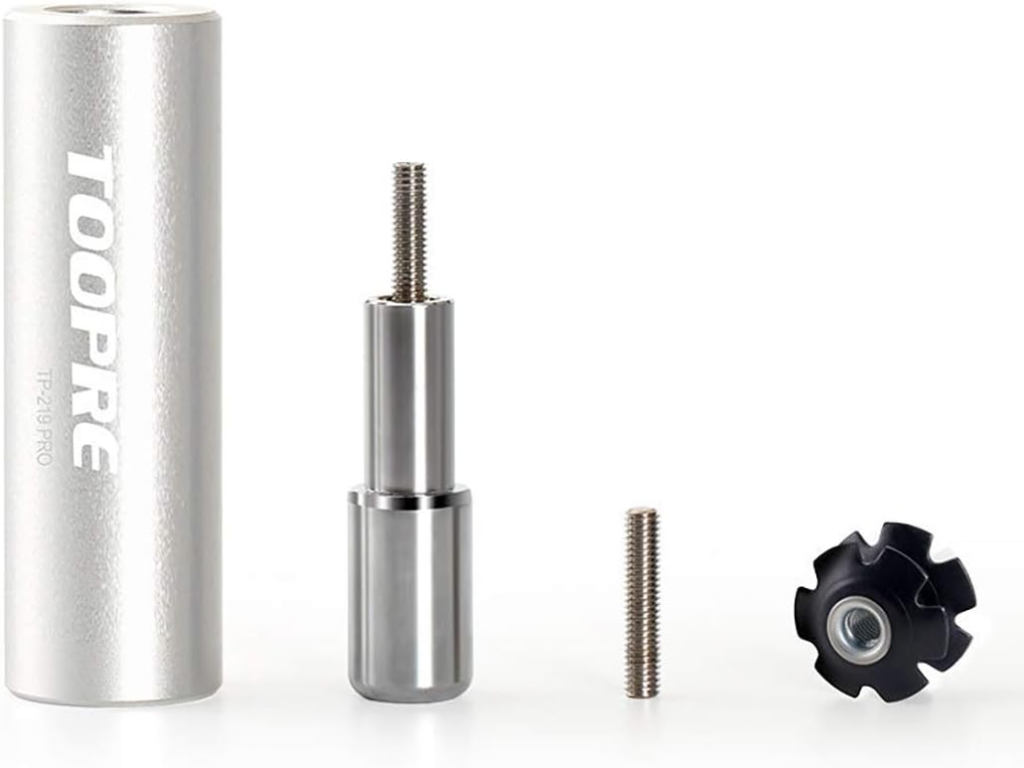
With the freewheel removed, now it’s time to deal with single-speed freewheel selection and associated chain alignment. I initially selected a ‘BMX style freewheel‘ which was a mistake. Nice sprocket, but it sits way too close to the motor housing and there’s no way to correctly align the sprocket with the front chainring. To fix the alignment problem, I ordered this threaded freewheel hub from Amazon.

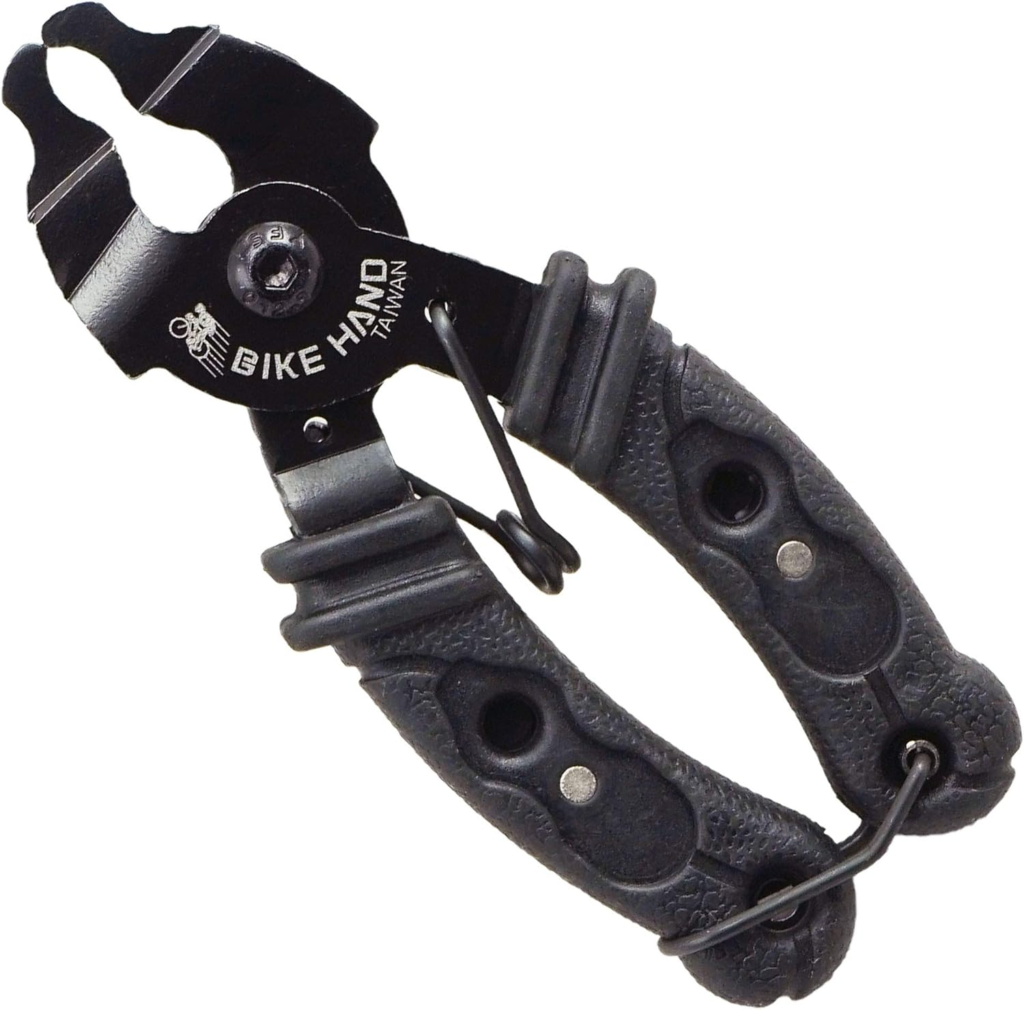
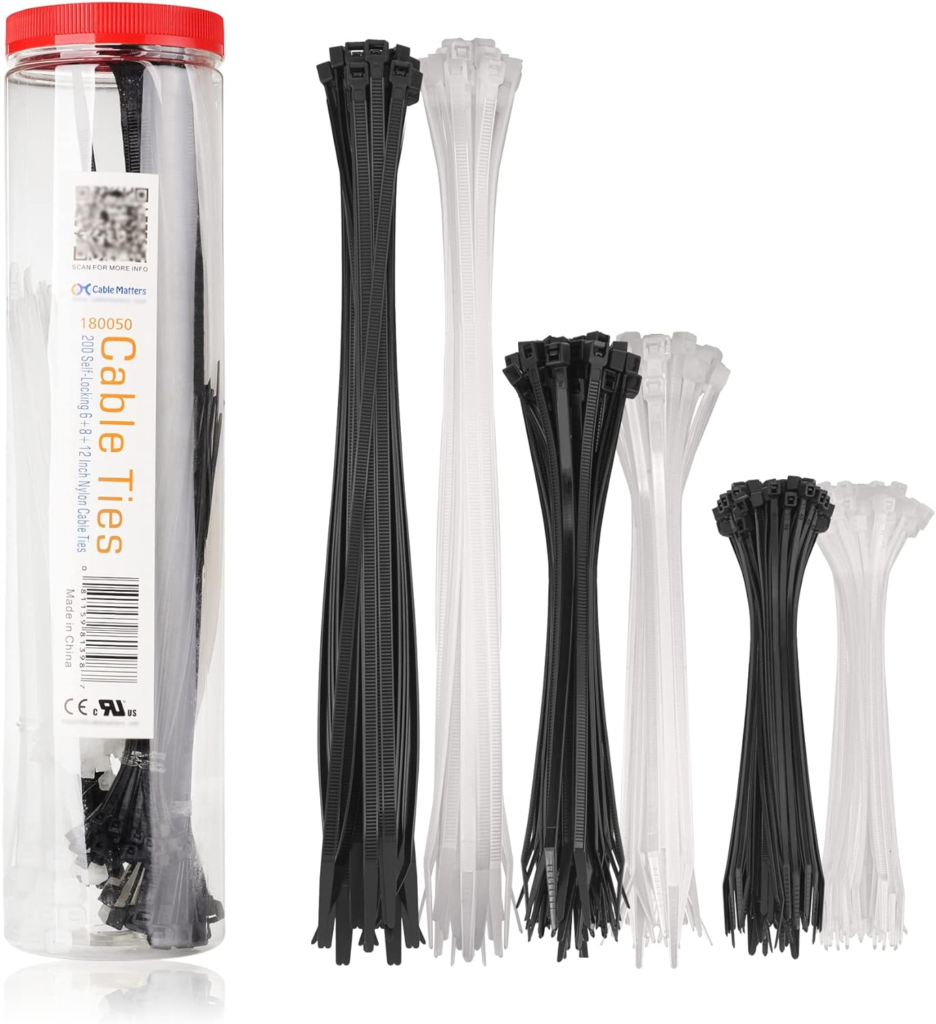
And even though RR doesn’t have rear suspension, I’m a fan of chain tensioners, so will use this tensioner ordered from AliExpress.

And a single-speed chain from Amazon. Someday I’ll understand how a single-speed chain differs from a 7/8-speed chain, but for now I accept that they’re different and I should just go with the one designed for this application. The 1/2”×1/8” ZONKIE single-speed chain replaces 1/2″x3/32″ 7-speed chain. Always learning – that’s my moto…
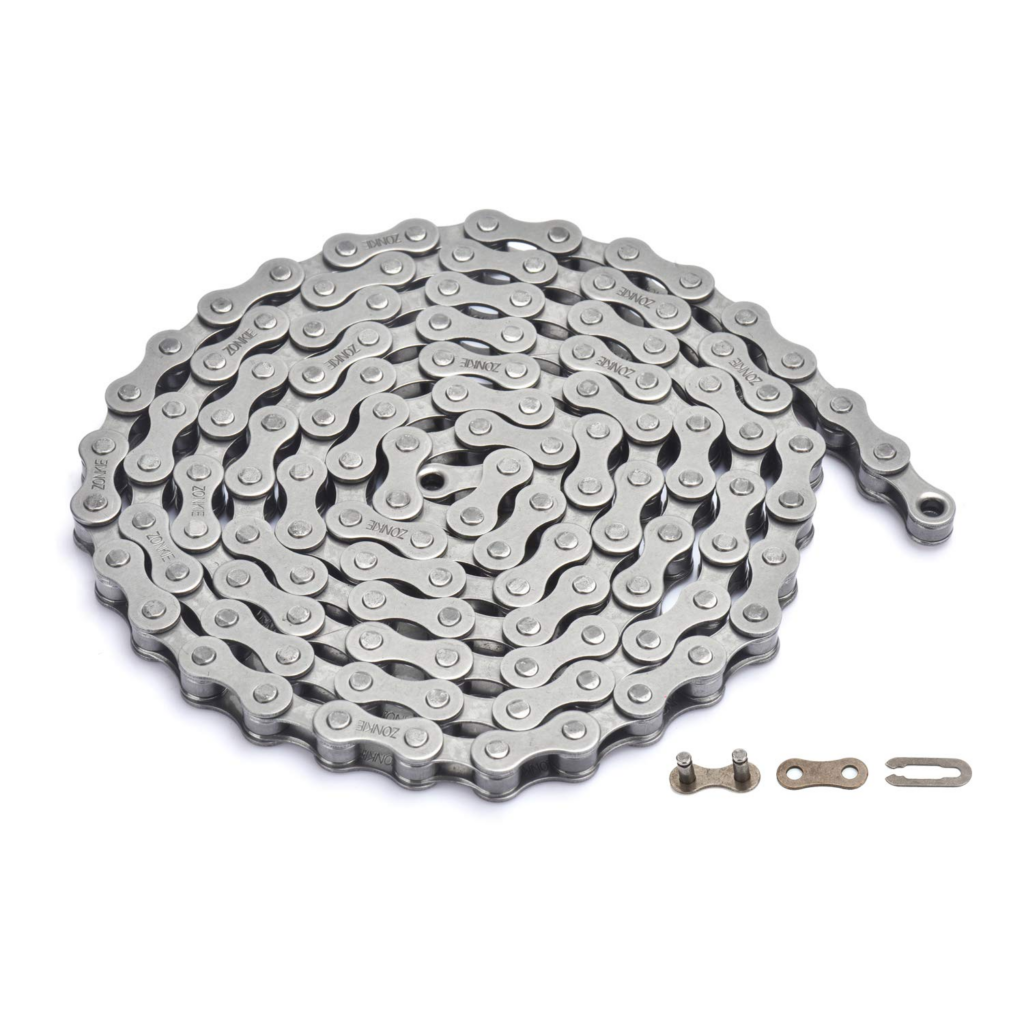
Looks like every other chain to me.
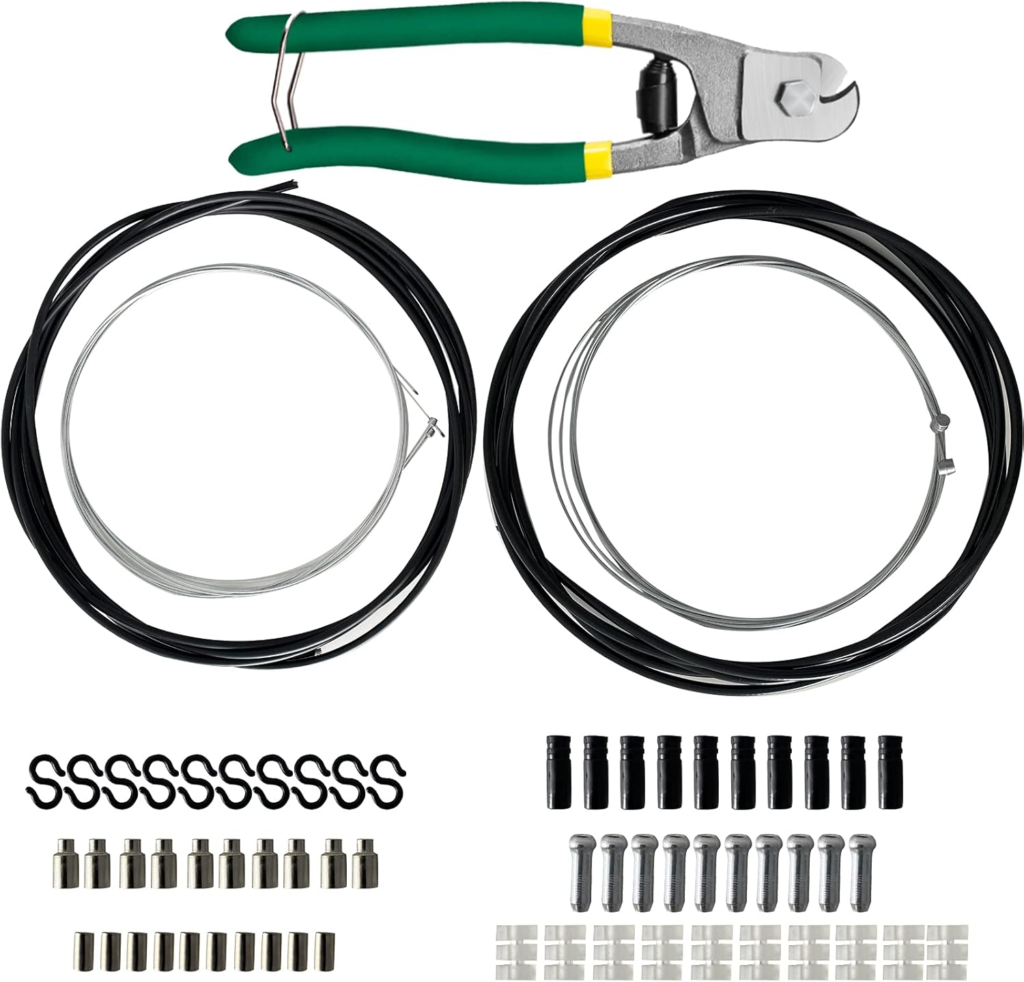
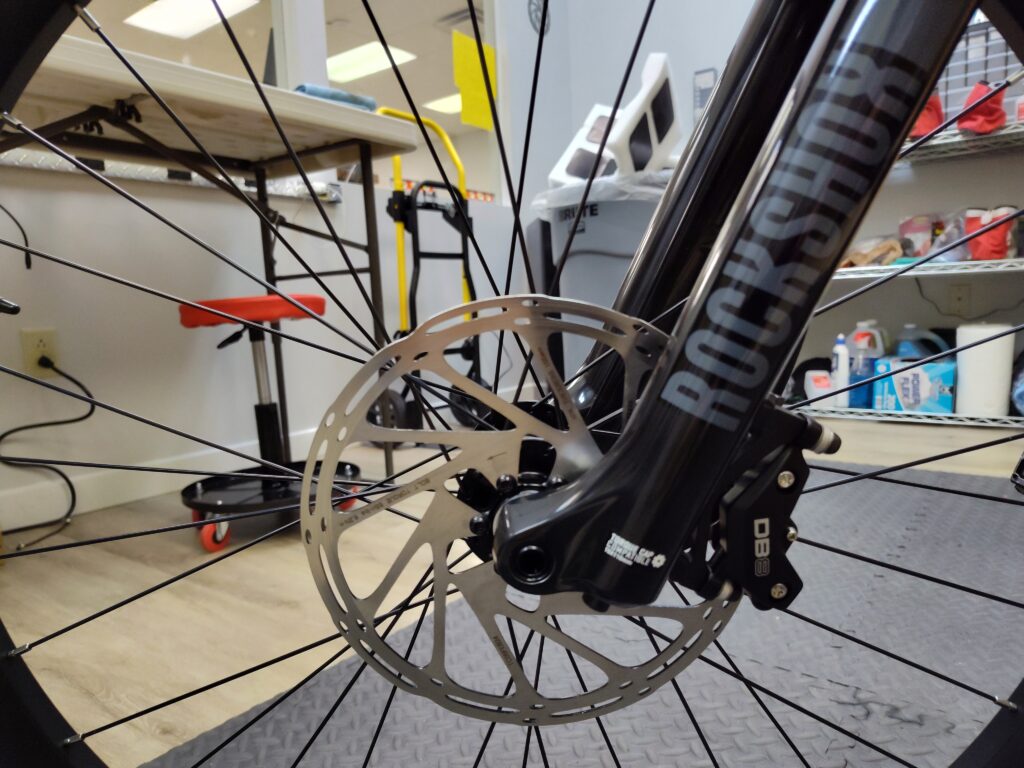
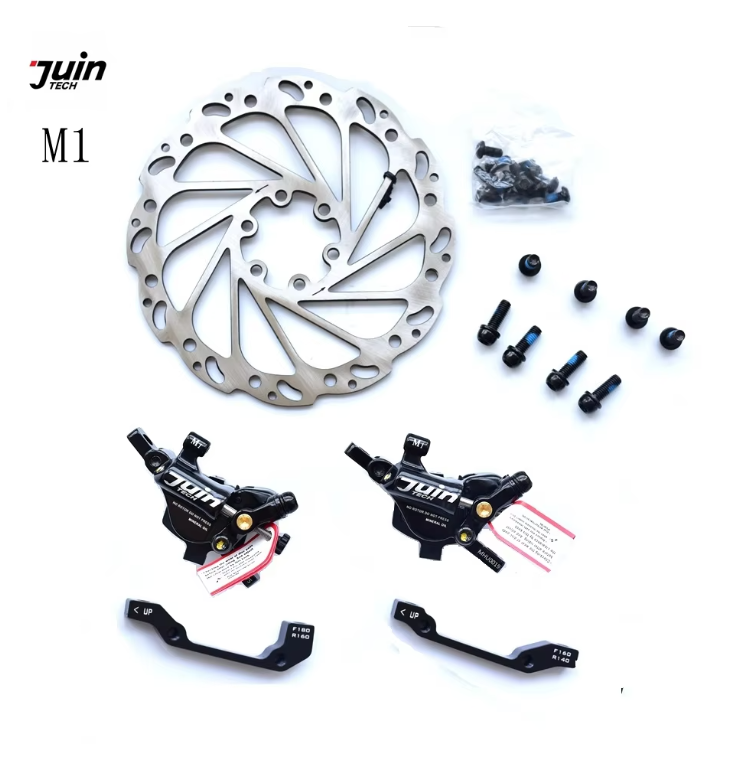
Once the parts arrive and have been installed and tested, I’ll post post-surgery pics and first impressions here. And, just ’cause it makes sense to do it, I’m upgrading RR’s brakes to hydraulic using the Juin Tech-M1 Electric Bike Disc Brake kit I’m running on the Himiway Cruiser and on my latest Northrock (Fatty III) build. I love these brakes and the fact that they can be installed in a cable brake system makes them a fantastic mechanical disc brake replacement option. Here’s what’s included in the kit from AliExpress, which is also ‘in the mail’.
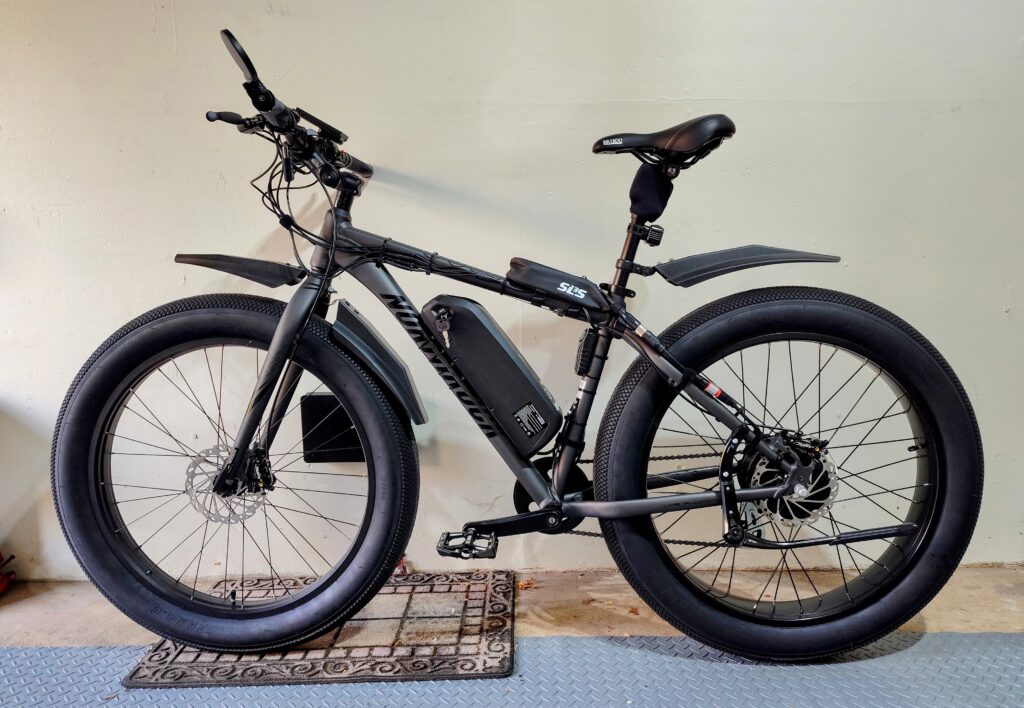
Post-surgery pics as promised:
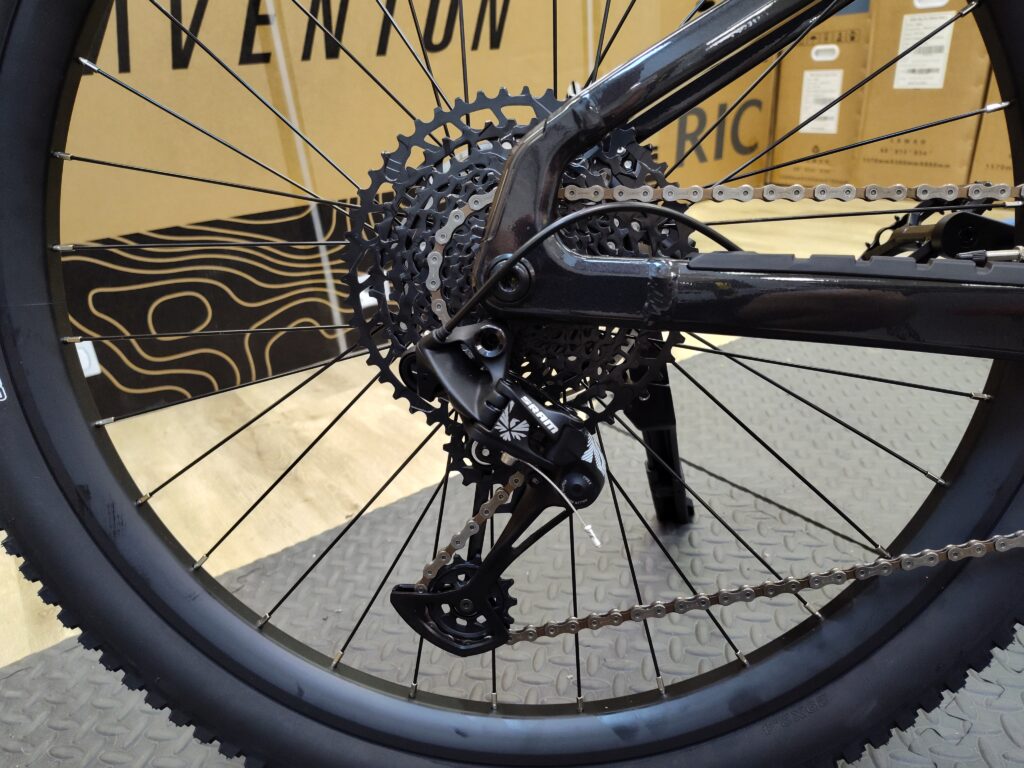
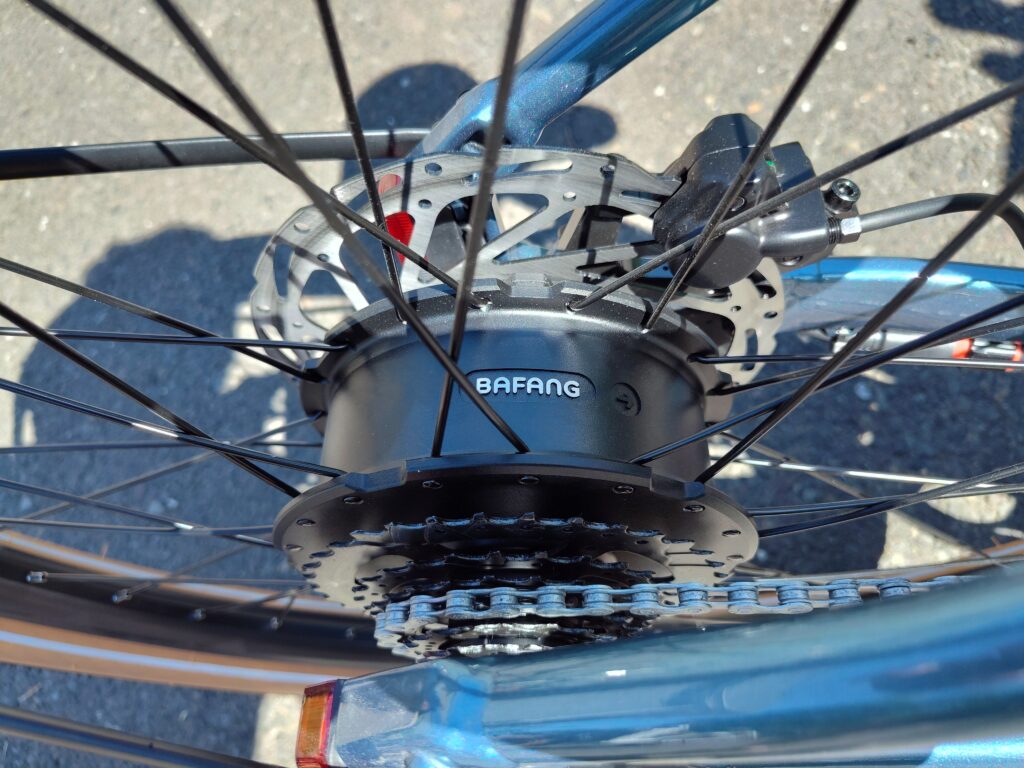
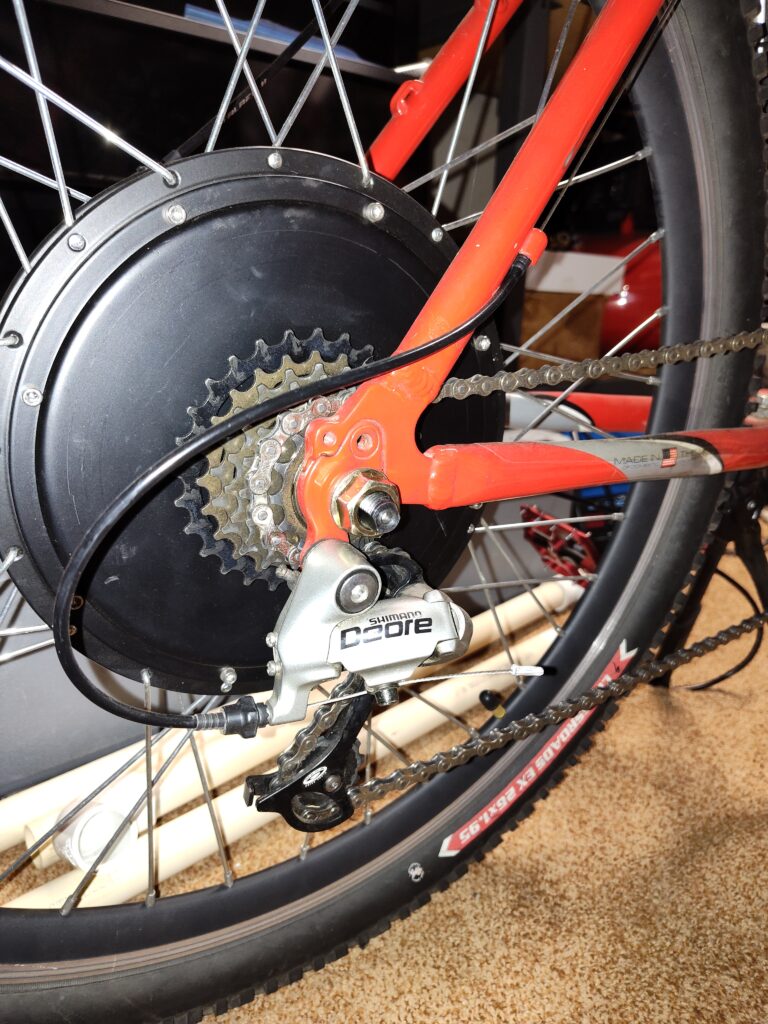
But first, pre-surgery – 7-speed freewheel cluster and derailleur
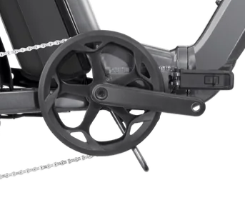
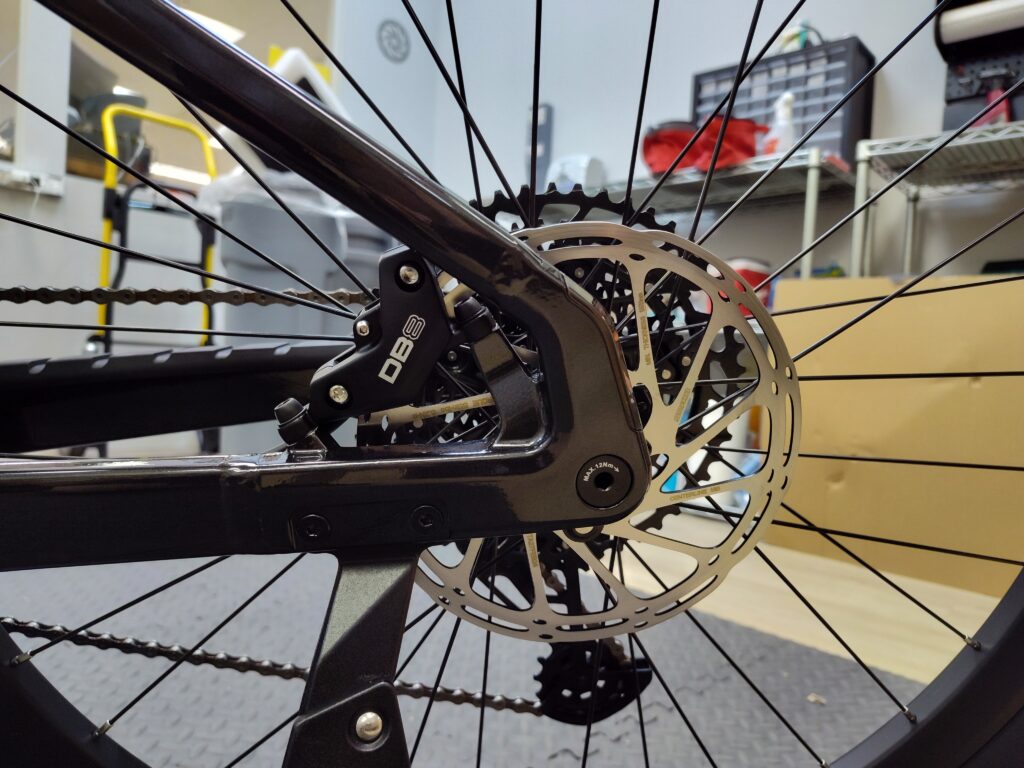
And after, with 14-tooth threaded freewheel hub, tensioner, and 1/2”×1/8” single-speed chain
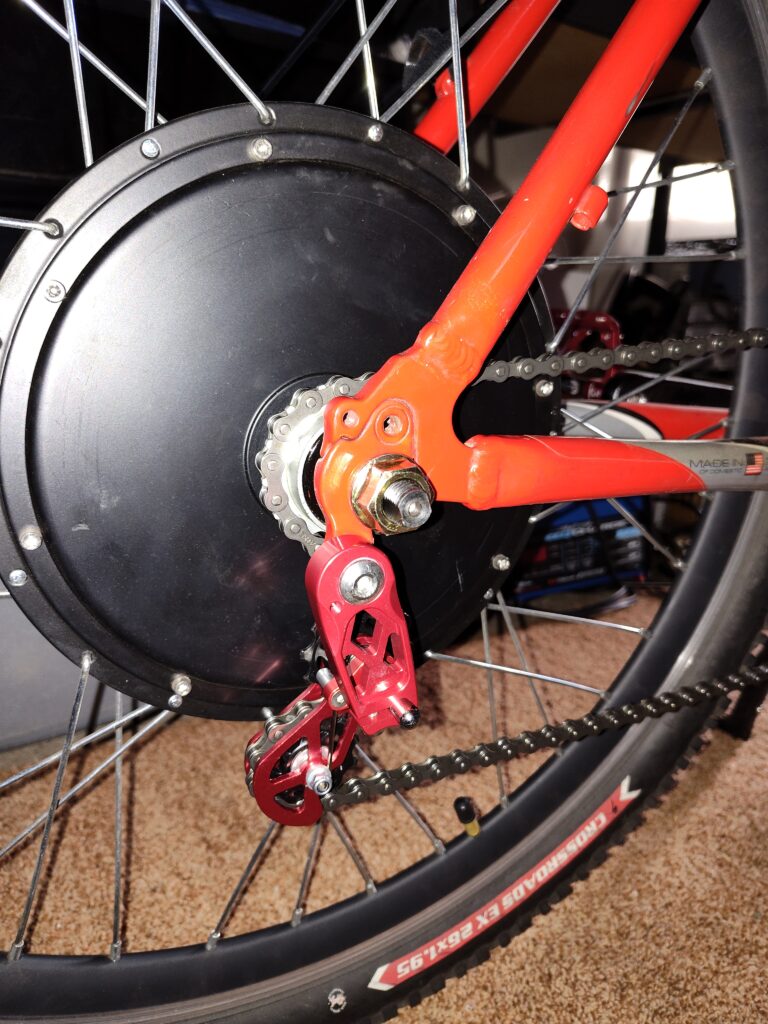
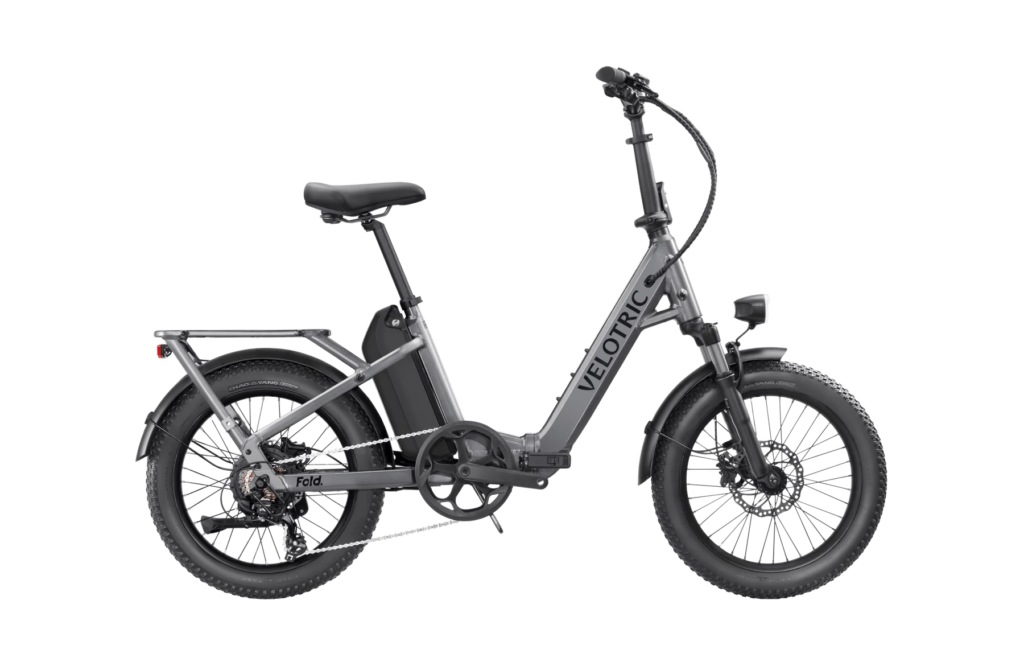
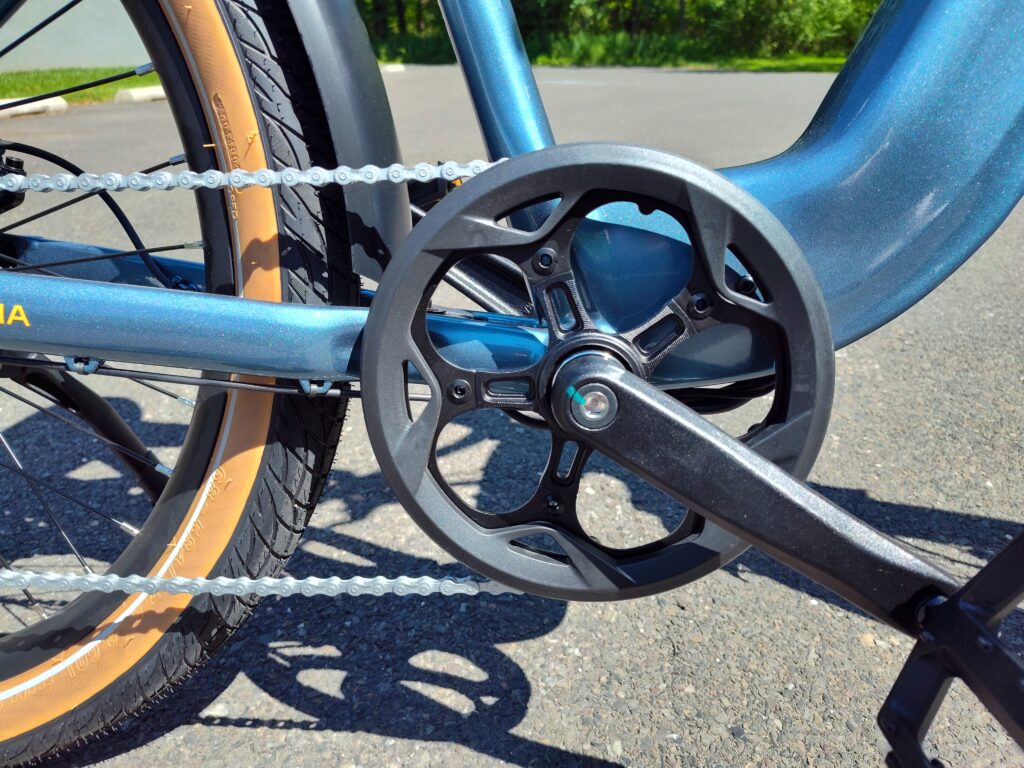
Really cleans things up back there! And as mentioned previously, I could probably eliminate the tensioner as well, but I’ll go with this for now, and maybe go tensioner-less as a test at some point. Also here’s a side view running a 50-tooth front chainring. The only minor compromise I made, which isn’t really a big deal at all (fortunately*), is that I had to move the front chainring inboard on its mount (*which gives me about 1/16″ clearance next to the chain stay – not much but enough).

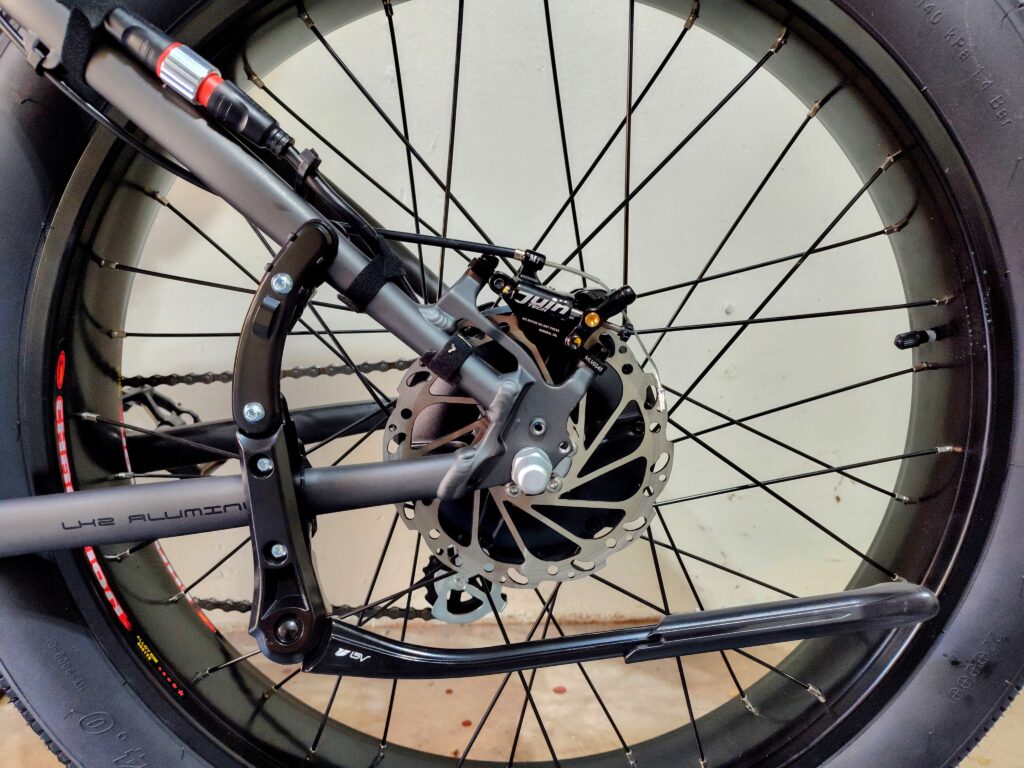
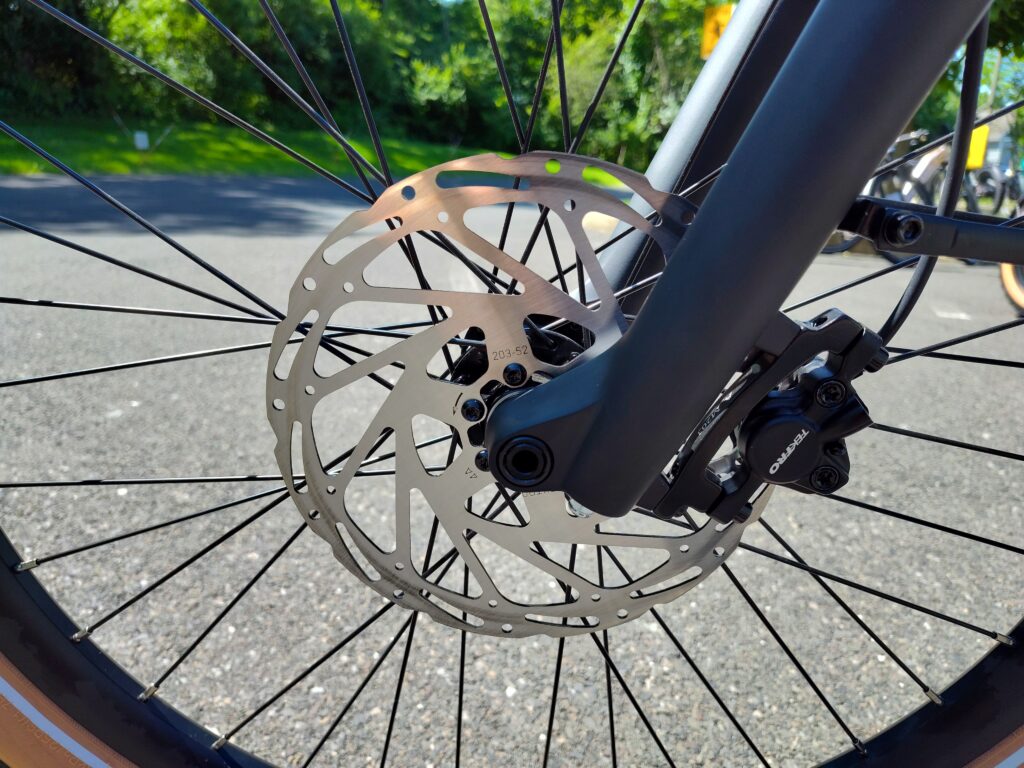
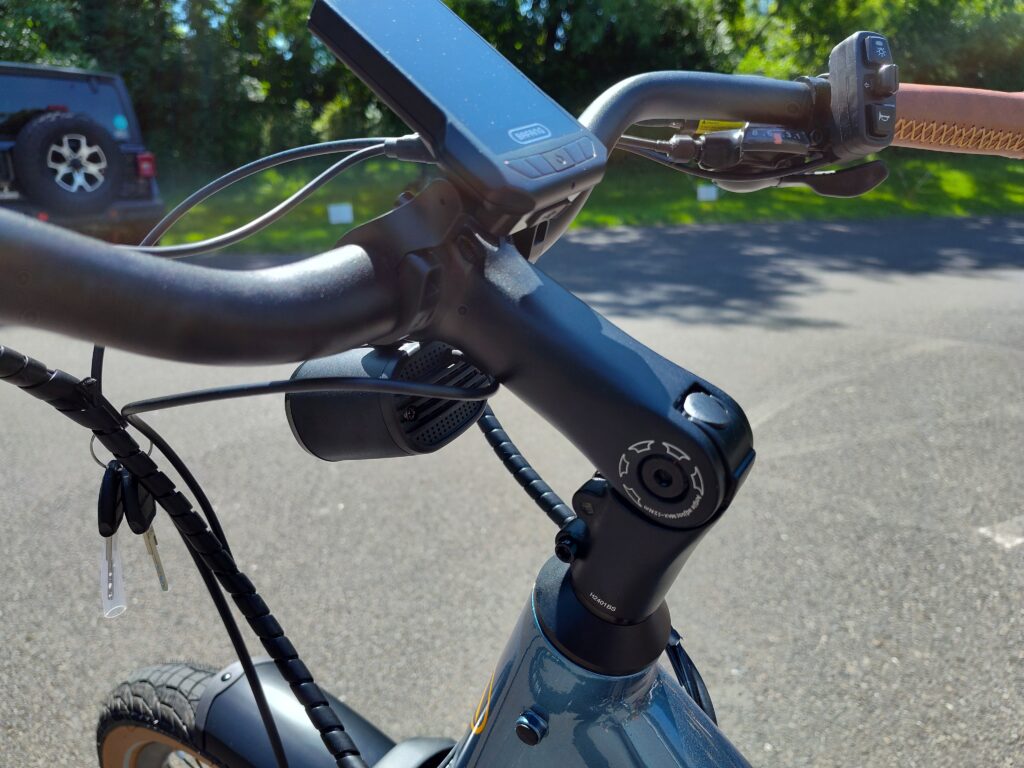
And, while my bike was in surgery, it also got its new pair of Juin Tech M1 hydraulic brakes installed – sweet! In this image, they’re installed but not yet dialed in. Didn’t have time to get everything prepped yet for a test ride. Just too busy these days…
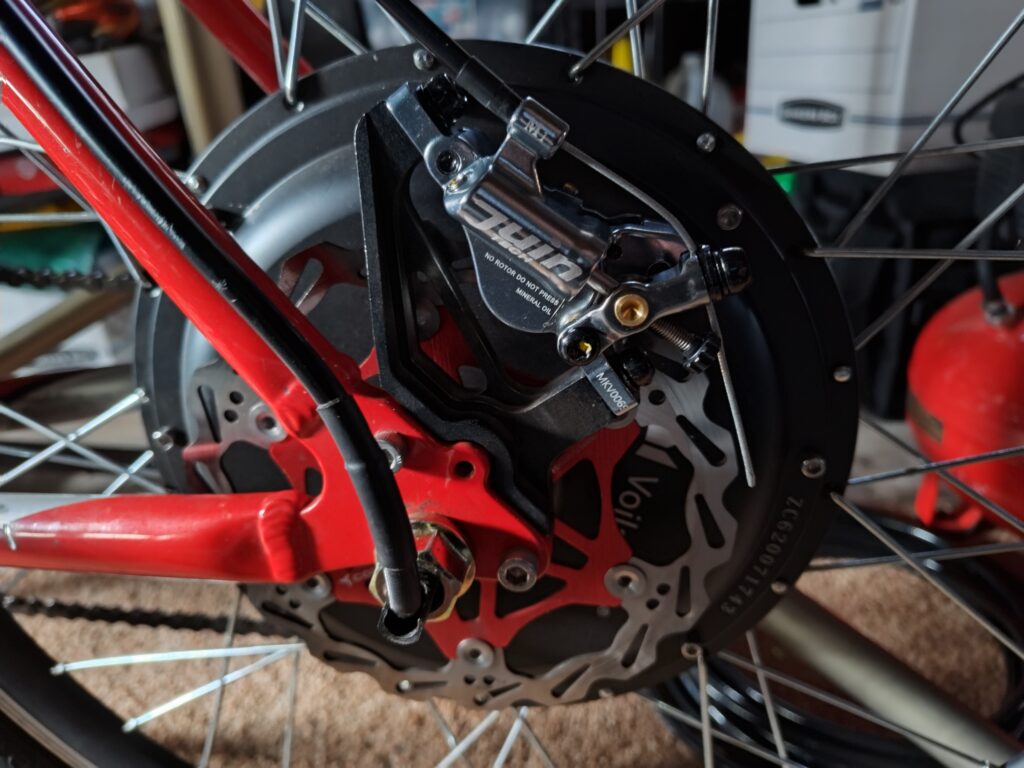
I can’t speak too highly about my Juin Techs. These are incredible brakes, and at ~$130 for a pair, which includes fresh discs, I think that’s a fair price for what you get.
**
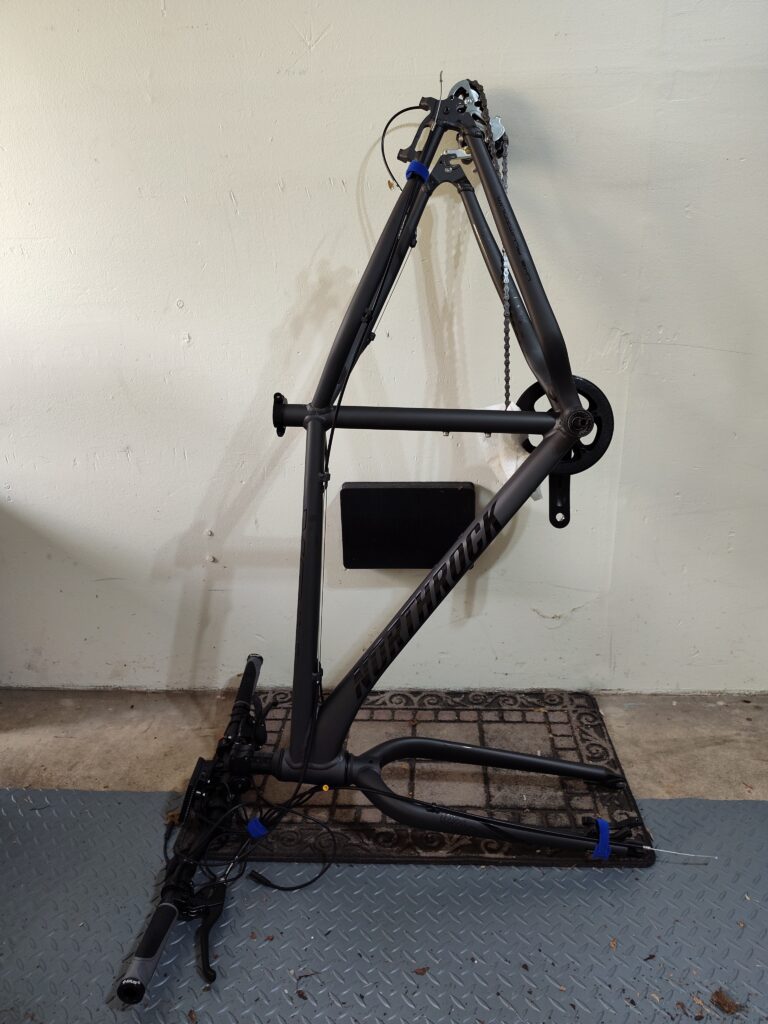
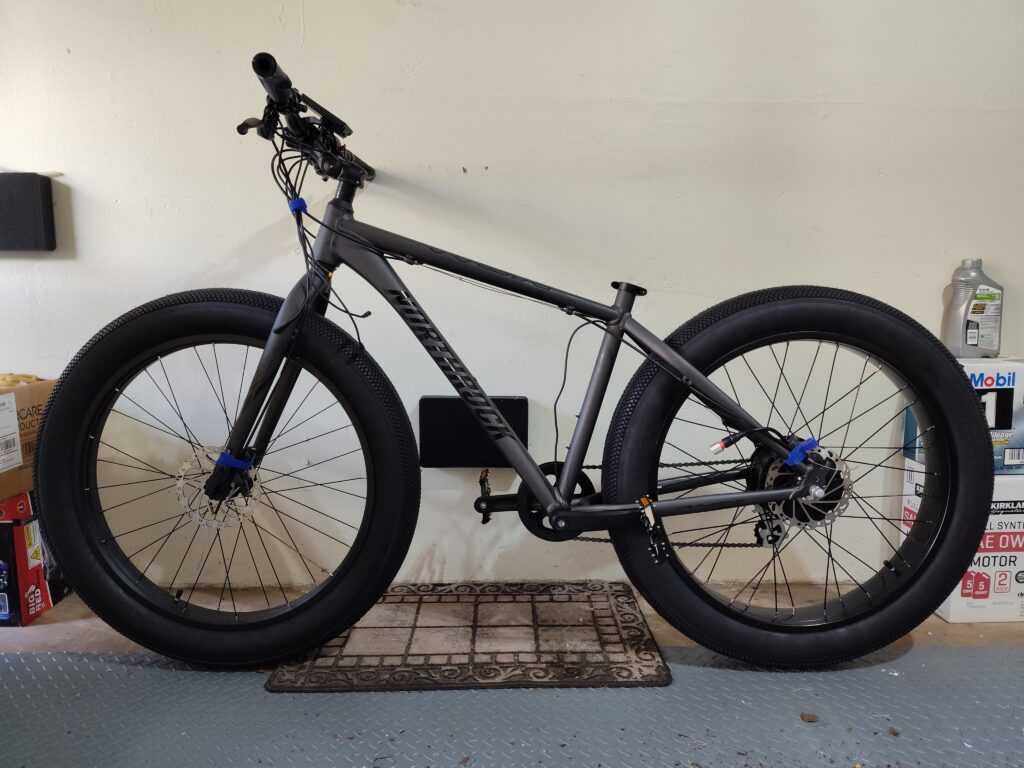
I don’t know if I had mentioned this before, but as an e-bike ‘builder’, I’m always thinking about ways to improve my builds, and after much thought about my single-speed mod on Red Rocket I decided that mod isn’t at all appropriate for our Pennsylvania hills and the kind of riding I do, so my latest ‘improvement’ was to return to a 7-speed freewheel, chain, and derailleur. Here’s an image of the aftermath:
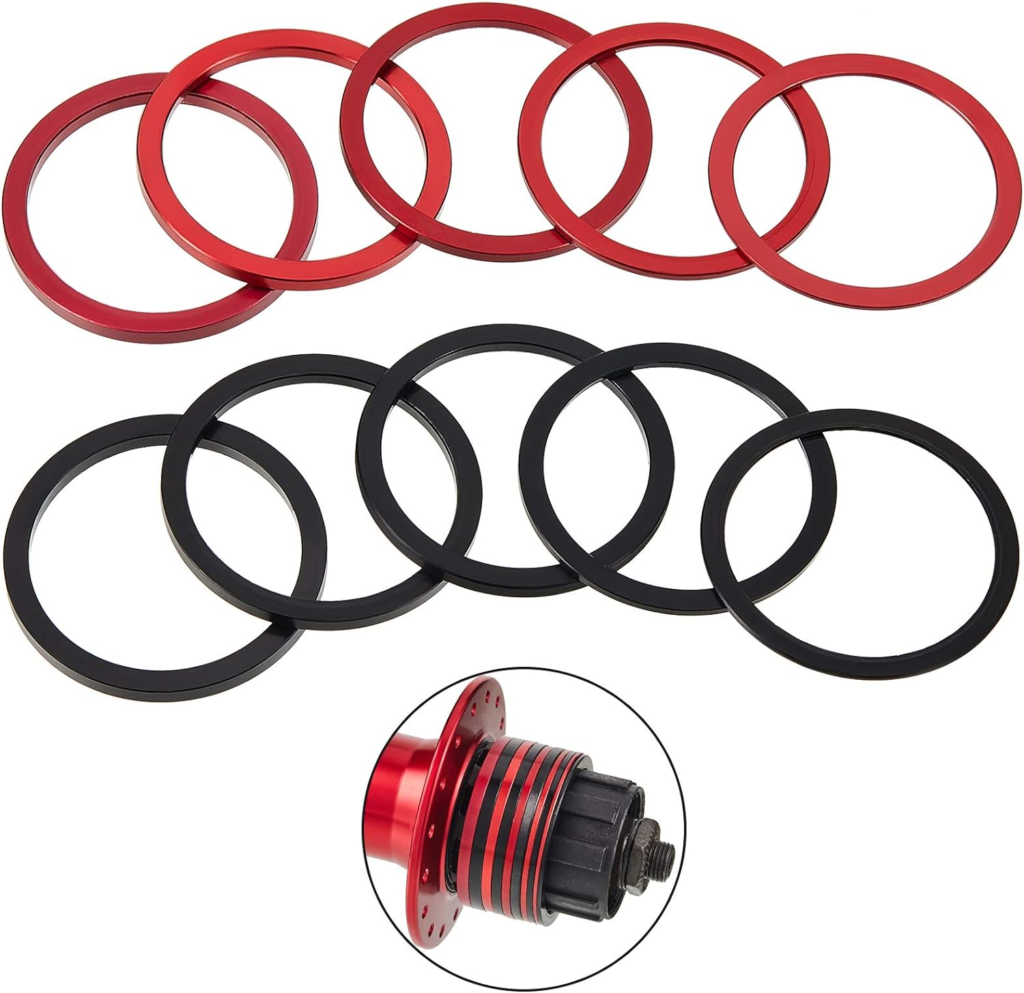
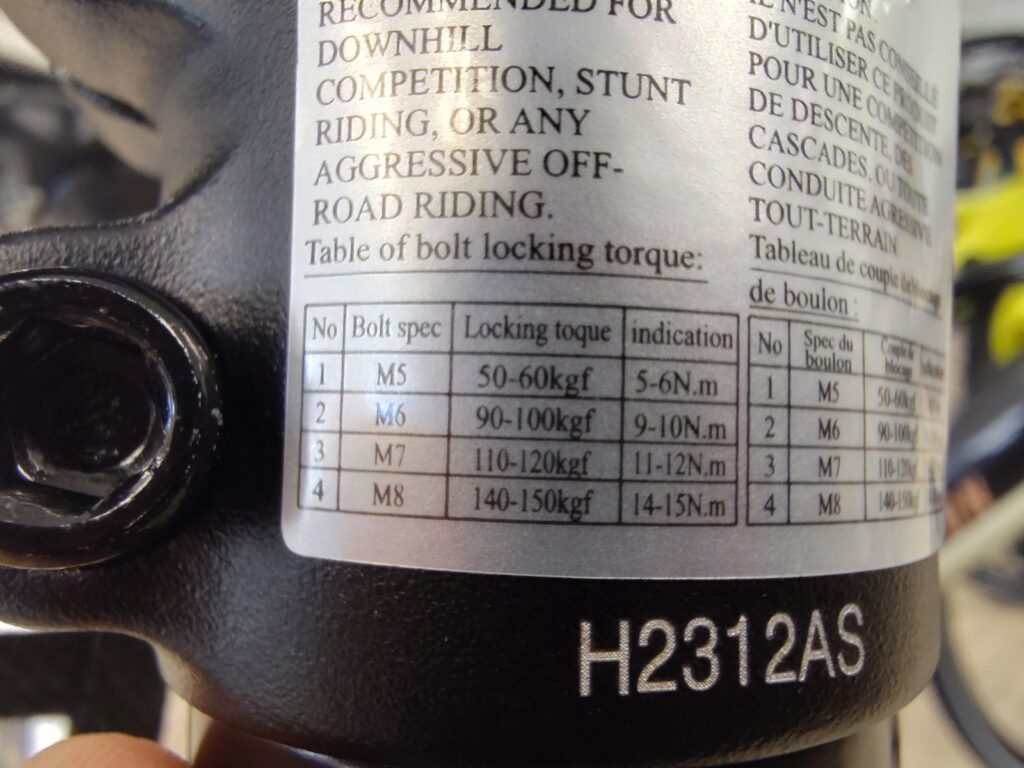
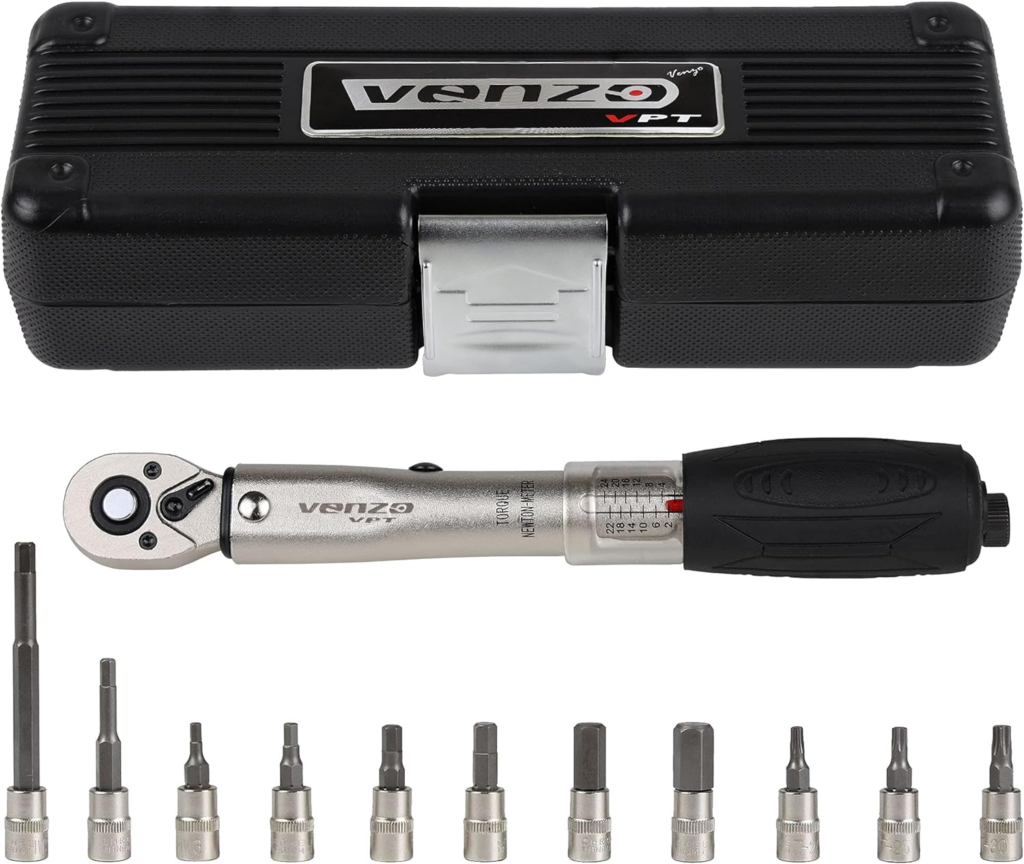
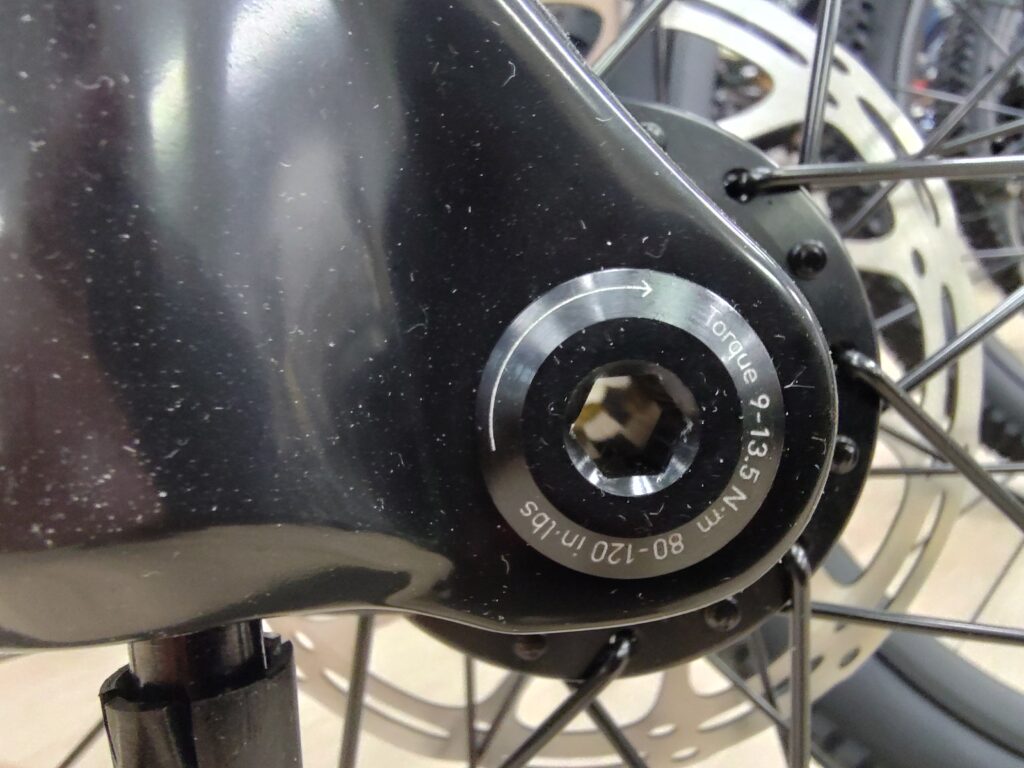
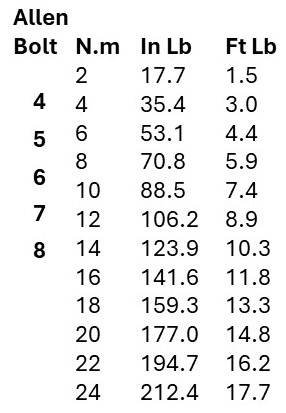
I think this will be a much more satisfying arrangement. And I’m also adding some axle torque protection this time. Not that it’s really needed, but this motor puts out a lot of torque and the last thing I want is to spin the axle. Hasn’t happened yet, but I know it’s a possibility. Keep your axle bolts tight and you shouldn’t have a problem. Let them loosen up and you will have a problem with the more powerful hub motors on the market. You have been warned…