Reason 1: Because I sold my latest fat-tire creation and am currently experiencing fat-tire e-bike withdrawal symptoms.
Reason 2: Because the moment I was searching for a solution to my ‘condition’ I saw a discount on the Himiway Cruiser I just could not pass up (my price was $950, now the online price is $1300 – discounted from $1600 so they say).
Reason 3: My neighbor has 3 Himiway e-bikes and they seem to like them. And
Reason 4: We now have local support for the Himiway brand. Their list price for the same bike is $1399, by the way.
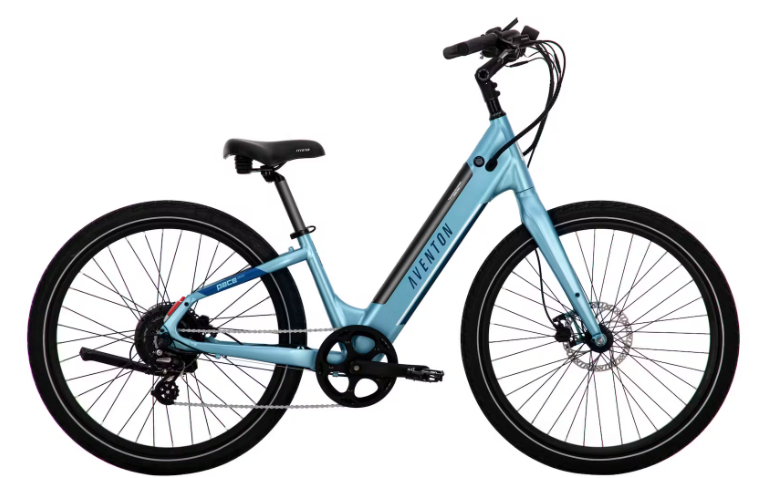
Is the Himiway Cruiser a ‘perfect’ e-bike?
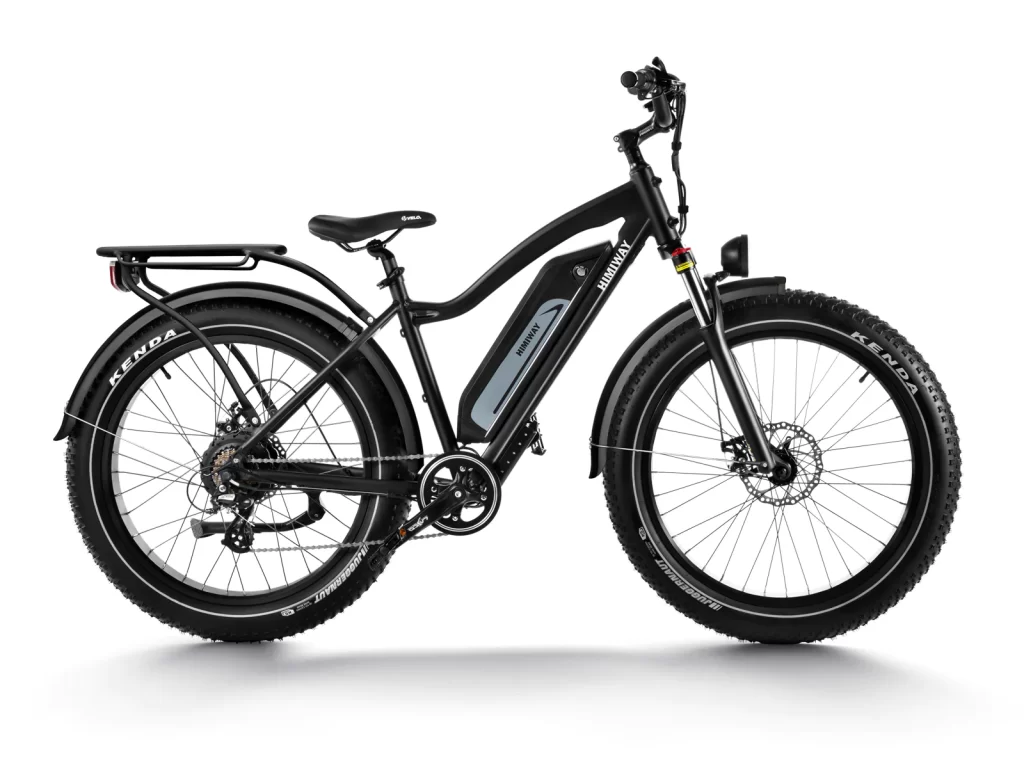
Absolutely not, but as a DYIer, there’s nothing that can’t be fixed as long as the bones are good. And it appears the Cruiser’s bones are fine, though maybe a bit on the beefy side. My fat-tire creation clocked in at 56 pounds with battery. The Himiway Cruiser appears to be somewhere in the 72 pound range. Still not a problem. Mechanical brakes on 180mm discs are easily remedied with hydraulic calipers and larger discs should the need arise. And the front forks are pretty basic, but are easily replaced if/when needed. Other mods I already plan on making include:
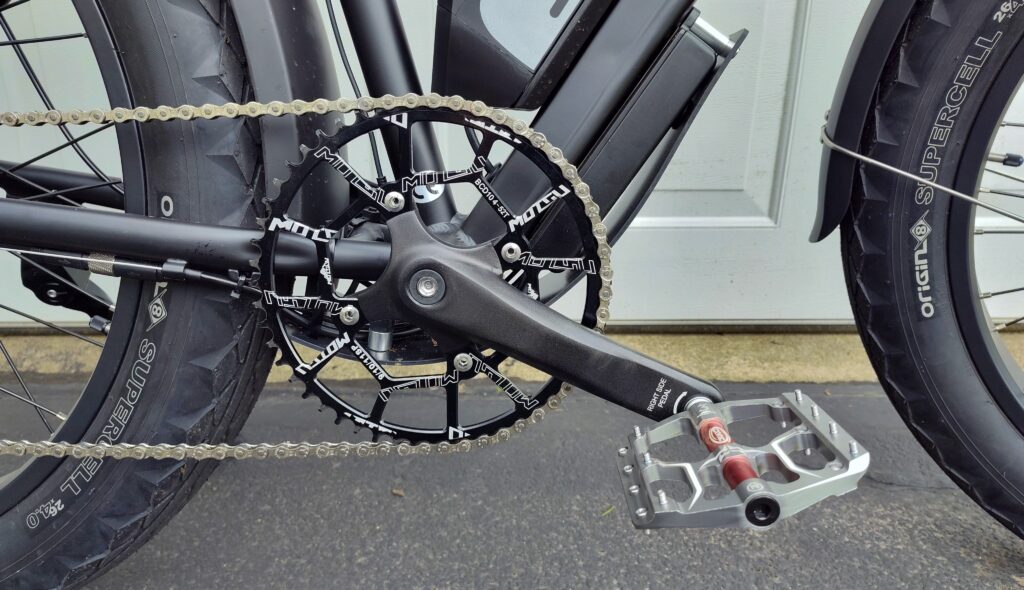
- 52T 104BCD Round Oval Narrow Wide Chainring ($28)
- Thumb Throttle ($13)
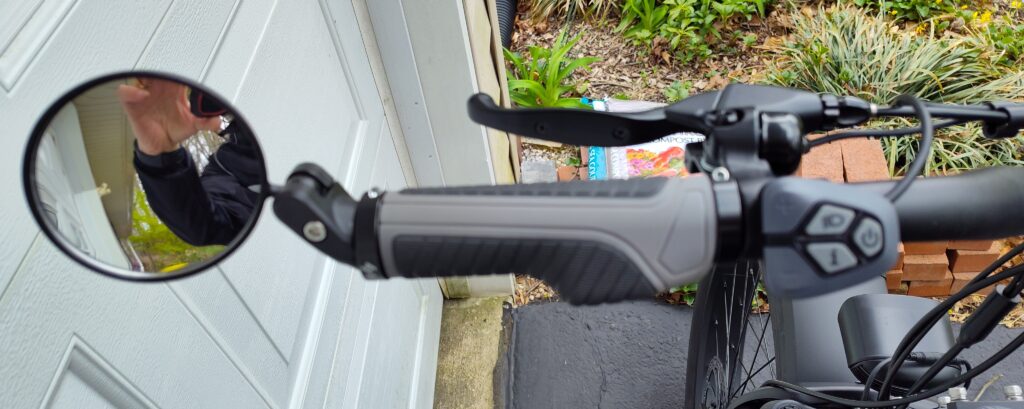
- Bar End Mirror ($11.50)
- Handlebar Grips ($8)
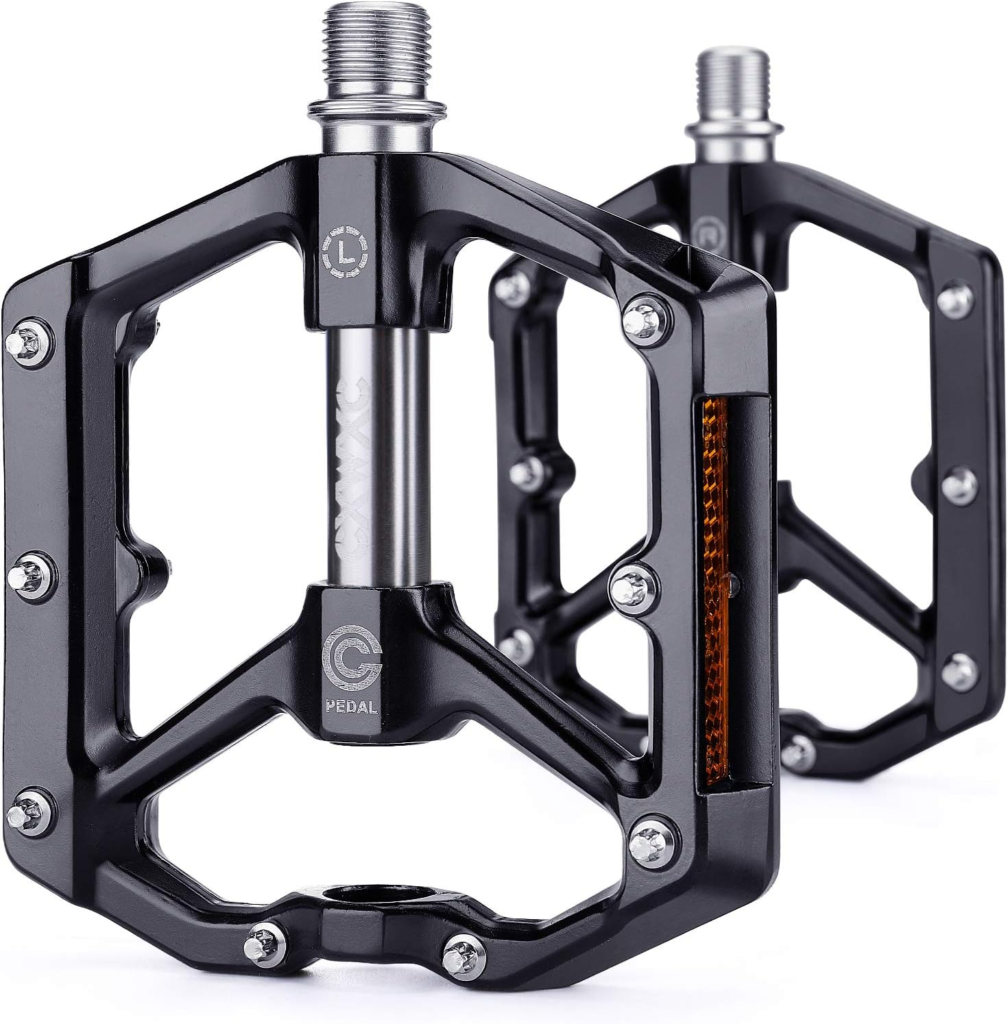
- 3 Bearing Pedals ($25)
- Skid Plate ($29)
- FlatOut tire sealant ($20)
- Rim strip ($9)
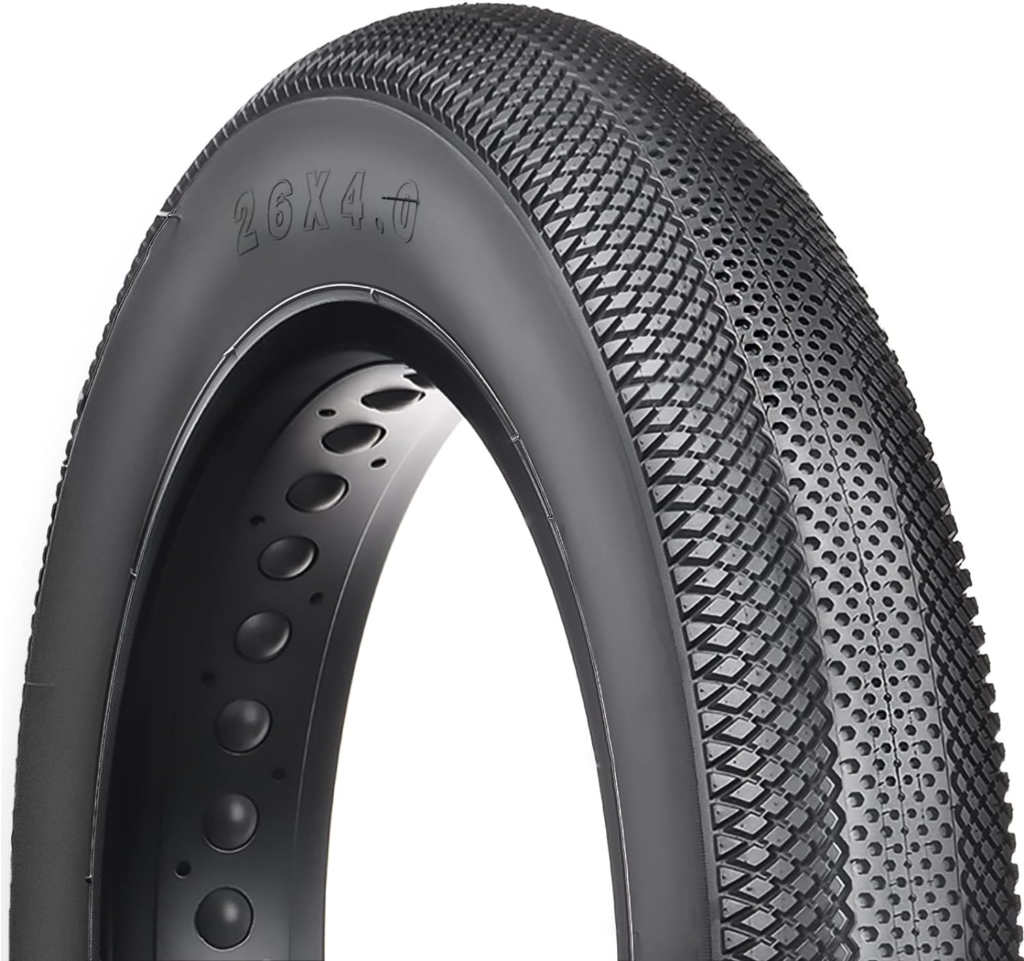
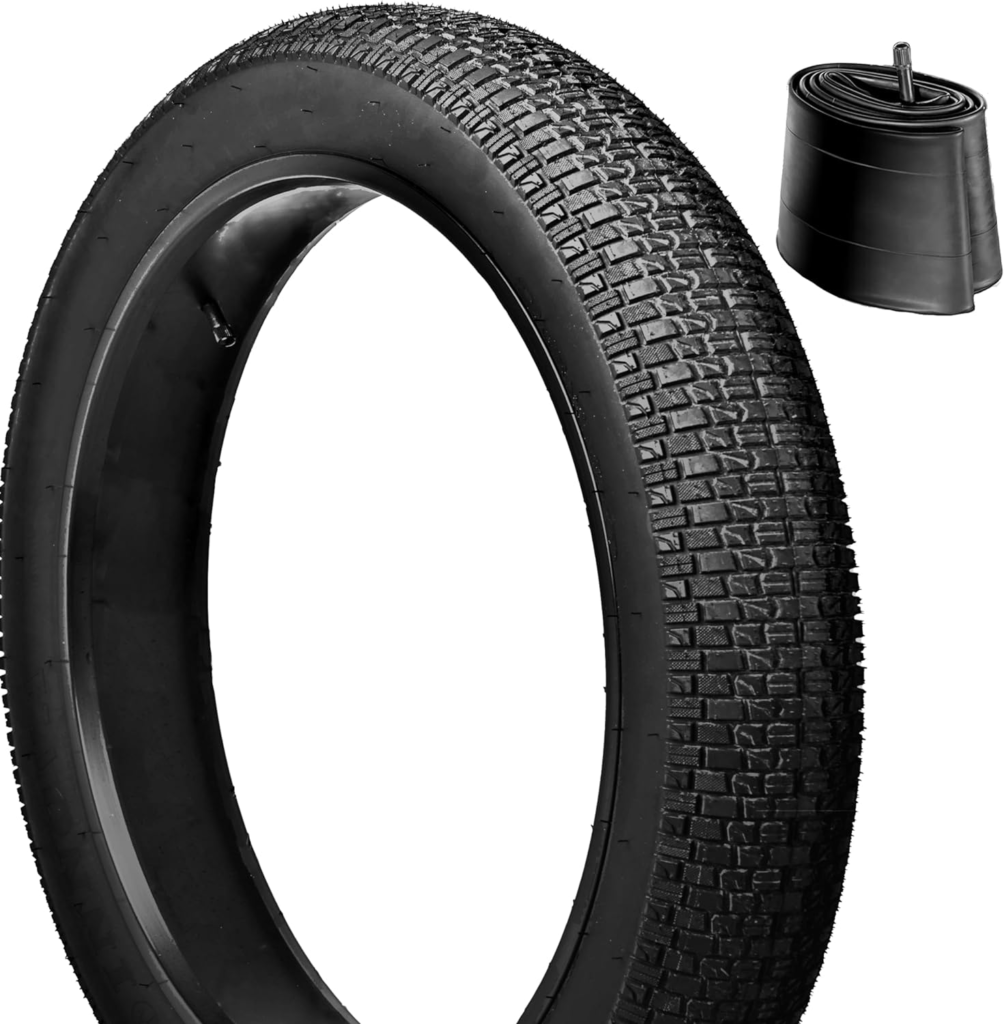
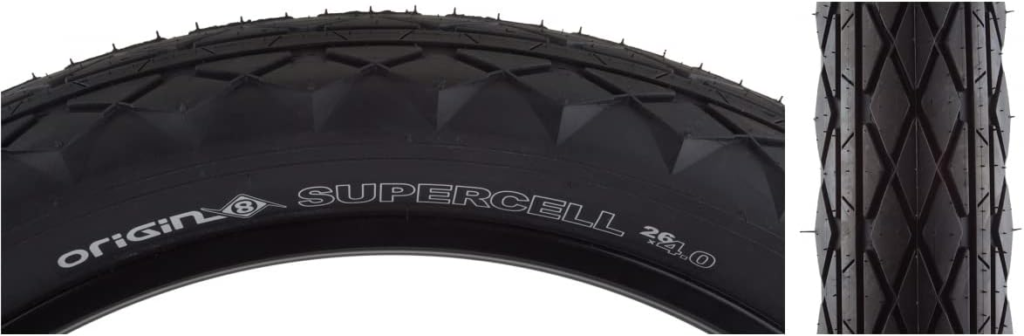
- Origin8 Supercell Wire Bead Fat Bike Tires ($50 ea.)
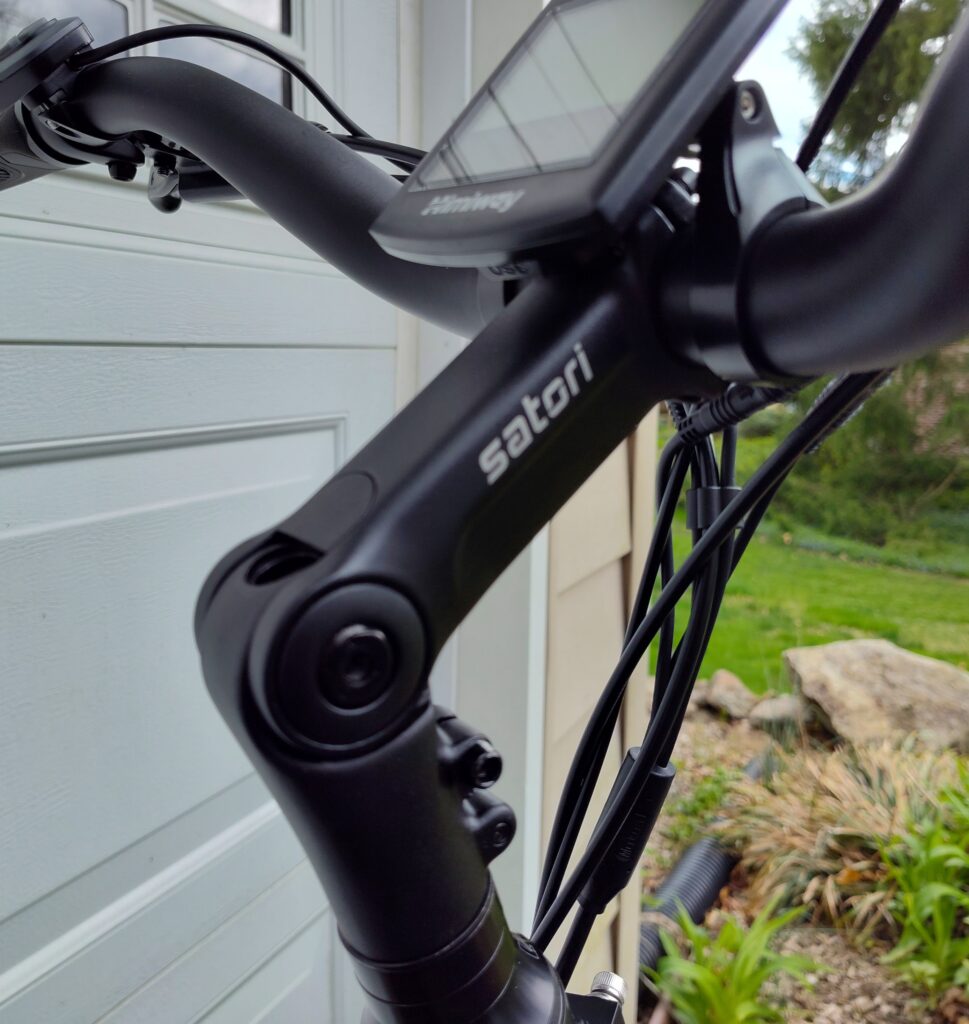
- Adjustable Handlebar Stem ($35 – 28.6mm x 31.8mm)
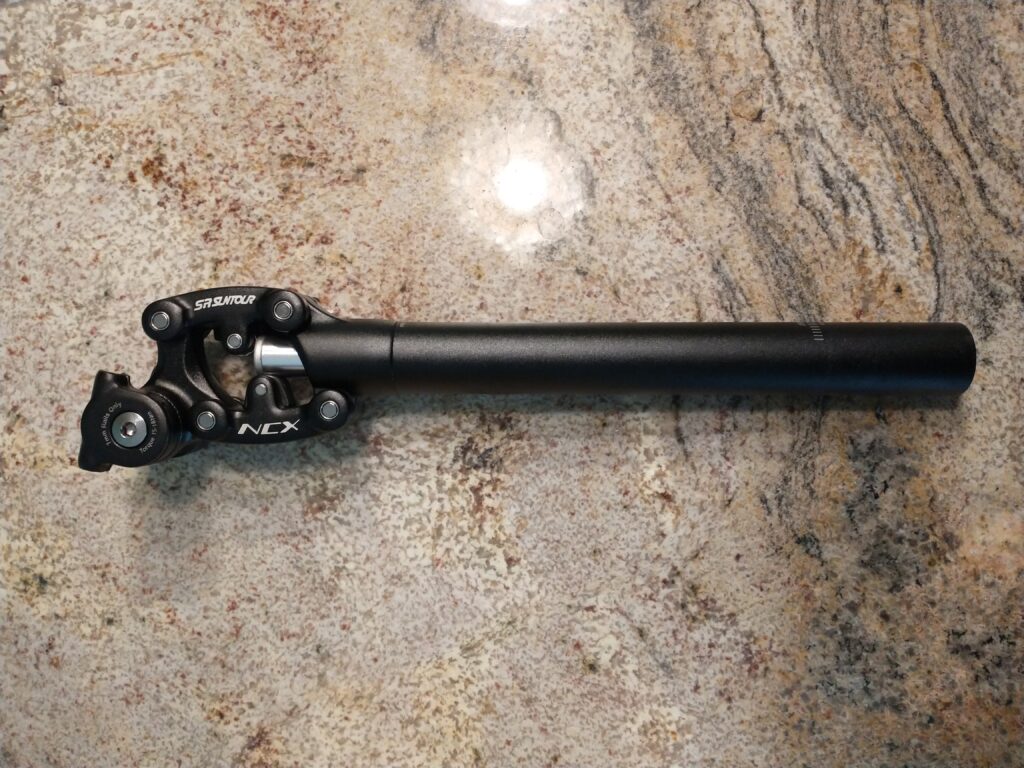
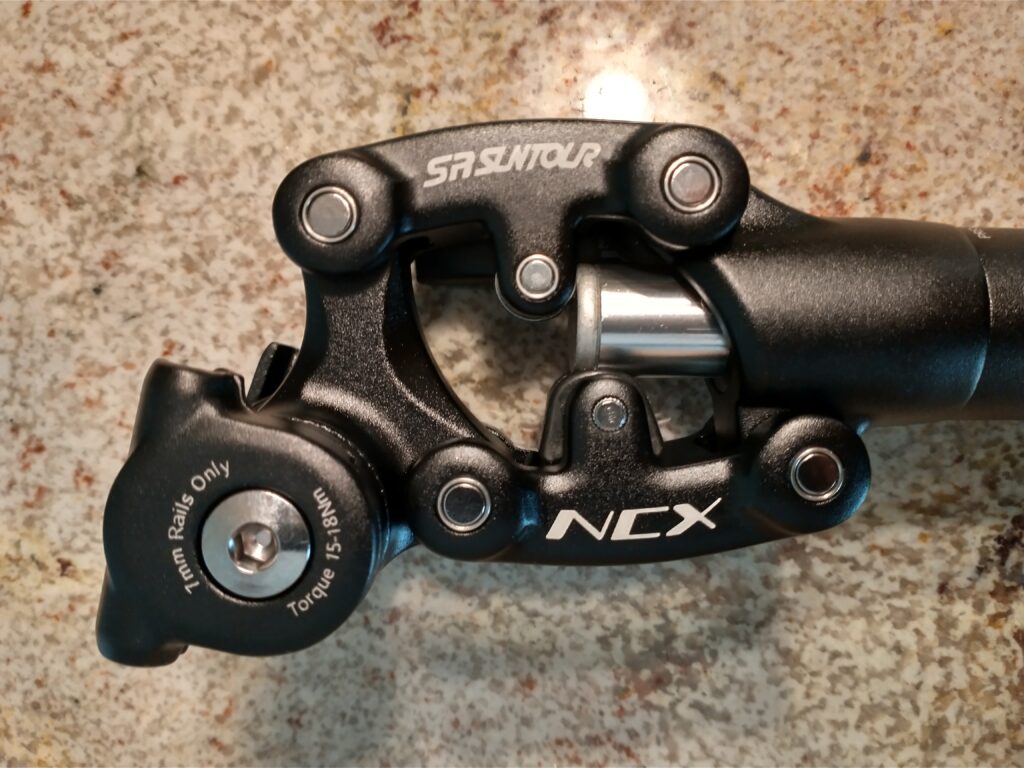
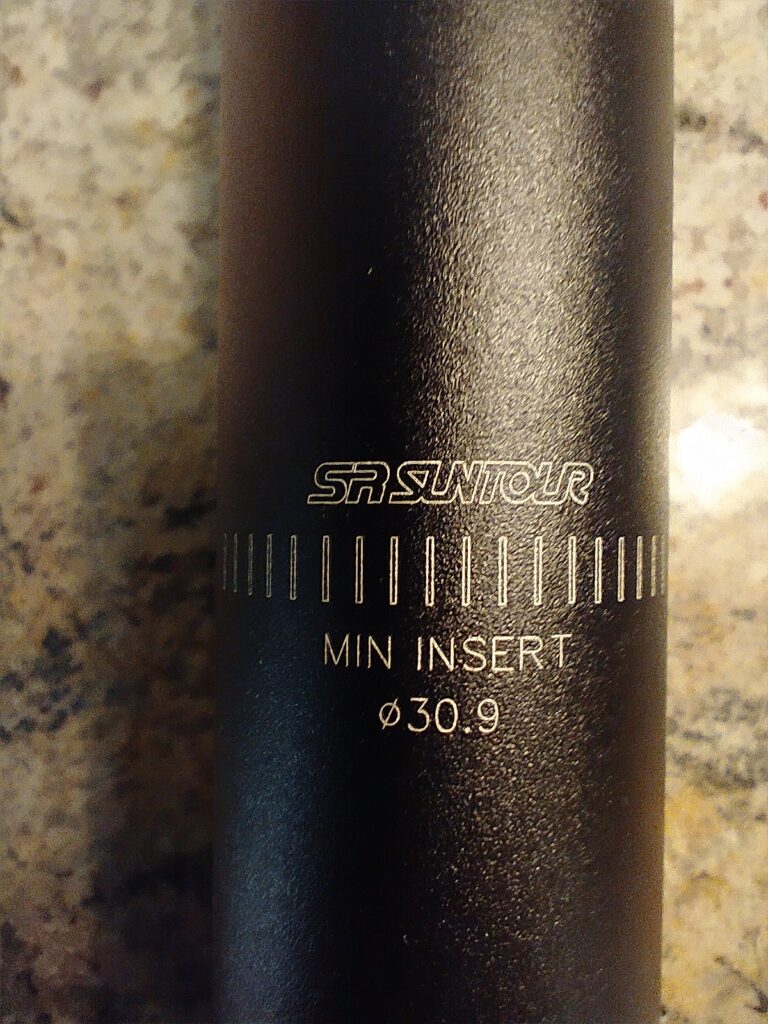
- Suspension seatpost ($70 – 27.2mm post plus $8 for a 27.2 to 30.4mm shim)
- Seat ($19)
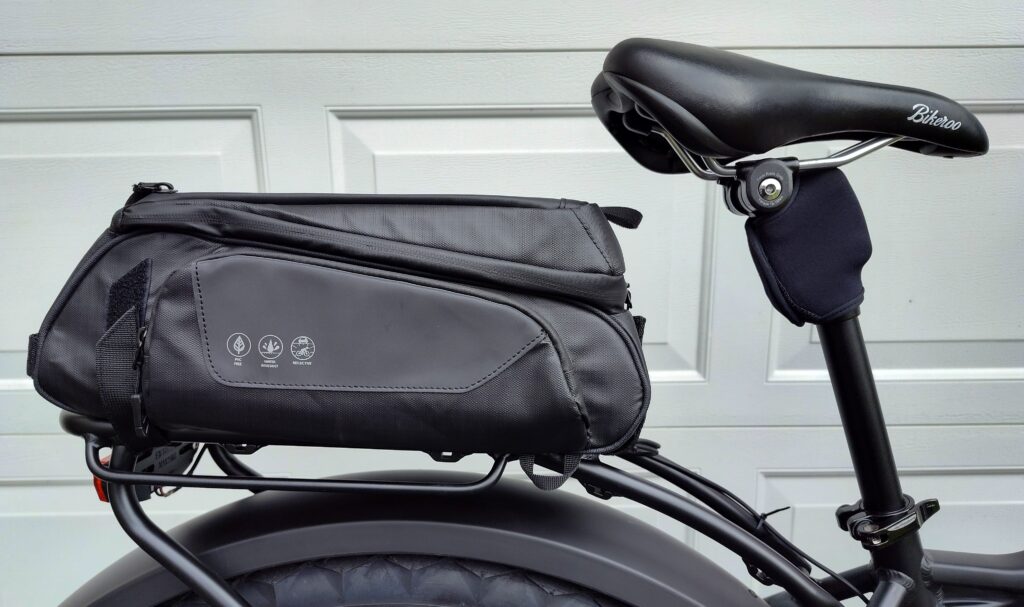
- Rear rack bag ($29)
- Bike Alarm Vibration/Motion Sensor with Remote ($17)
- Juintech M1 hydraulic brakes ($120), plus DP17/SP17 spare pads ($7/set)
As you can see by my list of add-ons, I’m already a little over $1400 invested in this project. Comparing that to my DIY fat-tire e-bike where I had well over $1500 invested, I’d say I’m money ahead if the Cruiser is as good as I hope it will be.
Stay tuned for the unpacking, assembly, and first ride update to this post. The bike will arrive sometime in April so check back here late April or early May for my Cruiser update.
** Update **
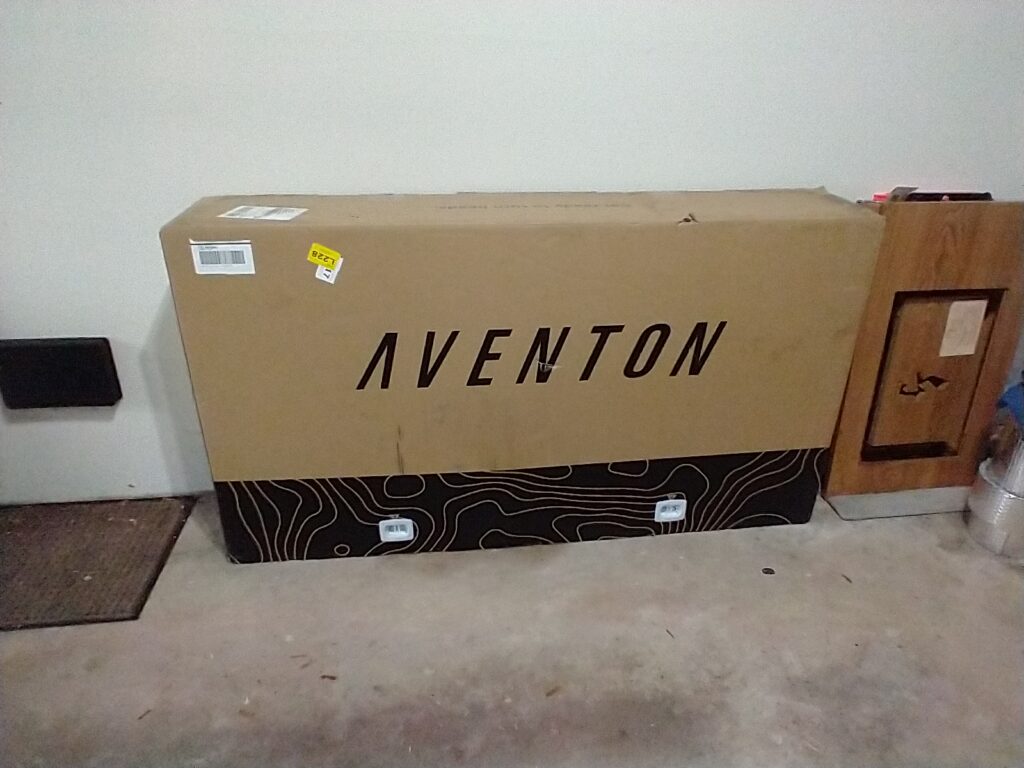
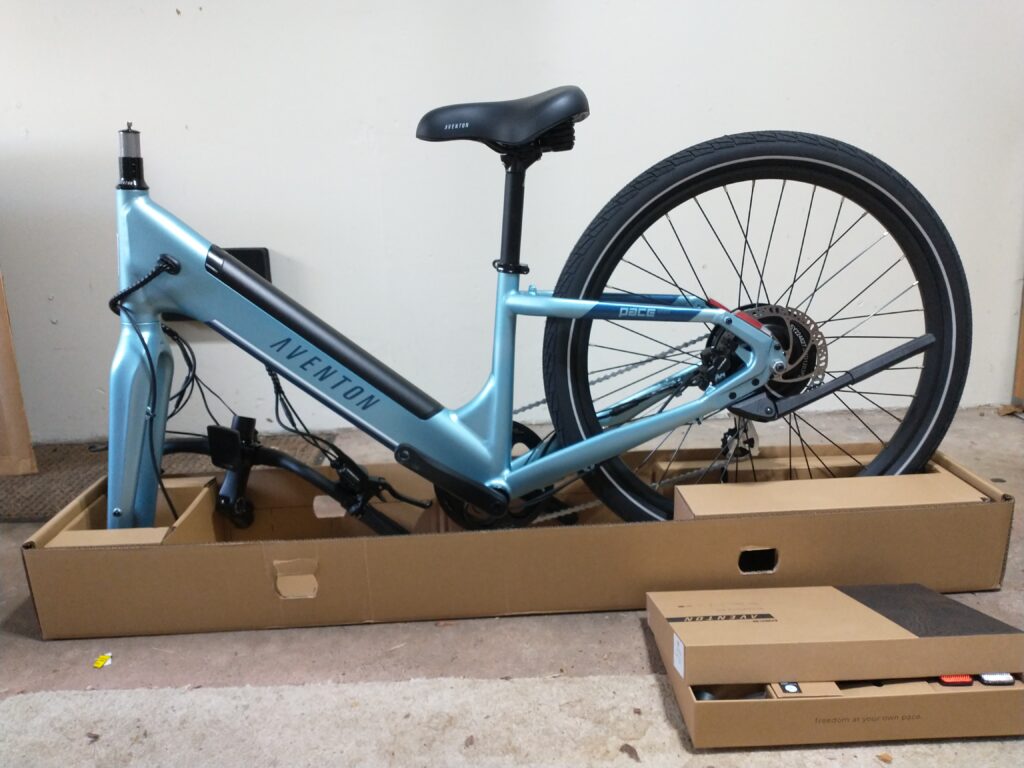
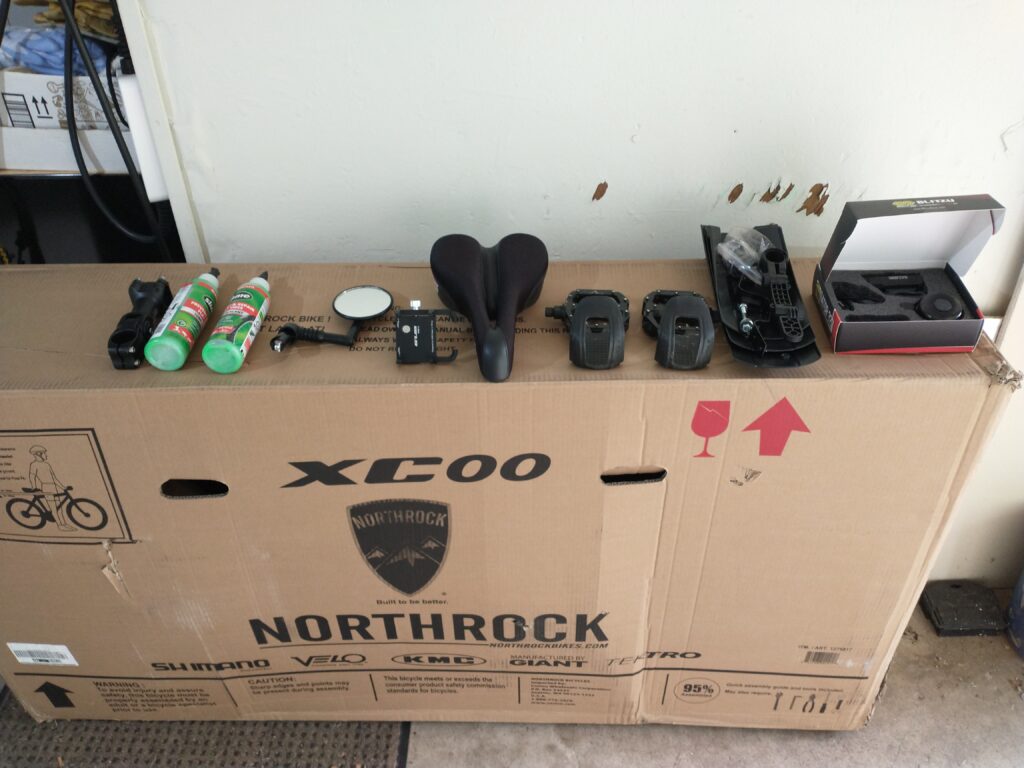
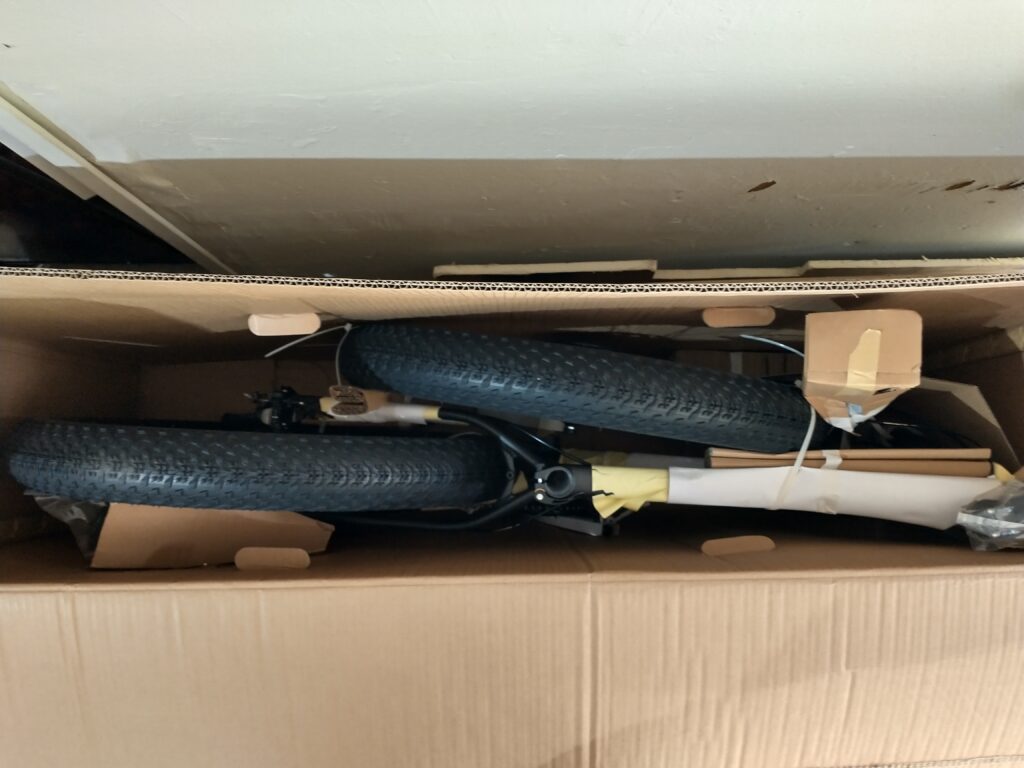
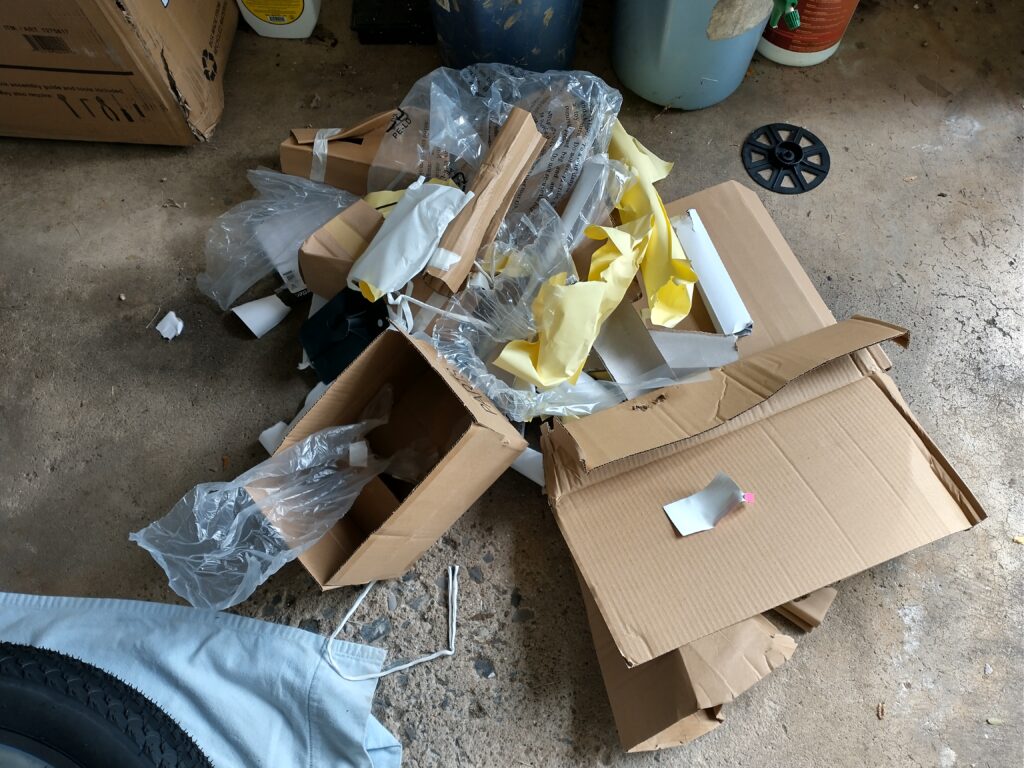
It’s April 4 and my bike has arrived! Here’s what’s in the (very heavy) box:
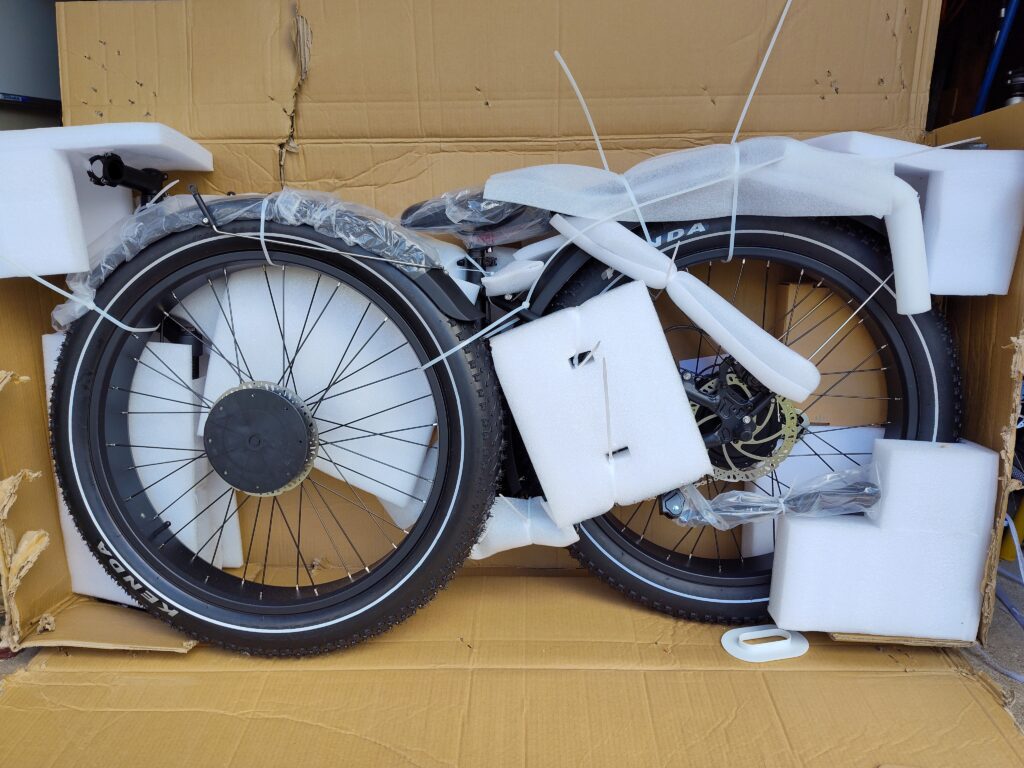
Everything was well padded and with no scratches or dents. Kudos to Himiway for an excellent packing job!
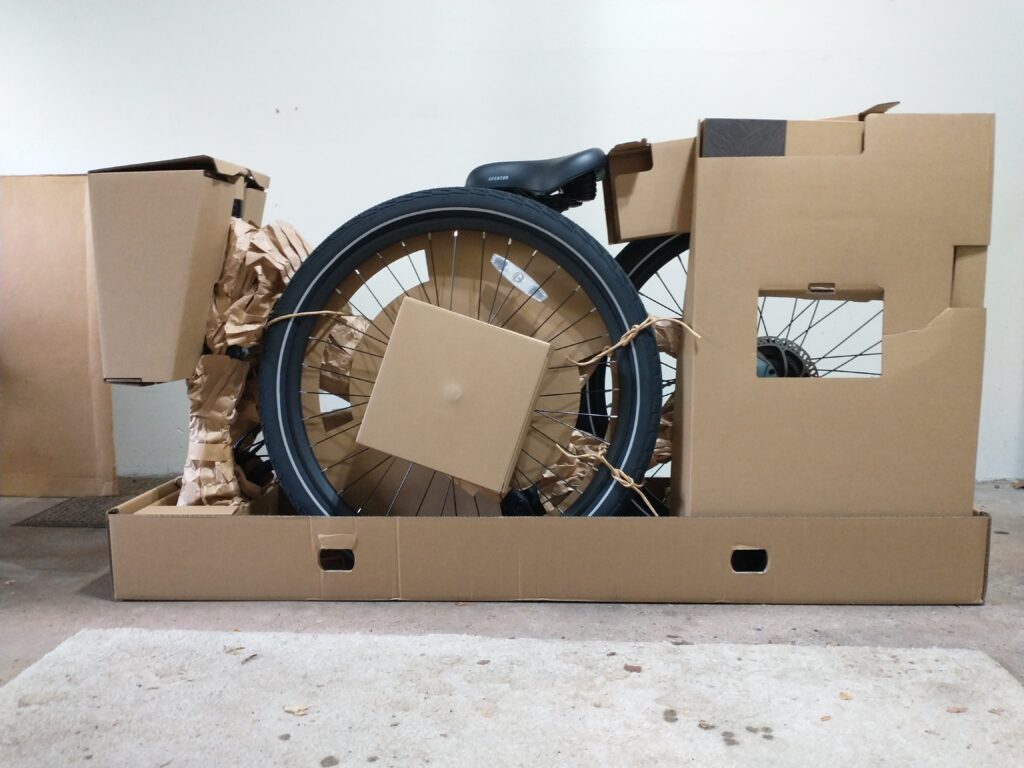
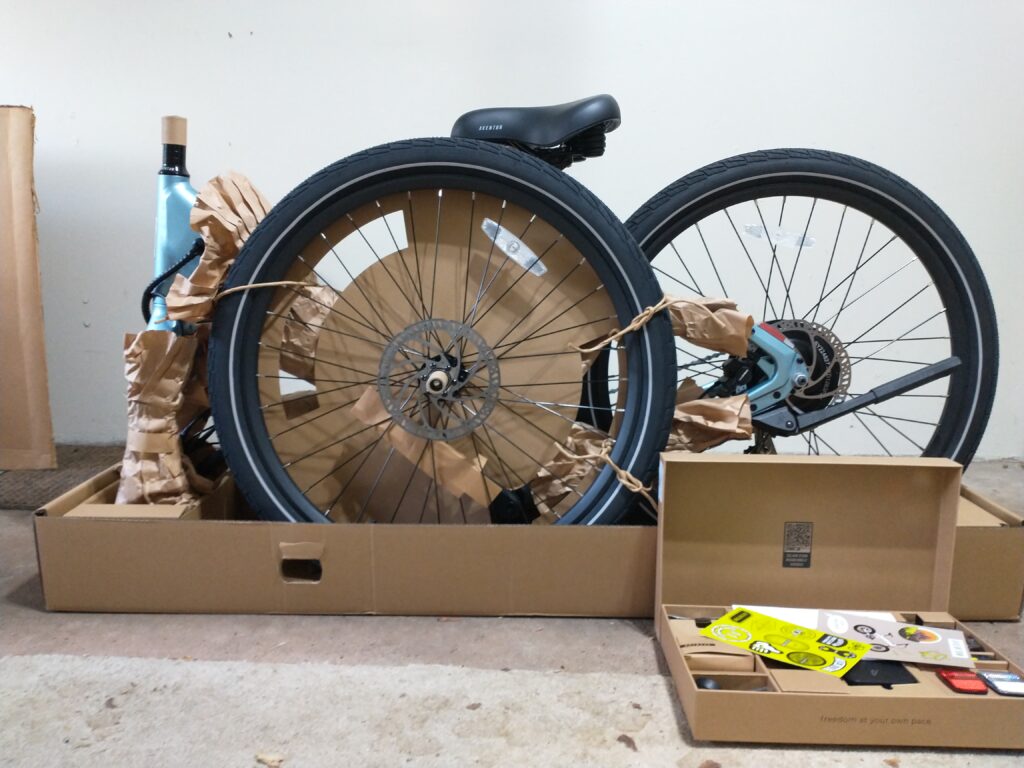
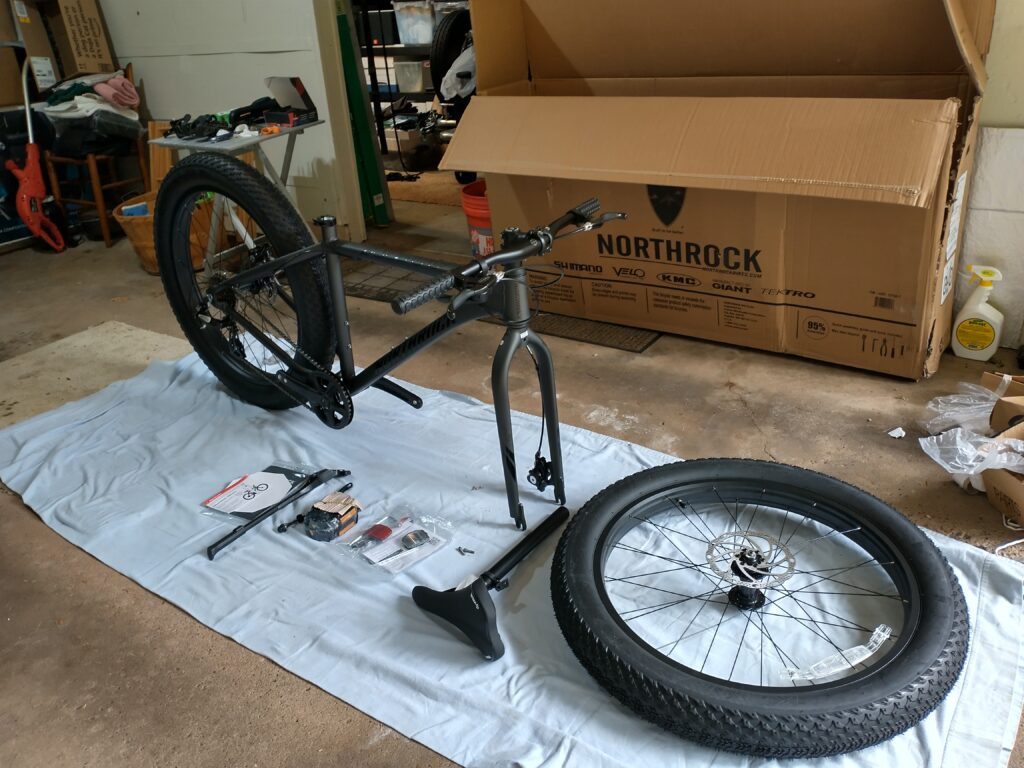
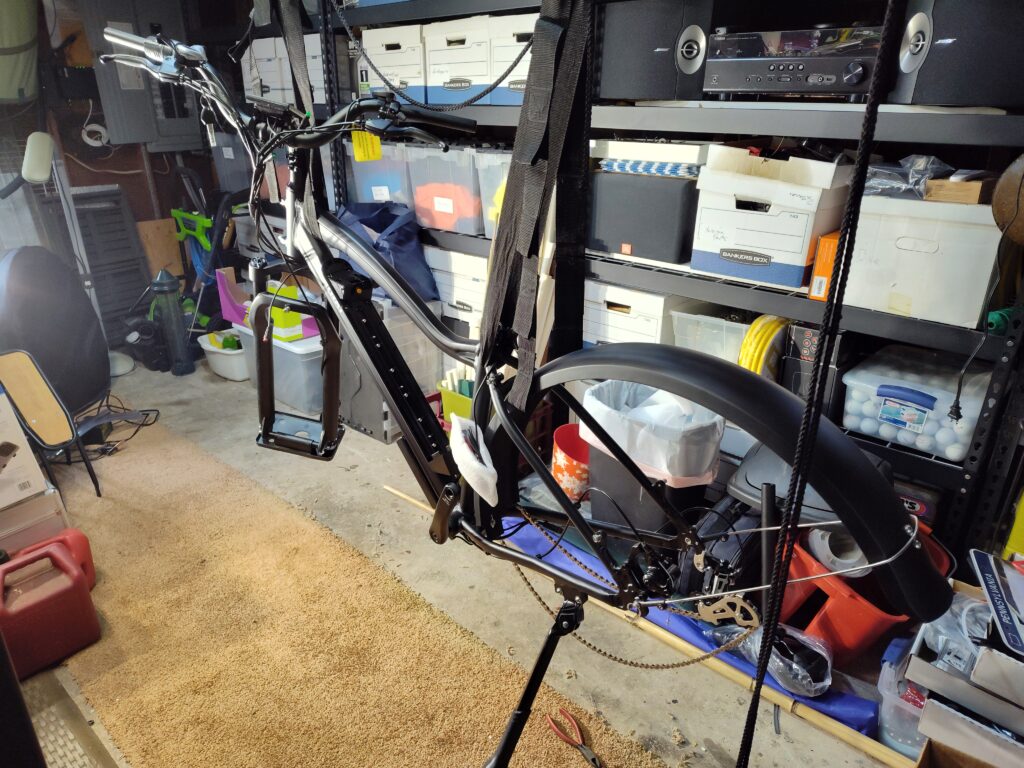
And here’s the bike as I start building it up:
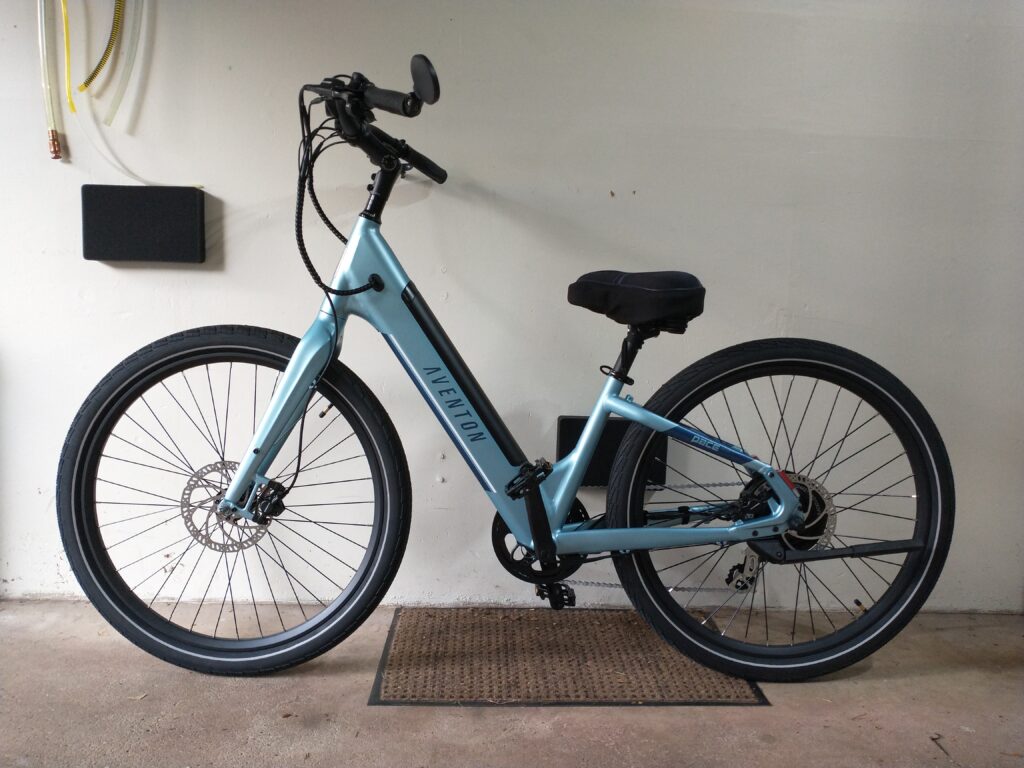
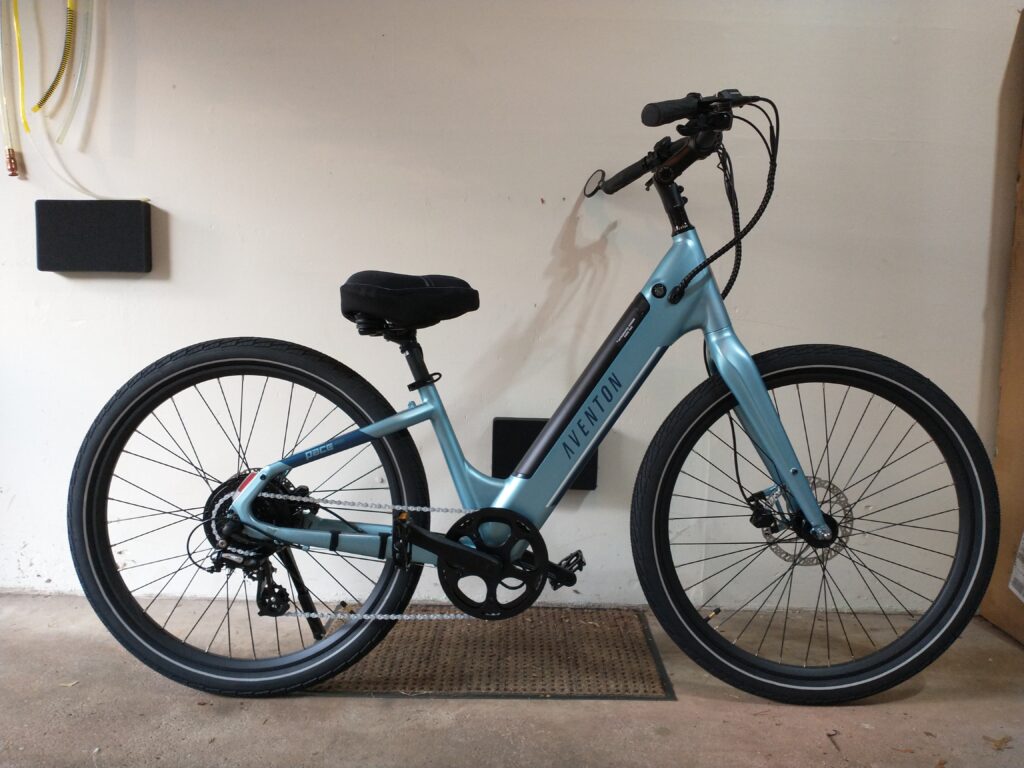
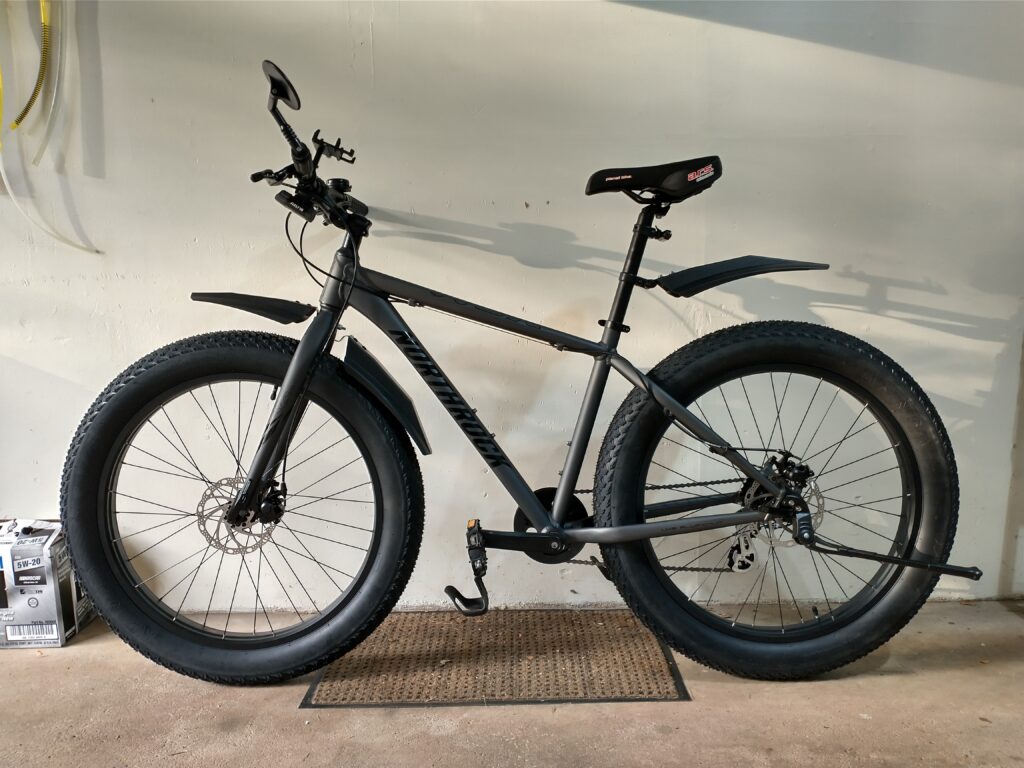
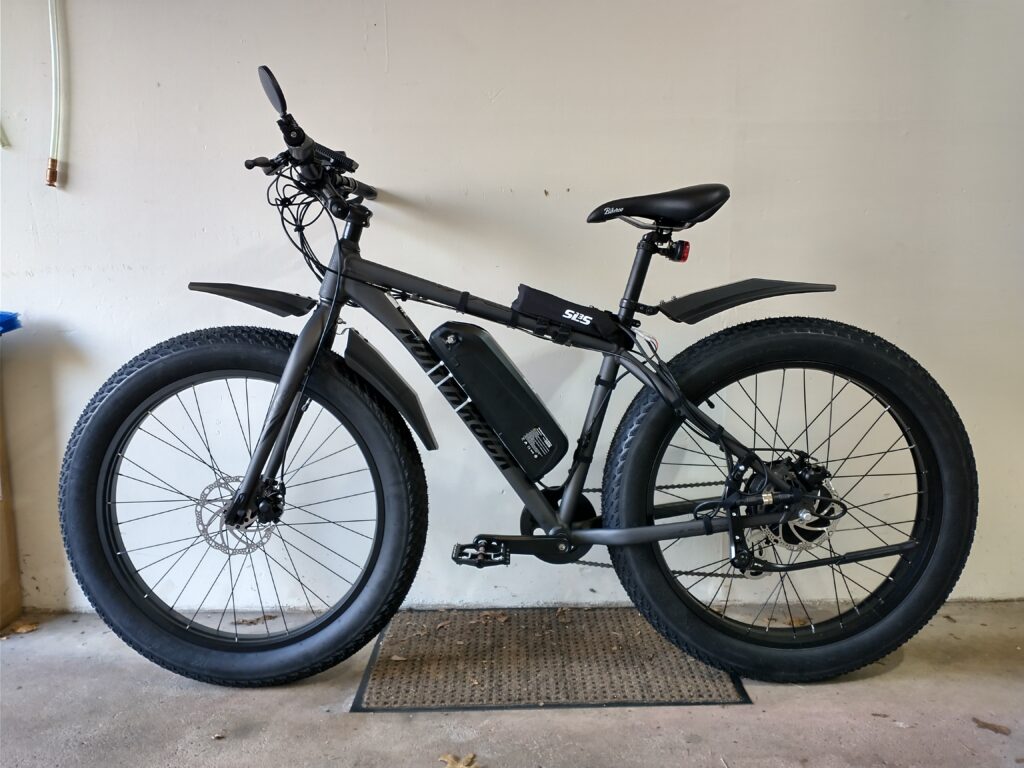
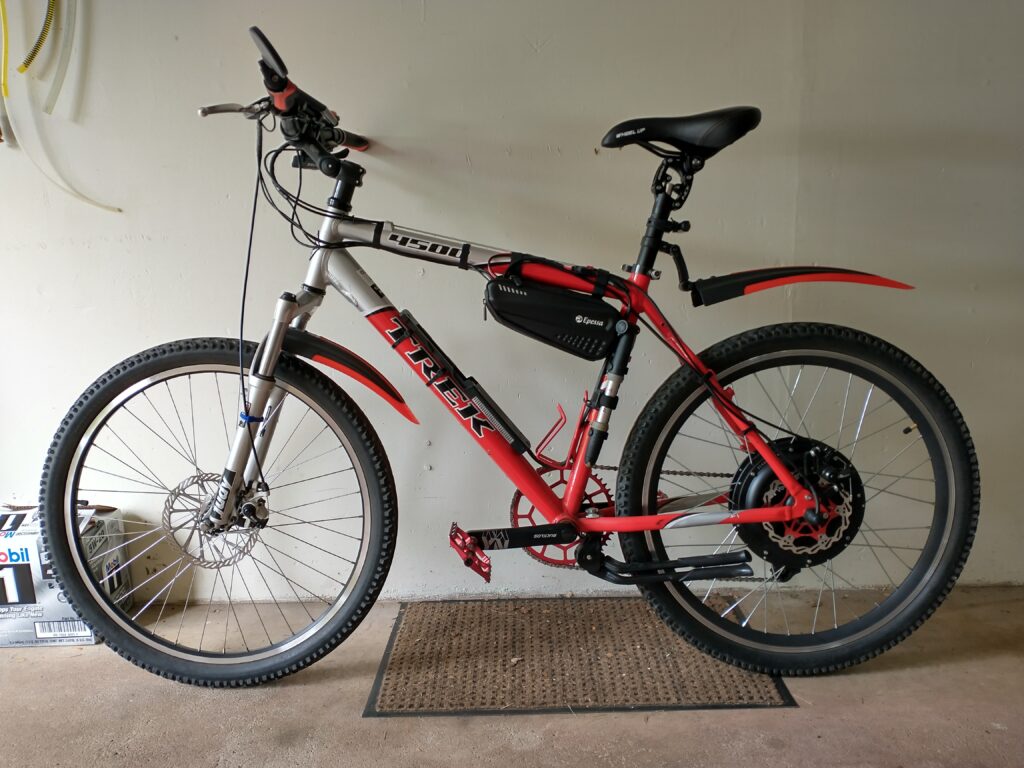
I finished assembling the bike with add-on parts listed above. Here are two pictures of the final build:
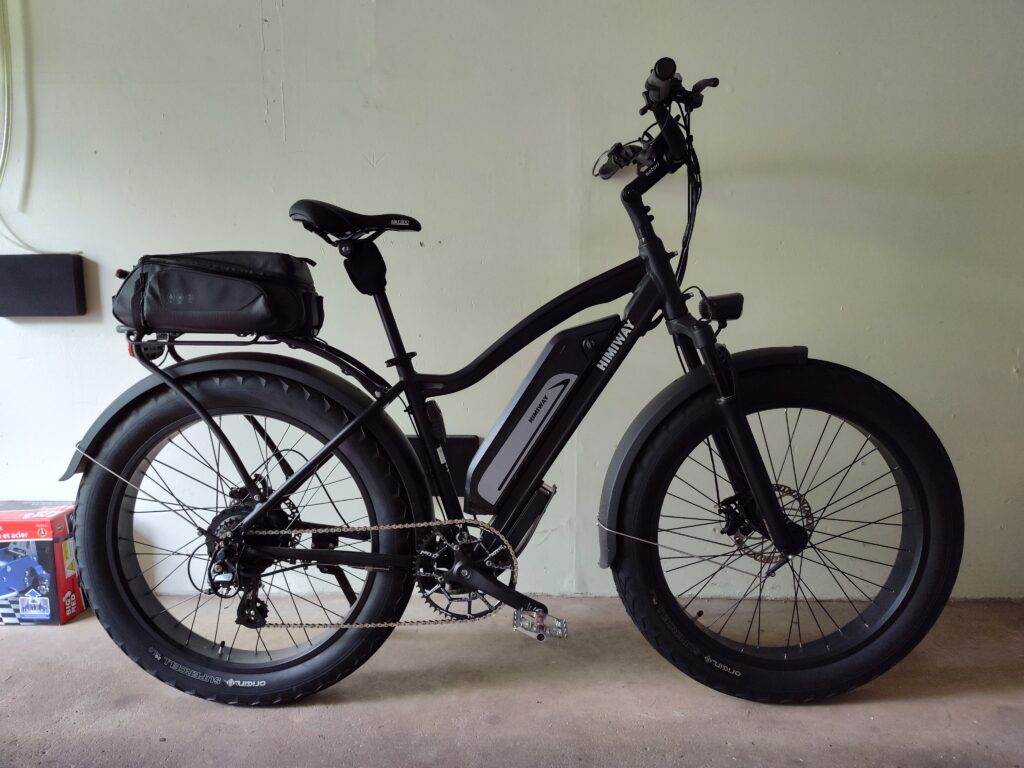
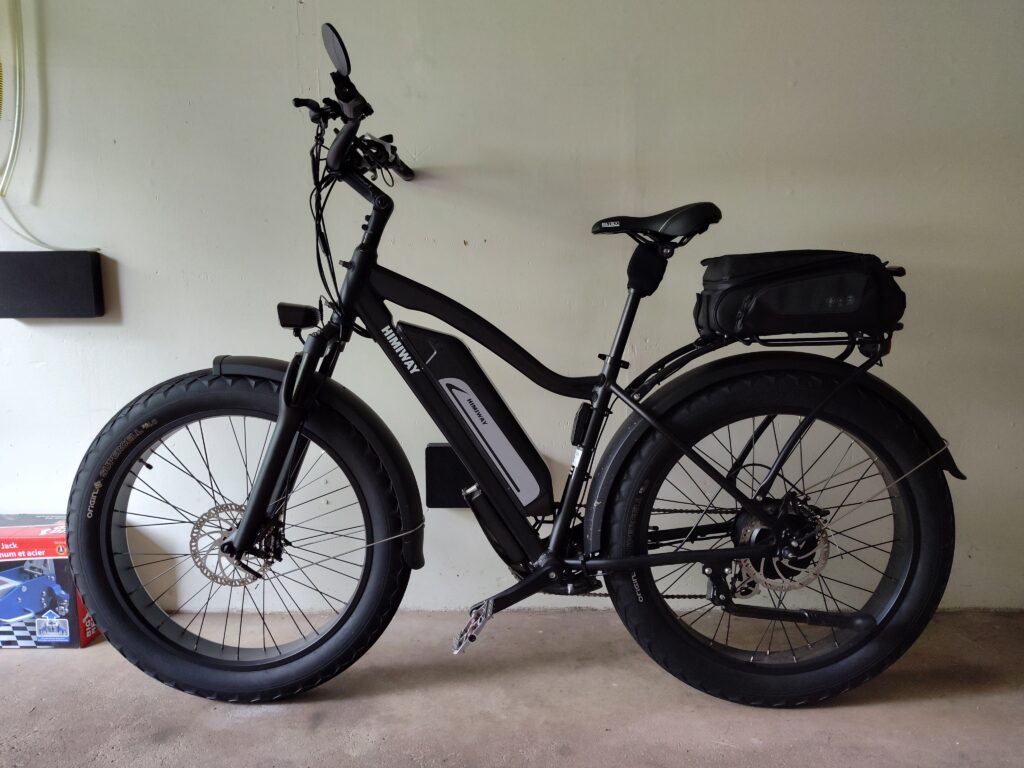
Aftermarket mods:
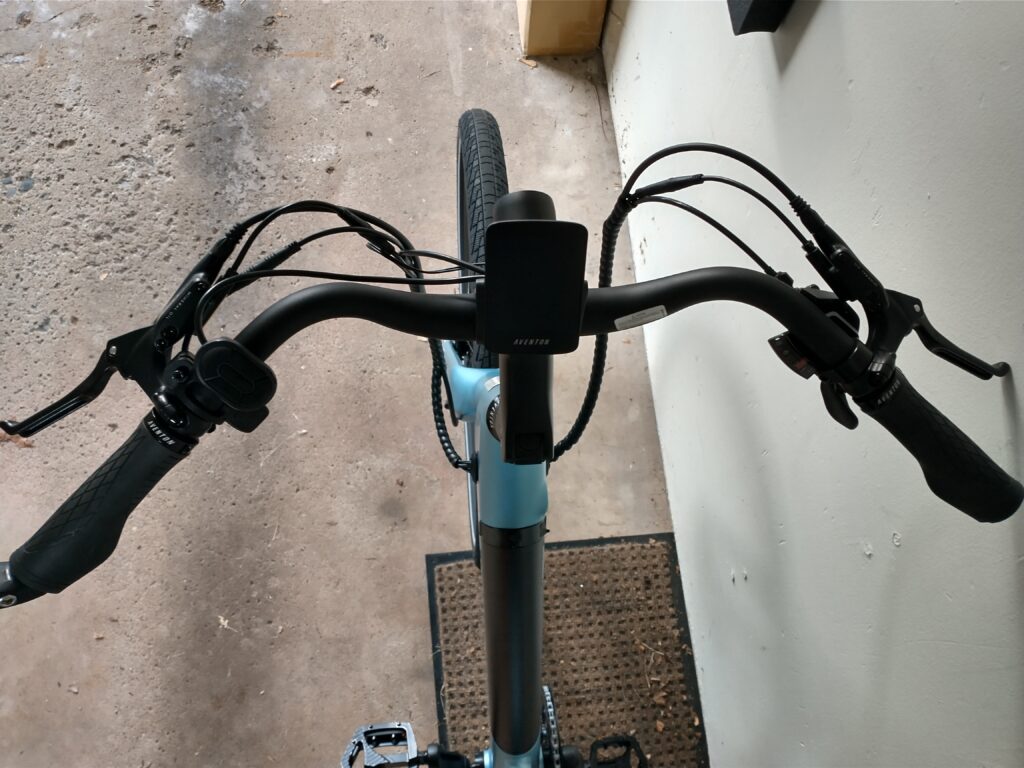
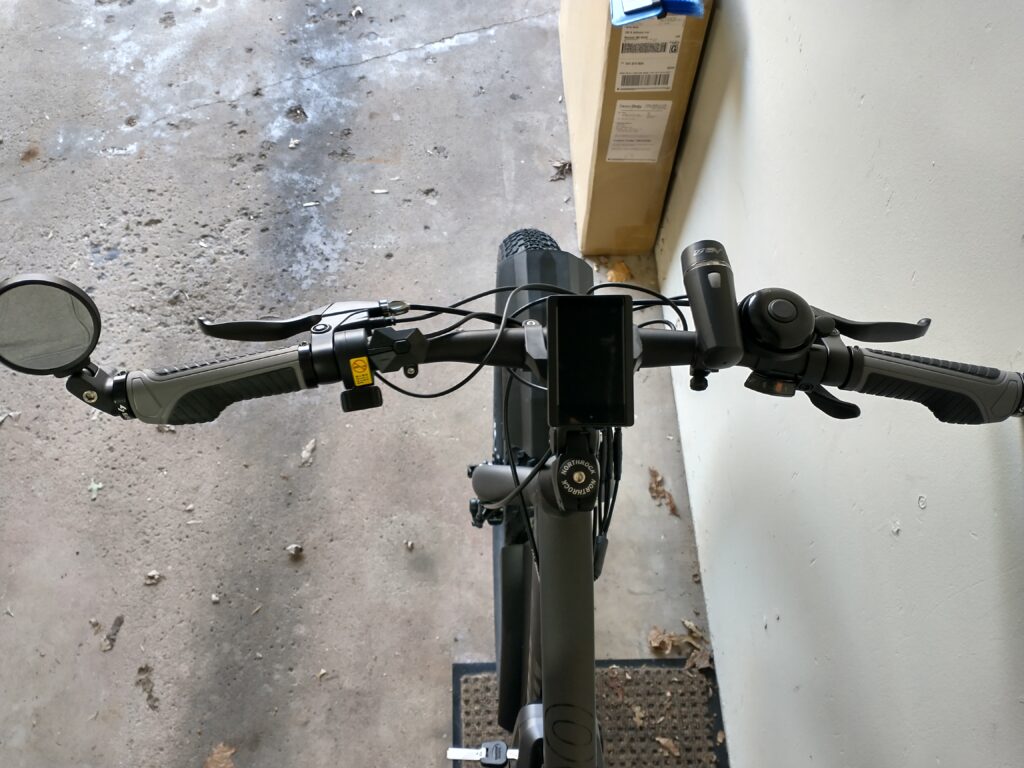
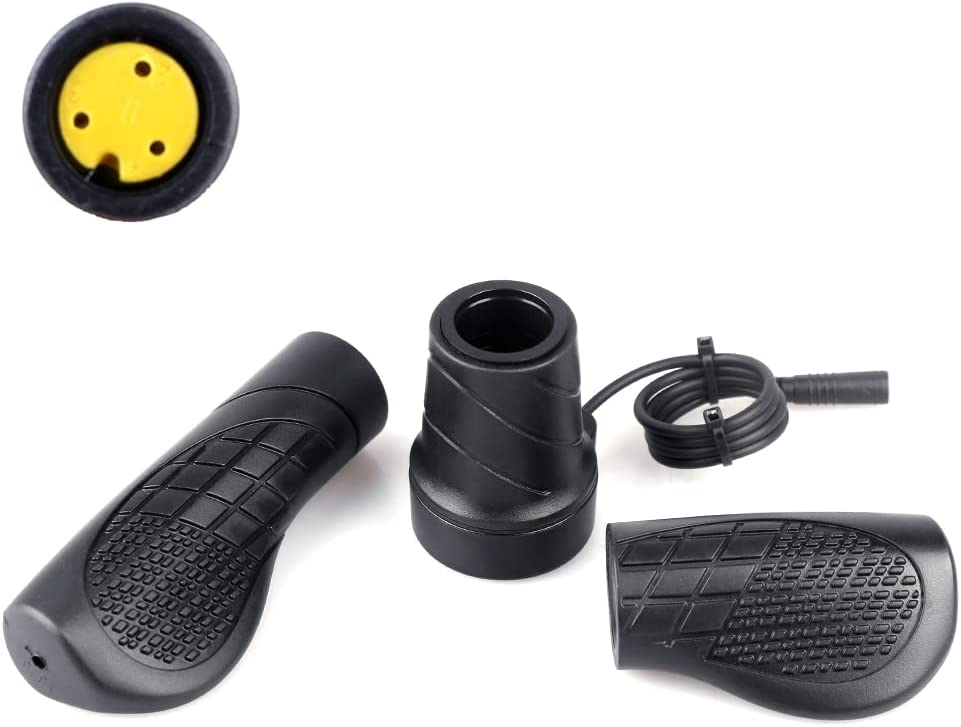
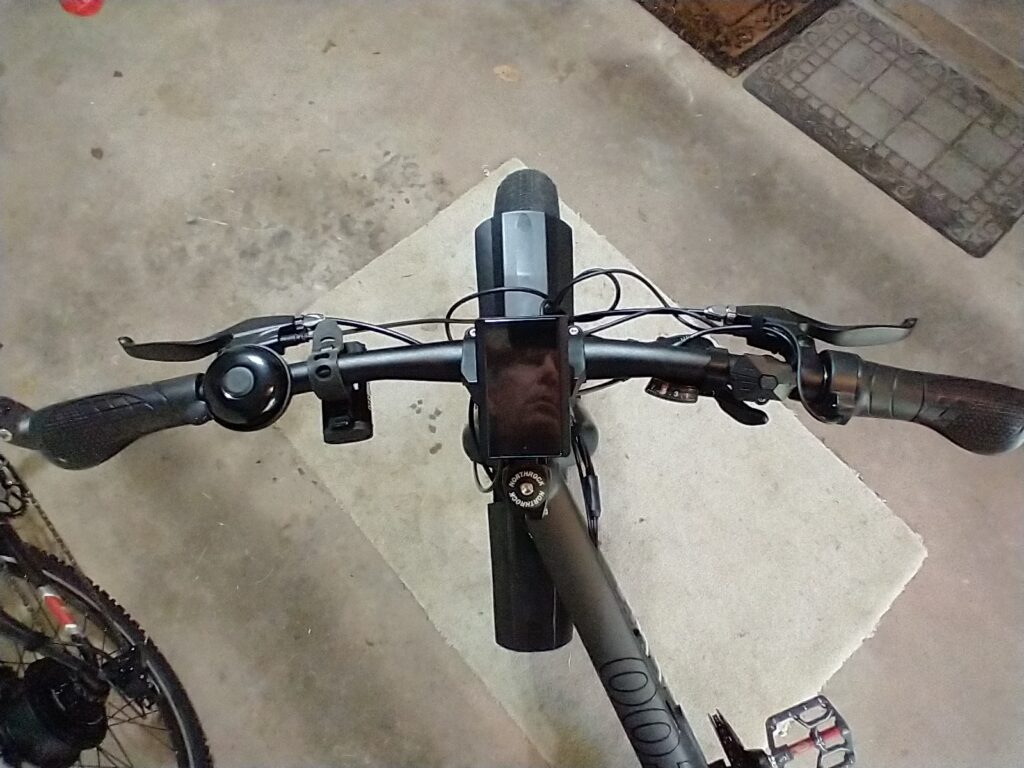
Handlebar, right side – grip throttle replaced with thumb throttle, plus new grip
Handlebar, left side – grip replaced, bar-end mirror added
Adjustable handlebar stem replaces fixed stem
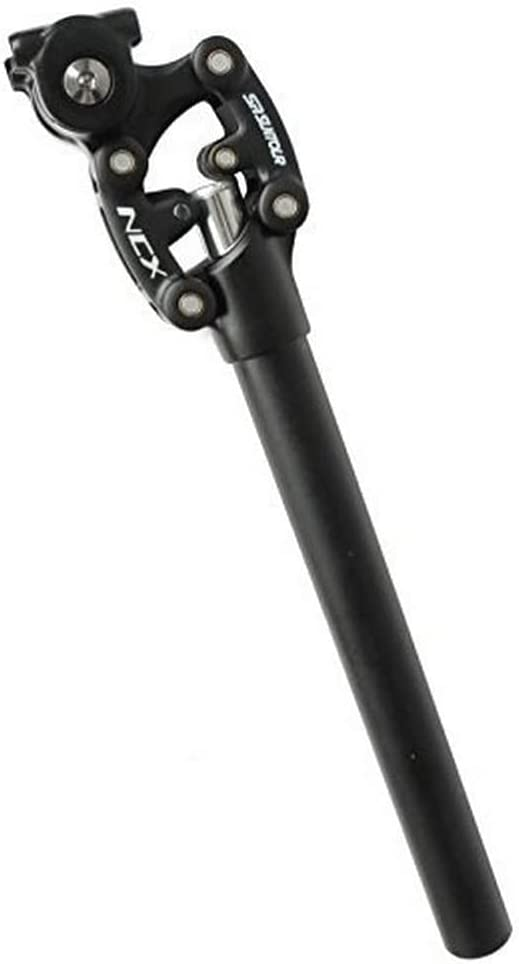
Rack bag, suspension seat post and more comfortable seat installed
Larger chainring and 3-bearing MTB pedals installed – this also shows the Origin 8 tread pattern
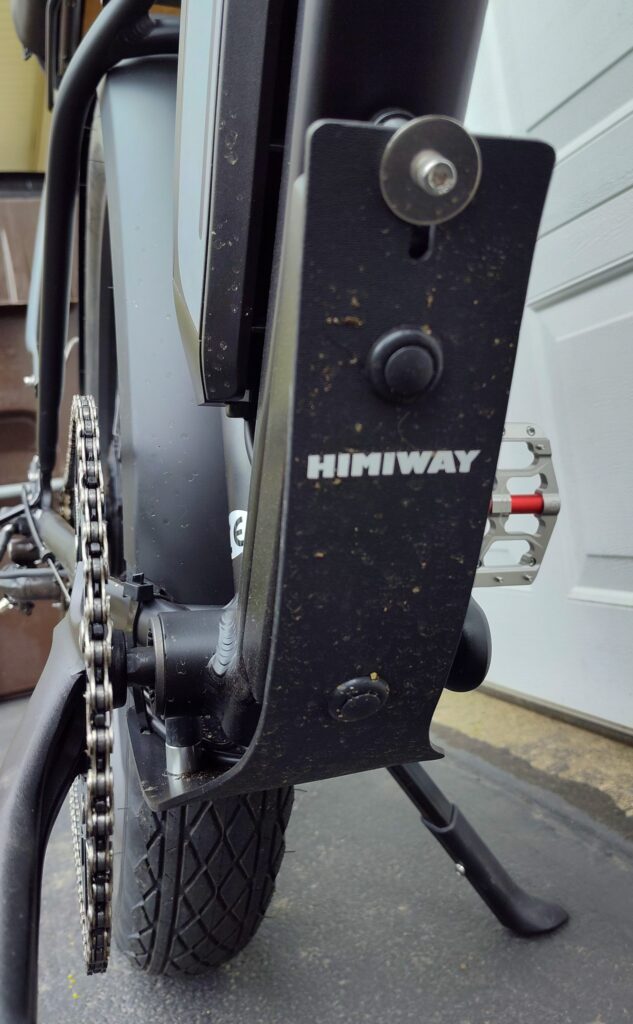
Skid plate/mud guard installed
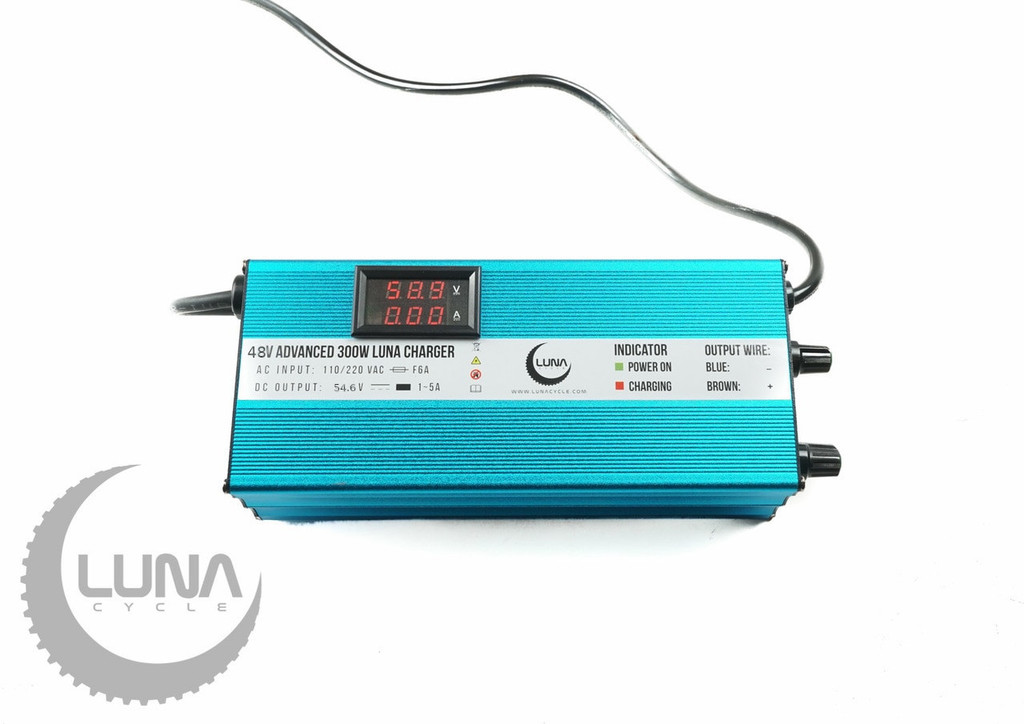
After riding 50 miles in the last few days, I wouldn’t change a thing. As mentioned in previous posts, all e-bike owners should consider buying a Luna 300w charger which allows you to control charging amps and percent charge. I charge my e-bike batteries to 80% for 6 or so charges, then to 100% (before a longer ride) to rebalance the cells. The Luna charger is a must if you’re concerned about battery longevity.

** update **
I just got back from another long-ish ride and although I really like riding this e-bike the way it’s currently configured, I think it’s still too ‘technical’ for many riders. Let me explain:
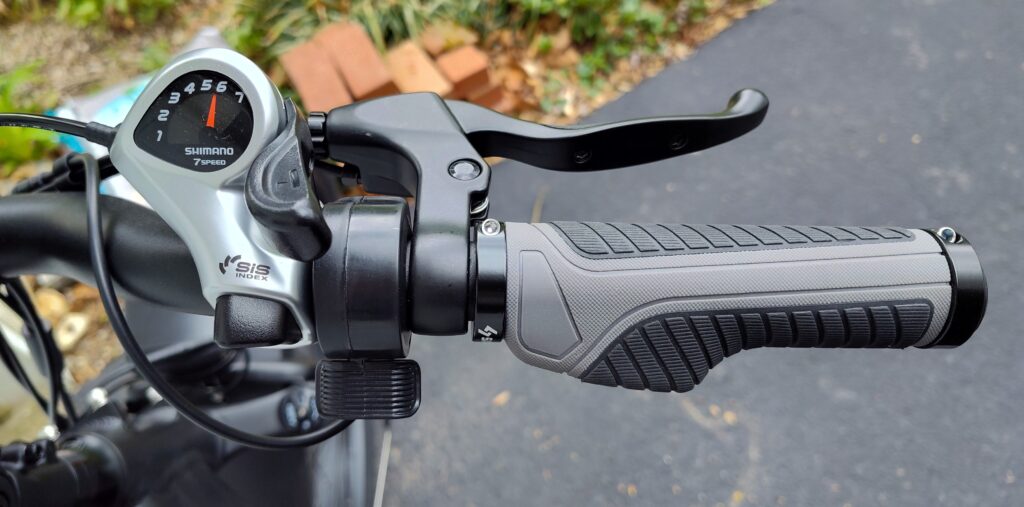
First, this e-bike has cadence, not torque, sensing. What this means is that as soon as you start pedaling, the amount of power you have set in the ‘PAS’ (pedal assist) setting is delivered to the motor. This ‘feature’ requires that you need to always be aware of your latest PAS setting when coming to a stop, or when navigating around an object (like a walker on the bike trail, etc.). If you don’t pay attention to this, you’re in for a rude awakening when you start pedaling again. With torque sensing, this is not such a big problem since the power will be delivered smoothly, and relative to the amount of effort you start putting into the pedals. Not so with cadence sensing which delivers all the power right away.
With all this in mind, I still find myself over-thinking my bike’s power delivery in each situation I encounter. Should I start out with just the throttle because I’m in a high PAS setting – yup. When I come to stop, should I knock down the PAS levels in anticipation of my next start-up – probably. It gets technical, but once you know what you must always do and keep your wits about you, things go smoothly. Forget to pay attention and you can get into trouble quickly.
My motto having put some miles on this e-bike is “when in doubt, use the throttle only and do not pedal when starting out.” This will provide a lot more control on startup, then pedal once you’re at speed and know what PAS level is appropriate for the conditions.
** update **
Ok, this is my last upgrade, I promise! I was watching a YouTube video where Kyle is describing how easy it is to install the Juintech M1 hydraulic calipers. And although the mechanical disc brakes on the Himiway Cruiser aren’t too shabby, there are a couple reasons why this upgrade makes sense. First, better stopping power without having to replace your brake levers or cables. And second, better pad wear and pad contact with the brake rotor.
For $115, which is Kyle’s discounted price at the time I’m writing this, this is a really nice upgrade to an already pretty great e-bike. Here’s an image from Kyle’s website of the brake itself. Once installed, I’ll provide before and after pictures as well.
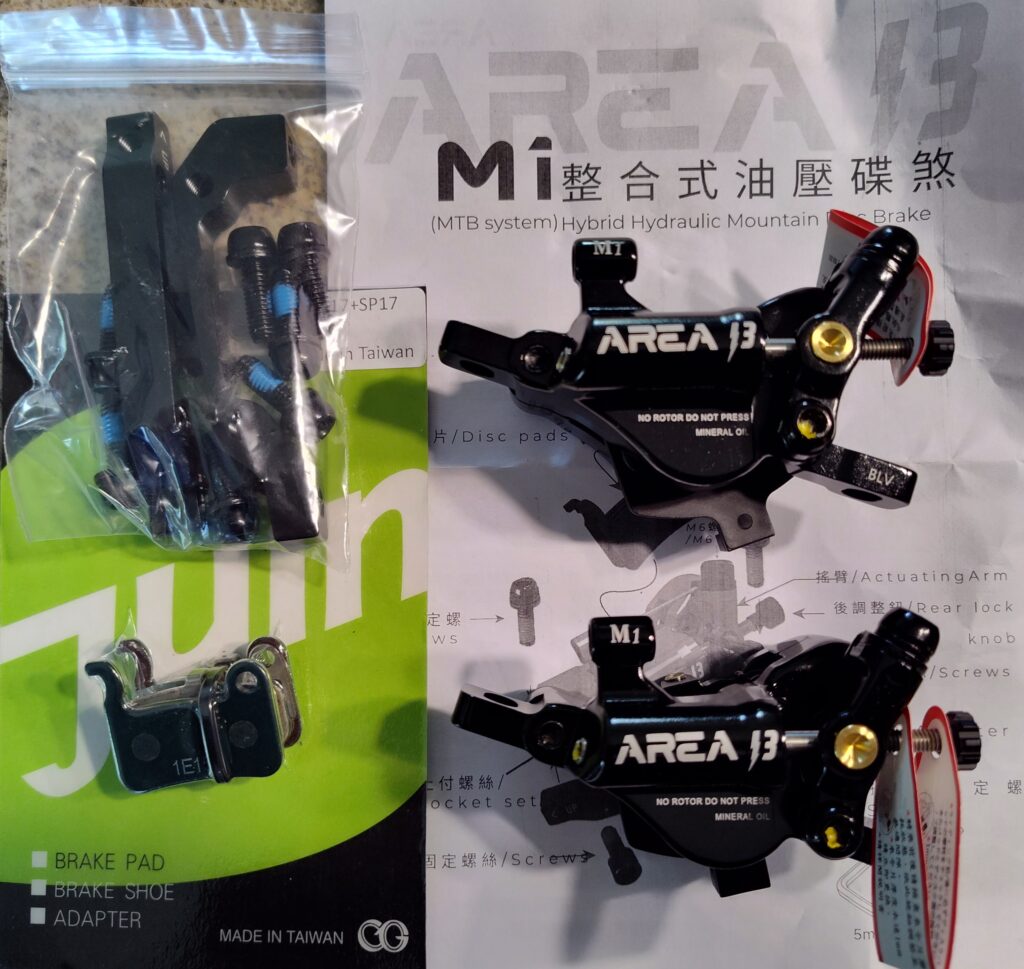
In addition to what comes in the kit from Area 13, I ordered an additional set of DP17/SP17 pads for $7, which is a good price for these pads…
** update **
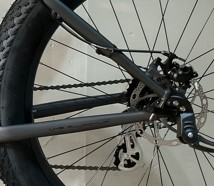
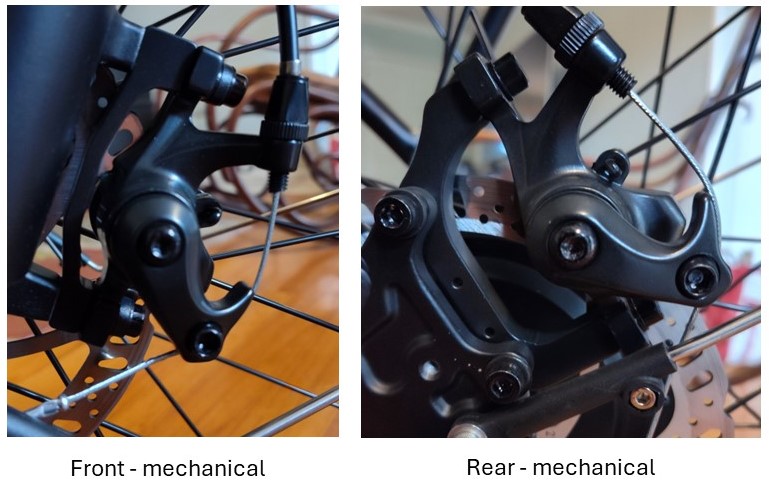
As promised, here are the before an after photos for the most recent brake upgrade. I have yet to test-ride these new brakes, so I can’t say yet how much these improve things in the braking department…
Before
After
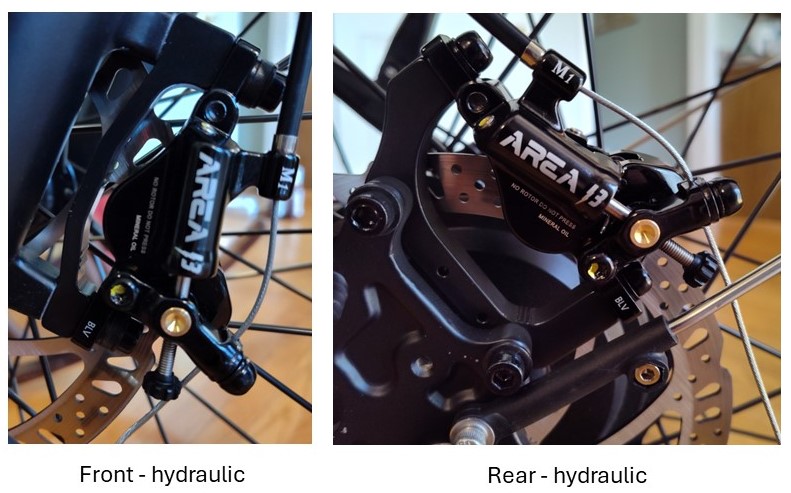
I used the stand-off hardware that came with the bike, not the ones provided in the new brake kit. Also, the front bolts need to be longer than the ones provided in the kit, so I reused the original bolts and washers for the front assembly. Otherwise, this appears to be a really nice brake caliper upgrade. I’ll let you know if I feel differently about that after my first test ride…
** update **
I love these new brakes! This upgrade is strongly recommended for your Cruiser. And having just ordered another set for a Northrock build I’m working on, this is where I found the best price (as of Sept. 2024) – link.
** update **
While I really liked my 3-bearing pedals, I found the outer edges and anti-skid nails to be too sharp and I was losing a lot of skin from my right shin to them. Here are the 3-bearing pedals that I’m retiring:
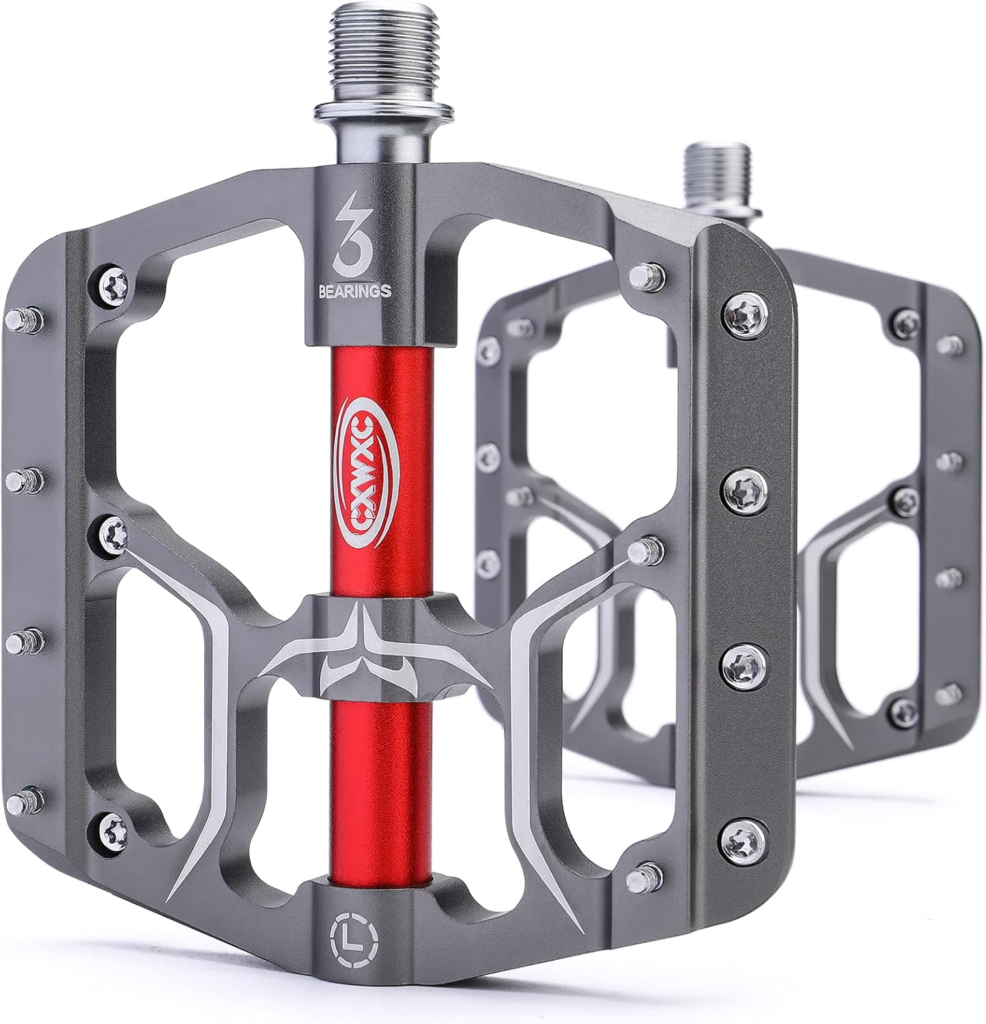
Then I replaced them with these pedals, which I believe will be a whole lot friendlier to my shins (smoother outer edges and smoother, yet still effective anti-skid nails):
** yet another update **
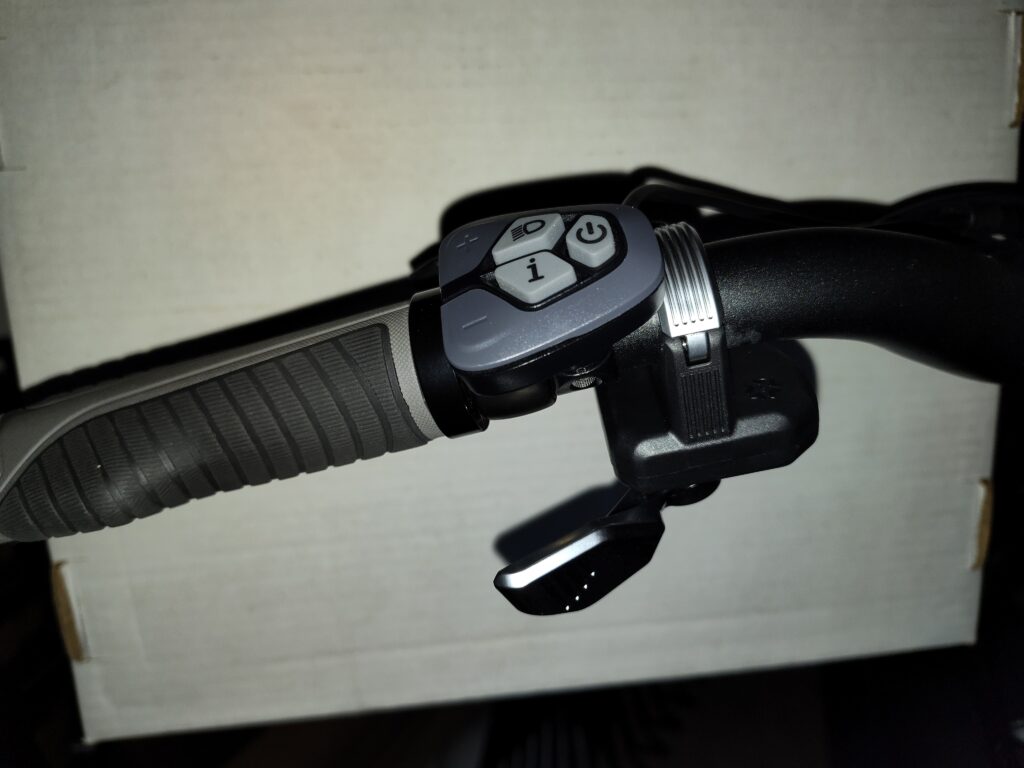
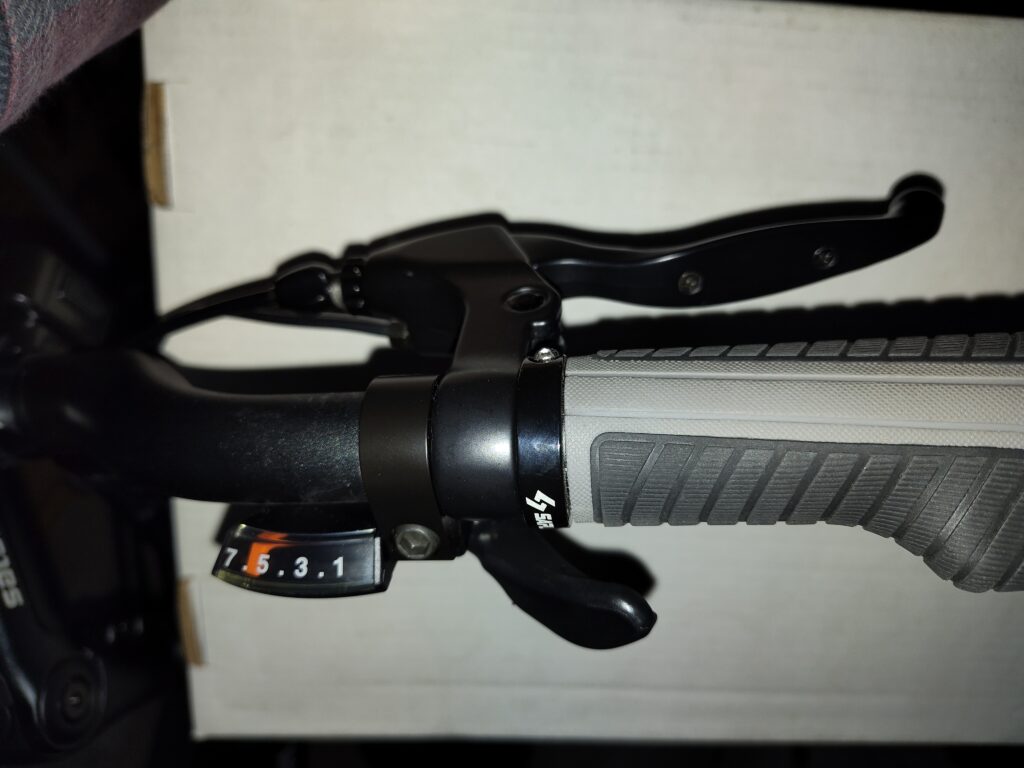
All my ebikes are left-side throttle, except this one – ’til now. Also, since I planned to move the throttle to the left, I now had an opportunity to change the shifter to a Shimano Rapidfire shifter, which I prefer over the stock ‘thumb shifter’. So here are the new parts, and couple images.
EBike 108X-2 Left Thumb Throttle Speed Control – 3 Pin
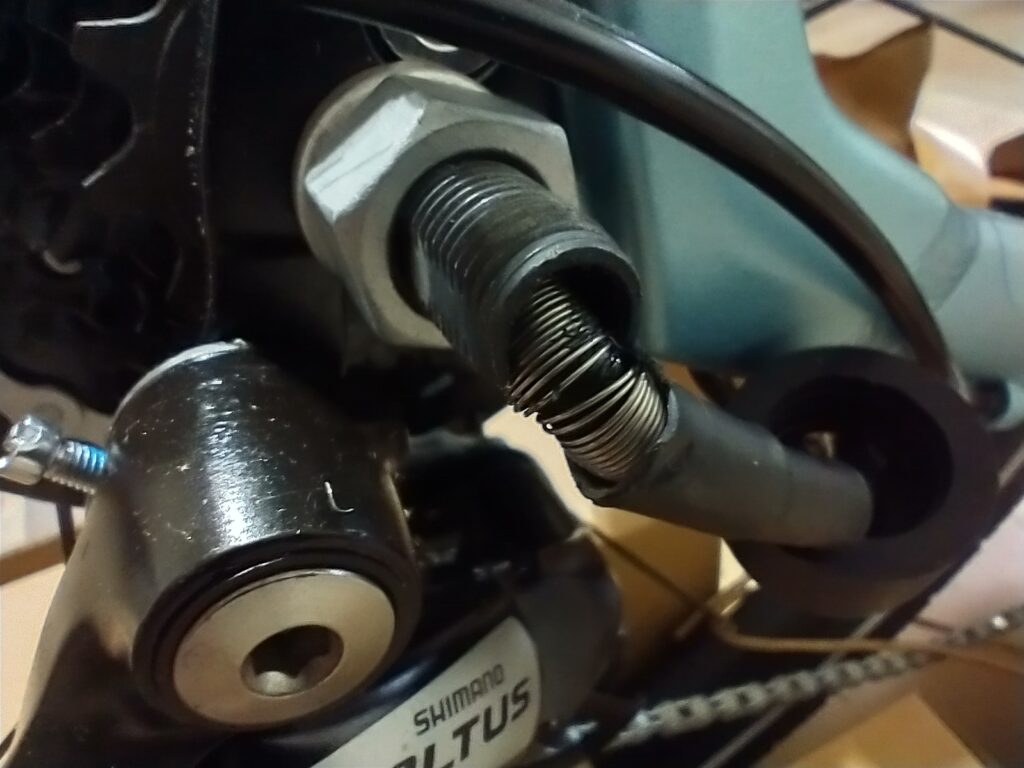
Shimano Altus SL-M315-7R 7-Speed Right Rapidfire Plus Shifter
Now the Cruiser IS perfect – until the next upgrade of course…