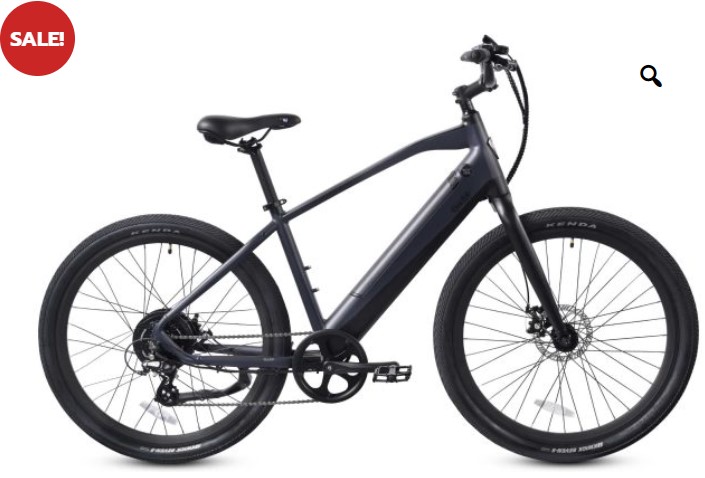
It’s easy to go out and buy a DIY e-bike kit (rear, front, or mid-drive – doesn’t matter for this discussion) and build an e-bike that is truly awesome. I know, I have three now. BUT at some point your amazing DIY e-bike is going to intersect with the reality of e-bike rules and regulations. Right now federal and state laws are somewhat in harmony:
At the federal level, a 2002 law enacted by Congress, HB 727, amended the Consumer Product Safety Commission definition of e-bikes. The law defined a low-speed electric bicycle as “A two- or three-wheeled vehicle with fully operable pedals and an electric motor of less than 750 watts (1 h.p.), whose maximum speed on a paved level surface, when powered solely by such a motor while ridden by an operator who weighs 170 pounds, is less than 20 mph.” The federal law permits e-bikes to be powered by the motor alone (a “throttle-assist” e-bike), or by a combination of motor and human power (a “pedal-assist” e-bike).
At the Pennsylvania state level (2014 Act 154), “Pedalcycle with electric assist.” A vehicle weighing not more than 100 pounds with two or three wheels more than 11 inches in diameter, manufactured or assembled with an electric motor system rated at not more than 750 watts and equipped with operable pedals and capable of a speed not more than 20 miles per hour on a level surface when powered by the motor source only.
See also: The PENNSYLVANIA E-BIKE LAW handout
In addition, e-bikes “do not require a certificate of inspection or insurance” and “are afforded ALL of the rights and responsibilities of other bicycles under PA law”.
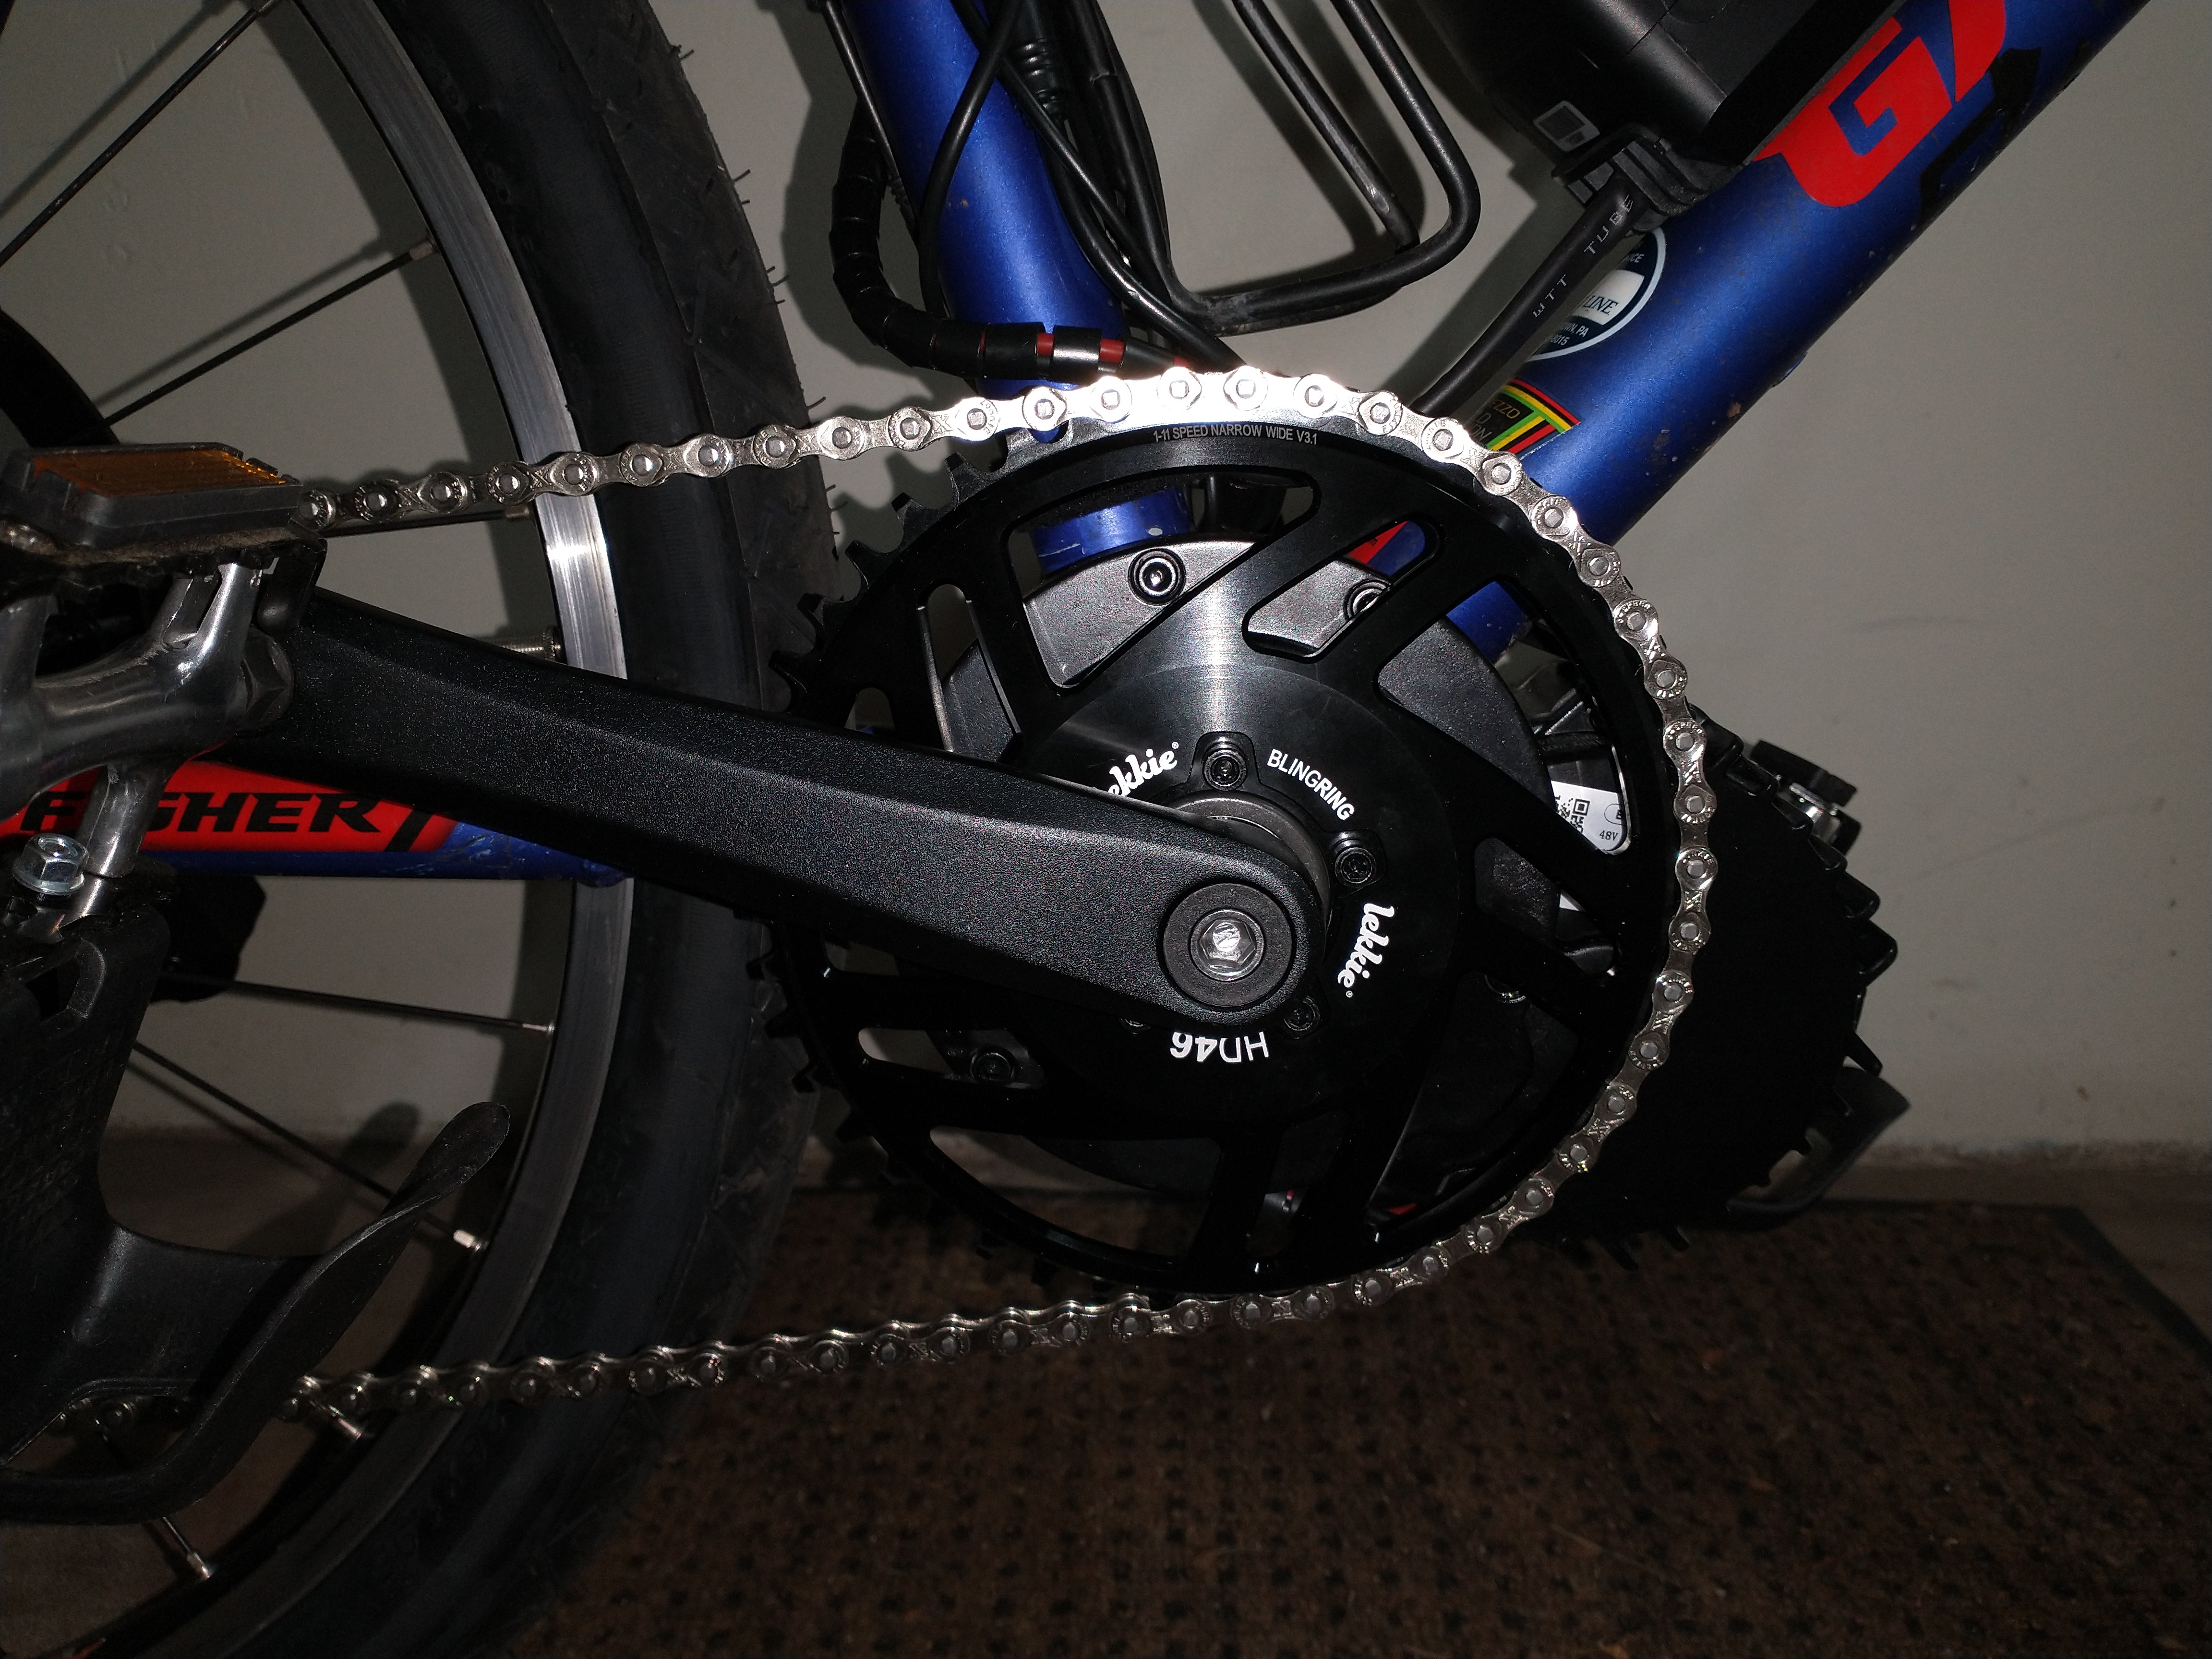
Well, isn’t that just perfect? I just built (hypothetically speaking of course) a 48v 1000w throttle-only e-bike without pedal assist. Yes, it’s possible and quite simple to do. Where do I fall under federal and Pennsylvania law, and should I care? The answers are, you don’t and yes (you should care)! If and when municipalities catch up with the e-bike craze, there will be consequences. The law is clear and you’ll likely be operating somewhere outside your legal protections. You have been warned…
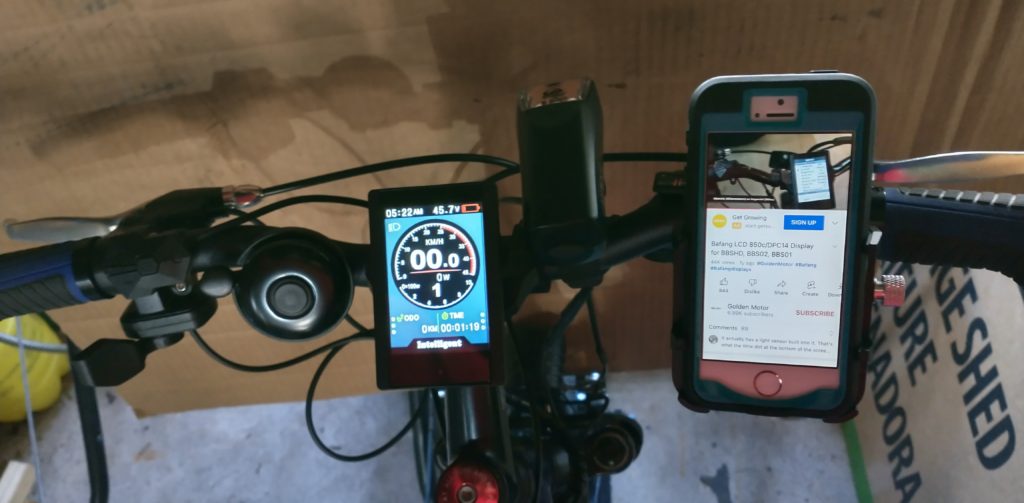
SO, what to do? For starters, most DIY e-bike kits have a configurable display that allows you to set how much power you’re sending to the motor, and the maximum speed provided by the motor alone. Now that you know the law, use the settings that are deemed legal in the place you are riding. This still might not be enough, but it’s a good start. In places where e-bikes are inspected and registered – not in PA yet – this likely will not be sufficient.
Better is to start out with a ‘legal’ kit. I’m just starting to do research in this area, but these two kits would likely be good options (batteries not included – where have I heard that before?):
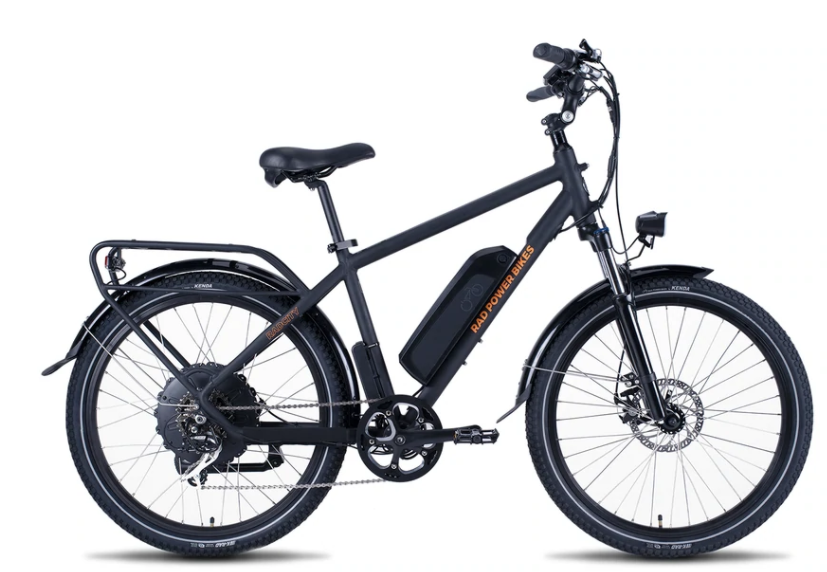
Rear-drive: Bafang Rear Wheel 500W 48V Hub Motor Electric Bike Conversion Kit for 26″ Rear Wheel ($387)
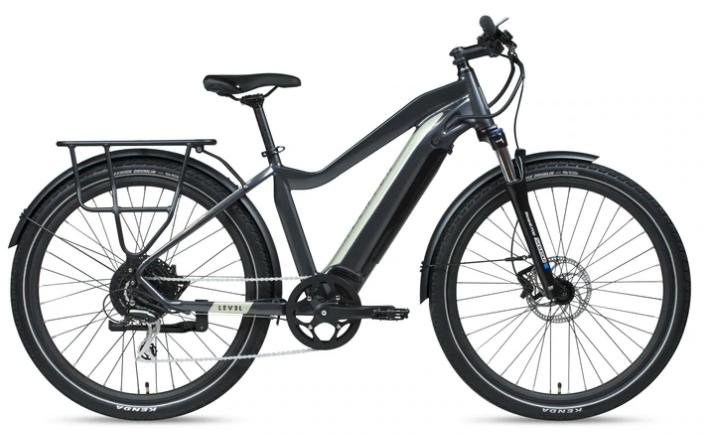
Mid-drive: Bafang BBS02 mid drive motor 750w ($480)
For the moment, here are some of your local bicycle regulations (nothing about e-bikes yet):
- You shall not ride on the sidewalk (this is inconsistent with state law)
- You shall not ride in a public place without a bell that can be heard for at least 100 feet
- You shall not ride with both hands off the handlebars
- Anyone in violation of these regulations may be fined $300 and/or go to jail for <90 days (reminds me of an Arlo Guthrie song) [“What were you arrested for, kid? And I said, “Littering.”] classic!
I’m only mentioning these regulations because I think we have a long way to go before e-bike regulations catch up with today’s reality.
Ride safe and ride legally…
Another good reference on what e-bike laws should look like from PeopleForBike.org is their Model Electric Bicycle Law. And my notes for the February 15 meeting with the Doylestown Community Hike/Bike Committee can be found here.
**update**
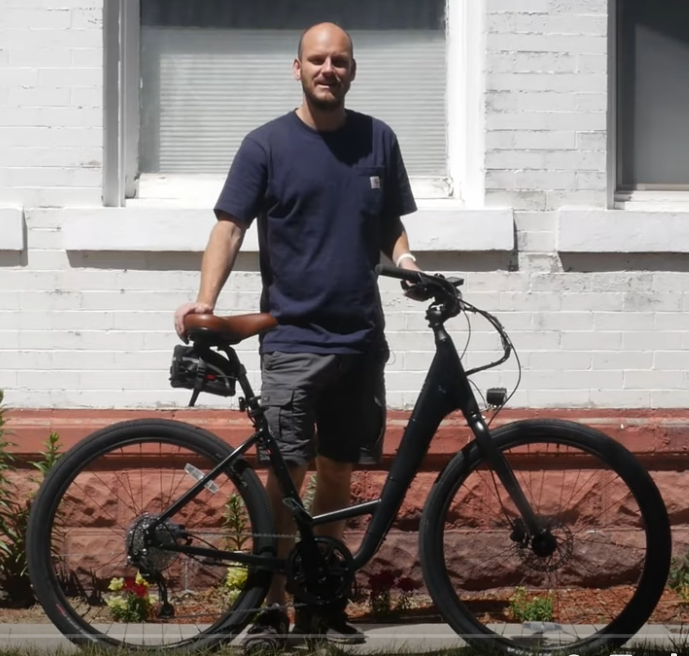
I met with the Hike/Bike Committee this morning. They understand the need to begin addressing electric bicycles, as well as other electric-assist transportation devices, in the context of multi-user trails in our area. I believe a combination of signage, education, and coordination among the various municipalities associated with our interconnected trail system are needed and will happen as a result of this Committee’s efforts. In this community, we have some time to figure this out. But we can also learn from communities where conflict is already occurring and infrastructure and laws are playing catch-up. I am optimistic, and when confronted with this:
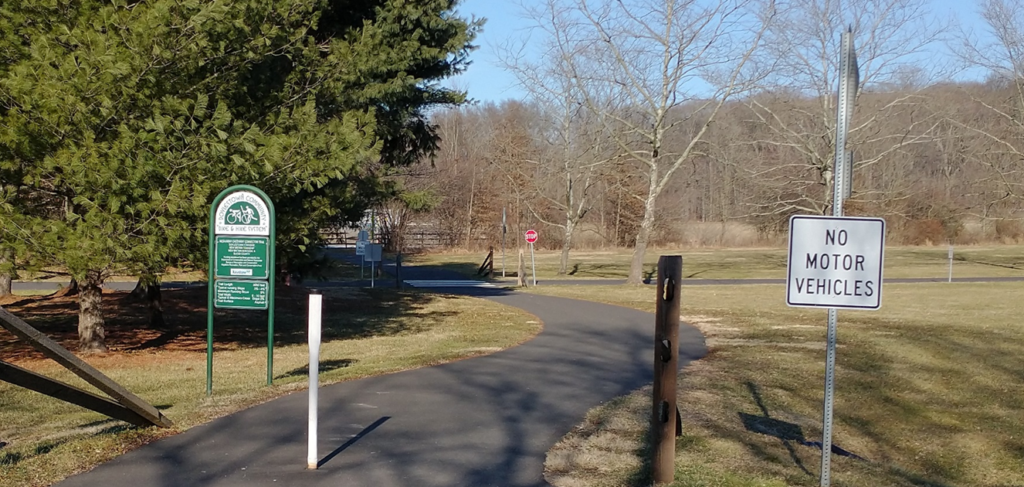
I say “ride on”, have a great day, follow all the same laws your fellow bicycle rider must obey, and you’ll be fine. By being good citizens on our trails, this will never become an issue that requires heavy handed enforcement. Be safe and considerate and it’s all good!