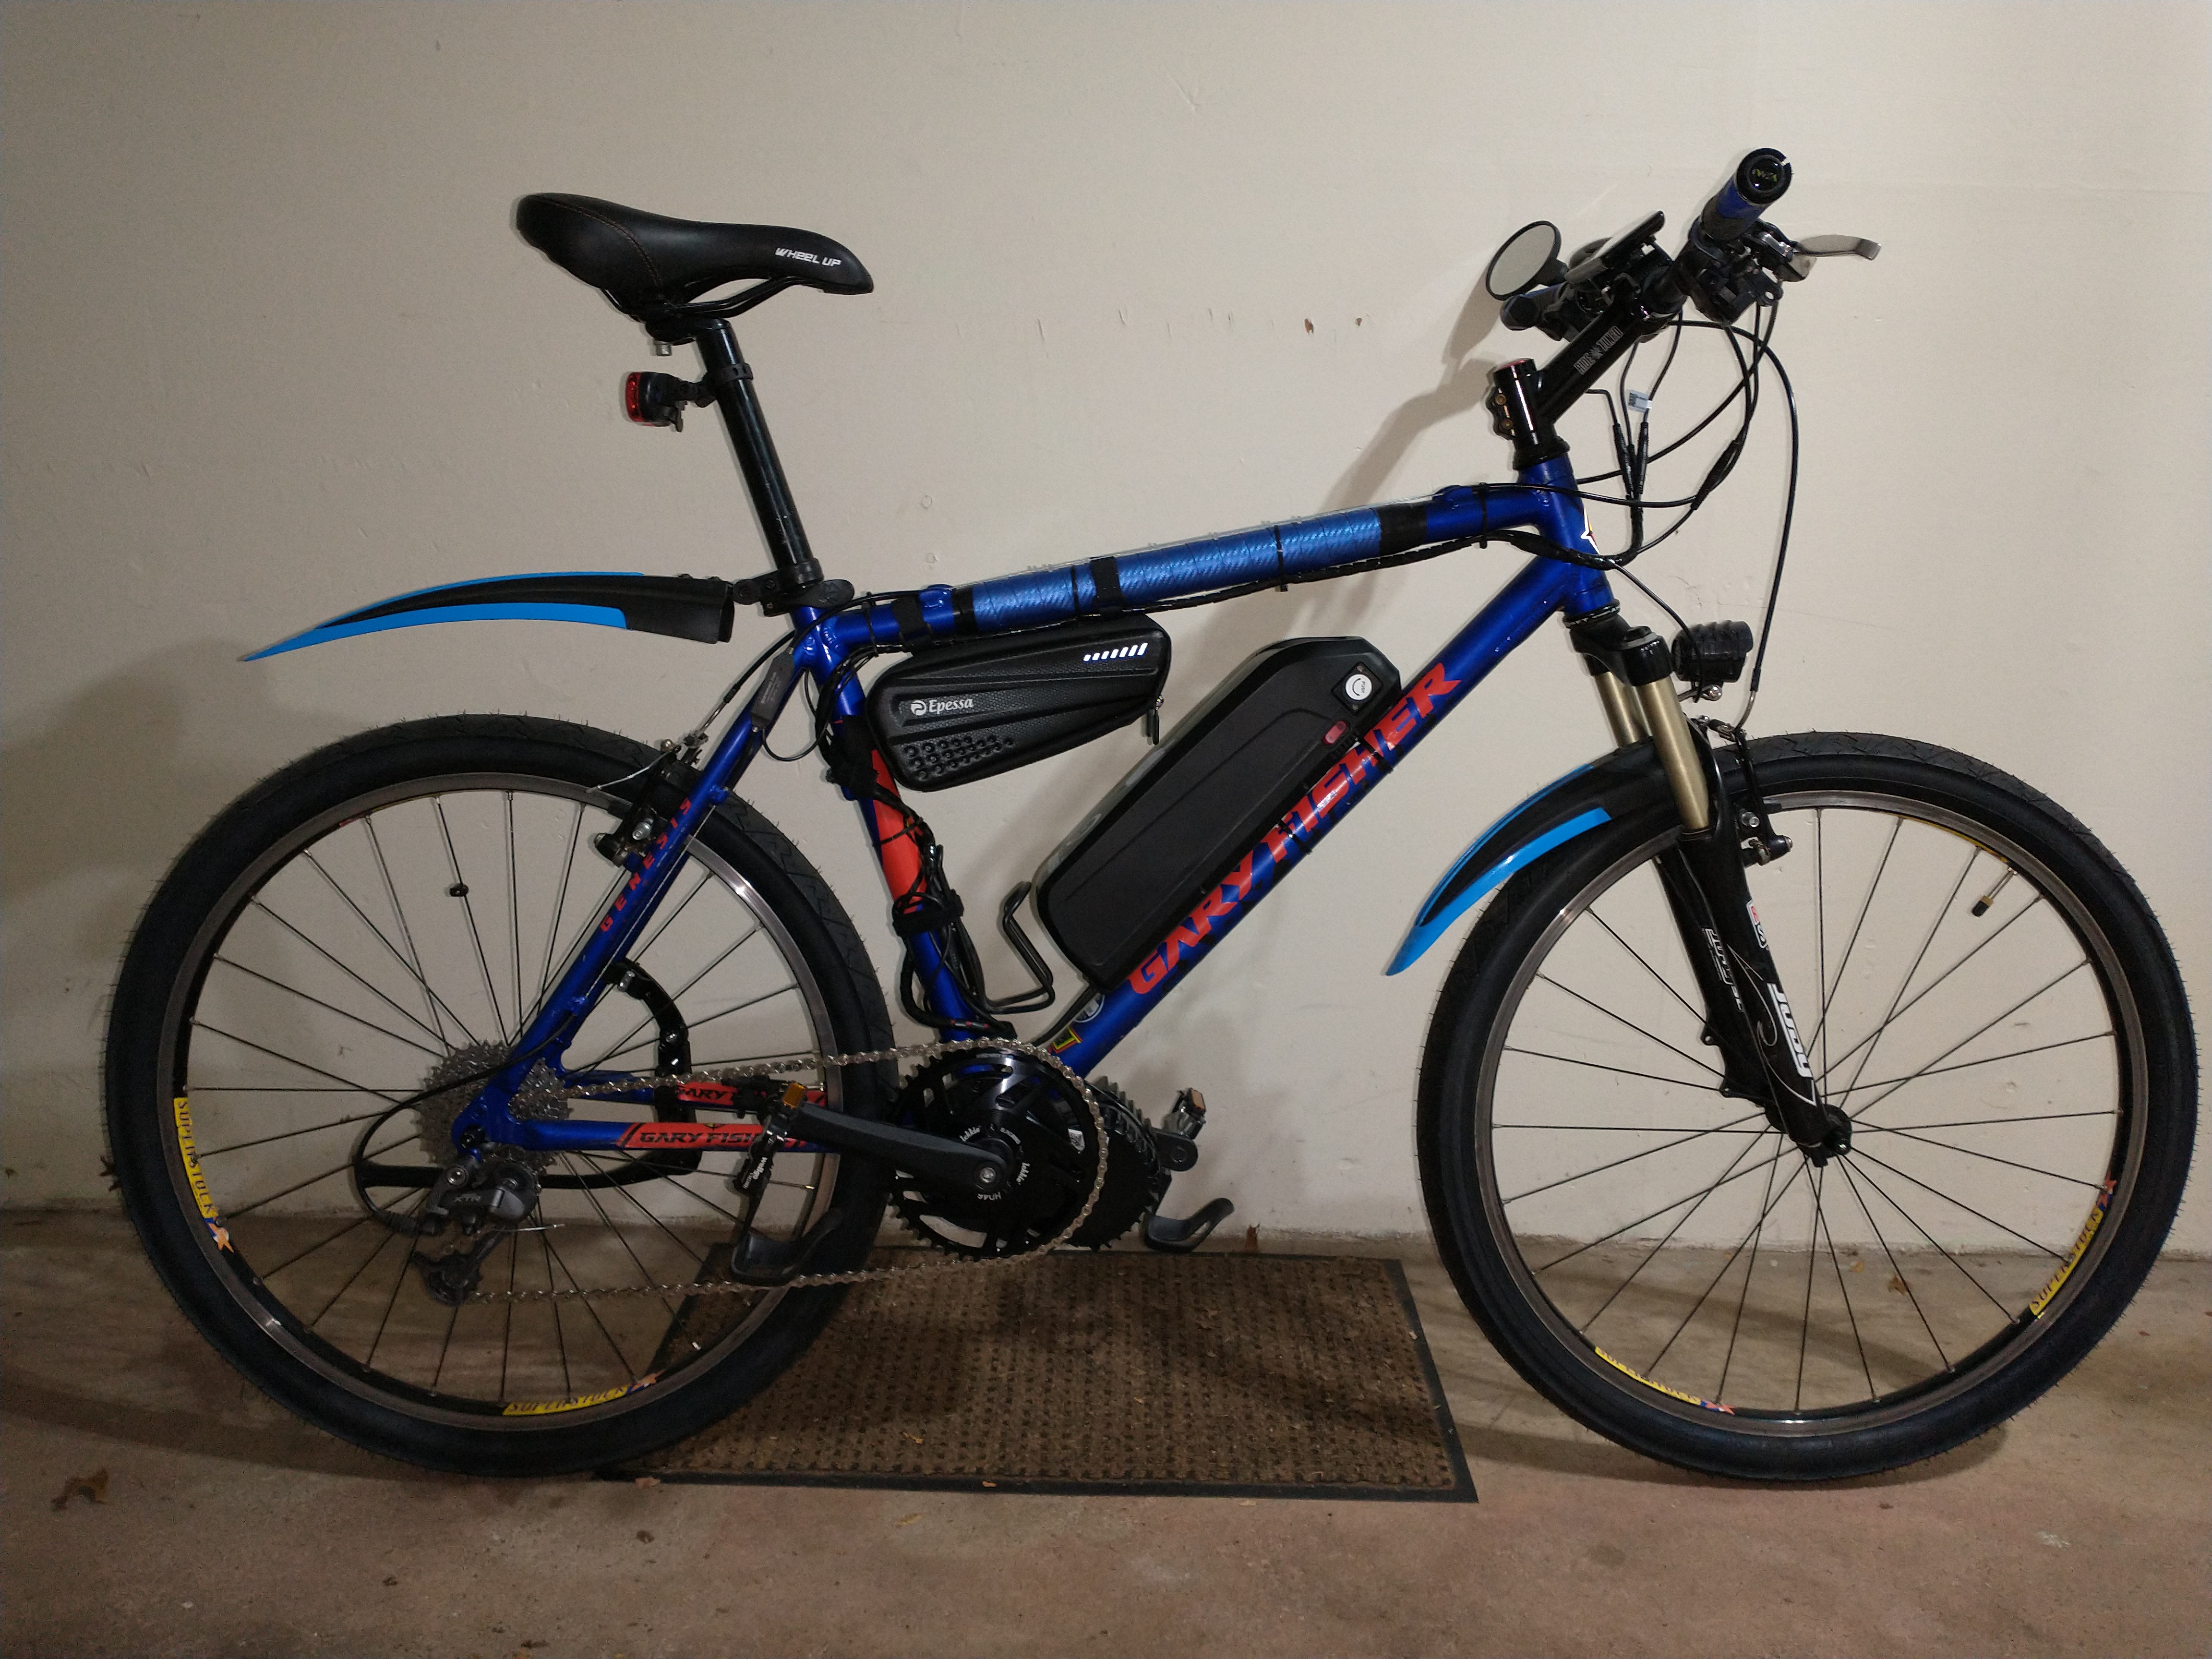
Build #3 – Bafang Mid-Drive

It’s January 14, 2022. The temperature in my garage isn’t terrible (though it will be tomorrow), so I’m going to start working on my mid-drive DIY project. Here’s a picture of my donor bike:

$200 Gary Fisher 27-speed, 26″ wheels, 73mm bottom bracket – perfect candidate for conversion!

And here’s my starting parts list (shop around for better prices and a reliable supplier):

Well, that was easy! Here’s a 30 second video that shows how straightforward a mid-drive motor installation can be. The Bafang motor fit the Gary Fisher Genesis frame perfectly – no shims required!

Bafang mid-drive motor installation. Cable and wire management will take a lot more time!

And a few photos for your enjoyment:

Bottom bracket measurement – 73mm
Chain stay clearance perfect for both the Bafang housing and chain ring!

This all went more quickly than expected, and the installation is very clean. I still need to torque everything down and figure out where wires need to go. Also, I need to modify the battery mount since the mounting holes provided set the battery too low on the down tube. I’ll likely be investing another 4 to 6 hours in this build before it’s complete.

It’s 1/12/2022 and this build is FINISHED! If I knew where my Staples ‘That Was Easy’ button is stored, I would have hit it. This build is SO much easier and cleaner than the rear-hub build, though a bit more expensive. It’s still really cold outside and there’s too much salt on the road for a test ride, but I’ll get out for my comparison test ride soon enough and write up my observations in a separate post.

Anyway, here’s the final build:

Completed build with Bafang 1000w BBSHD mid-drive motor and 48v 14.5ah battery
Bafang mid-drive motor installed with standard chainring and cranks
Handlebar management – nice not having to deal with a front derailleur anymore…

**update**

So, it’s now mid-February and I did get to test drive this bike. It was not pretty. The chain kept derailing, and power management was very strange. I’m now waiting for a new KMC 9-speed chain to arrive which should work better than the previous Zonkie chain on the 9-speed cassette and with the new Lekkie 46-tooth chainring (all explained in future posts)…

As a spoiler, here’s a picture of the bike today, including the new KMC X9 chain.

14.5ah Joyisi battery installed and the bag hanging from the top tube is for storage and is not needed for the build – on my other builds this is where the controller box and wires are stored – the mid-drive motor has the controller built into the motor housing

And one more thing: although the Lekkie chain ring is AMAZING, my chain alignment needs to be tweaked. I added this 2mm spacer that pushes the chain ring out a bit and that solved the problem. Note to self: spacers are cheap, so when you buy your Lekkie, pay the extra $5 for the spacer. You’ll be glad you did!

Posted in Uncategorized | Comments Off on Build #3 – Bafang Mid-Drive

The Perfect DIY E-Bike

Having just watched JohnnyNerdOut’s ‘Norco Scene‘ video, I can’t help but think that the e-bikes he built for his mother- and father-in-law are perfect for casual and aging bicycle riders. The light-weight (relative to other e-bikes on the market), step-thru frame and ergonomics are dialed in for this type of rider.

Having done a little more research, I realize that Norco does make an e-bike, the Norco Scene VLT, available here for $3600. But referring back to JohnnyNerdOut’s video, I’m going to try to recreate his build to determine the final cost of his DIY Norco Scene…

Let’s start with the Norco Scene bicycle itself, then add the other components:

Before tax and shipping, I come up with a total of $1808. Compared to what’s on the market, except maybe the RadCity 4 (which is an awsome deal at $1600), this is a pretty sweet deal. Plus, YOU get to build it! What’s better than that…

JohnnyNerdOut and his two Norco Scene DIY e-bikes

Posted in Uncategorized | Comments Off on The Perfect DIY E-Bike

Binge Watch JohnnyNerdOut

As you know, my first two e-bike builds used the Voilamart rear-hub 48v 1000w motor. However, after watching several YouTube videos posted by JohnnyNerdOut, I became convinced that I really needed build a mid-drive e-bike, primarily to compare the build process and relative performance of rear- versus mid-drive e-bikes. So that’s what I’m about to do using my beautiful Gary Fisher bicycle and a Bafang mid-drive kit from Ebike Essentials (aka bafangusadirect.com).

I’ll provide more information about this kit in another post, but suffice to say that it was JohnnyNerdOut who convinced me to do this. Below I list a number of his videos which will help you get to know JohnnyNerdOut a bit better, will explain the difference between rear-hub and mid-drive motors (better than I can), and will share his experience upgrading various bicycles to e-bikes, which is what he now does for a living.

Here’s my binge-worthy list of JohnnyNerdOut videos – enjoy!

Some of his builds:

And this one especially caught my interest, which I’ll discuss more in my next post:

Custom E-bike Build: Norco Scene Bafang BBS02 750w 52v 6ah

And yet another Bafang mid-drive build video worth watching (not JohnnyNerdOut):

eBike Conversion Kit, Install & Review ll Bafang BBS02B 750W motor

Includes Schematix‘ affiliate links:

Accessories:

Posted in Uncategorized | Comments Off on Binge Watch JohnnyNerdOut

Build #2 Parts

Below is an exhaustive list of parts, not all of which were used in build #2, but which I can recommend and will probably use on future builds. Parts not used on build #2 weren’t used because I came up with a no-cost option (probably from my spare parts bin). My intention is to provide a complete list with which you could completely rebuild an e-bike from the frame up. So here goes (prices shown are as of January 12, 2022 and do not include tax, shipping is usually included with Amazon orders):

Rear-Hub Kit with controller and LCD panel, plus XT60 connectors, fuse block, thumb throttle

Voilamart Electric Bicycle Kit 26″ Rear Wheel 48V 1000W E-Bike Conversion Kit with LCD Display, Cycling Hub Motor with Intelligent Controller and PAS System for Road Bike ($289)

10 Pair XT60 Connectors, XT-60 Male Female Bullet Connectors with Heat Shrink ($7.99)

MUYI 2 Set Standard Blade Fuse Holder 14 Gauge Waterproof Pigtail Inline Fuse Holder with 20A ATC Fuses ($6.99) – it’s a good idea to put a 20amp fuse inline from battery to controller

Thumb Throttle Assembly, 22mm 7/8inch Universal Thumb Throttle Cable Speed Control Assembly for E-Bike Electric Bike Scooters ($10.79)

Battery w/ mount, plus charger

Joyisi 36V 48V 52V Ebike Battery 13AH 15AH Electric Bike Battery for 200W to 1000W Bafang Voilamart AW Ancheer and Other Ebike Motor ($265.99)

Luna Charger 48V Advanced 300W Ebike Charger ($99.95)

Amazon Basics XLR Male to Female Microphone Cable – 6 Feet, Black ($7.99) – to build an XT60 to XLR adapter from the Luna Charger to the Joyisi battery

Front fork, plus headset bearings, tube cutter, star nut driver, headset spacers

BLOOKE Mountain Bike Air Suspension Forks,26/27.5/29 inch MTB Bicycle Front Fork with Rebound Adjustment,100mm/120mm Travel 28.6mm QR 9mm Threadless Steerer ($122.59)

Bicycle Headset, Bike Bearing Headset Solid Aluminum Alloy Bicycle Tapered Stack Headset Head Tube Straight Steerer Fork Bearing(Black) ($33.79)

Farbetter Bicycle Fork Star Nut Setting Install Tool Headset Star-Nut Driver for 7/8″ & 1″ & 1-1/8″ with Free Star Nuts and Screw ($14.99)

11 Pieces Bike Carbon Fiber Headset Spacer Bicycle 1-1/8 Inch 20 15 10 5 3 2 1 mm, 7 Size ($9.59)

Kenway Bicycle Headset Cup Remover for 1-1/8, 1-1/4 and 1-1/2 inch ($17.99)

Acekit Bike Headset Cup and Bottom Bracket Press Installation Tool BB Install Tool for BB30 and BB90 ($29.99)

Crank, plus crank bearing set, pedals, toe clips, crank extractor, crank puller

BUCKLOS MTB 170mm Square Taper Crankset, 104 BCD Mountain Bike Narrow Wide Tooth Chainring 42T, Single Speed Round Chainring and Crank ($44.99)


YBEKI Chainring 104BCD Round Narrow Wide Single Bike Chainring for 8 9 10 11 Speed Mountain Bike (Black Round, 48T) ($22.99)

VGEBY1 Square Taper Bottom Bracket, Bike Bottom Bracket Square Hole Crank Axis Sealed Bearings Bike Parts ($21.39)

MOHEGIA Bike Pedals,MTB Flat Bicycle Pedal Sets,9/16 Non-Slip Aluminum Replacement for Mountain BMX MTB-Pair ($13.99)

Zefal “Cristophe” Mountain Bicycle Half Toe Clip ($10.95)

Oumers Bike Crank Extractor and Bottom Bracket Remover with 16mm Spanner Wrench, Bicycle Crank Removal Tool Crank Puller Tool-Bike Crank Arm Remover Spanner Repair Tools Kit ($11.99)

Front wheel

Wheel Master Weinmann Front Wheel – 26″ x 1.5″, 36H, Quick Release, Black with Silver Spokes ($81.33)

Tires, plus tubes, rim tape, puncture prevention, valve tool

Sunlite K847 Kross Plus Goliath 26×1.95 PAIR Mountain Bike Tires Urban/Trail ($47.99)

2 Pack Bike Tubes 26×1.9/1.95/2.0/2.125 SV48mm Schrader Valve 26″ Bicycle Tubes Compatible with 26×1.9 26×1.95 26×2.0 26×2.10 26×2.125 Mountain Bike Tire Tubes ($14.99)

Kenda Inner Tubes Black 26×1.90/1.95/2.10/2.125 Schrader Valve For MTB Mountain Bike, Bulk 2 Pack ($9.95) – valve not long enough for double-wall wheel

Okared 2 Pack Bicycle Rim Strip Rim Tape (26″ x 20mm) ($8.99)

Slime 20093 Tube Protector, One Size Fits Most (Pack of 2) ($11.99)

Slime 20088 4-Way Valve Tool with 4 Valve Cores ($2.13)

Brake kit, plus rear-brake adapter, brake cut-off sensor kit

RUJOI Bike Disc Brake Kit, Aluminum Front and Rear Caliper, 160mm Rotor, Mechanic Tool-Free Pad Adjuster for Road Bike, Mountain Bike ($23.99)

SUPROJDM Rear Disc Brake Adapter for Gary Fisher Trek Klein Frames 160mm Post Mount Disk Made 6061 Aluminum ($23.49)

Rear Derailleur, plus chain, shifters, cable set, cable cutter tool

Bike Rear Derailleur RD-TY21B 6/7 Speed Hanger Mount/Direct Mount for Mountain Bicycle ($20.99)

ZONKIE 5/6/7/8 Speed Bike Chain 1/2 x 3/32 Inch 122 Links ($17.32)

Shimano Bike Shifter SL-TX30-7R,7 Speed Mountain Bicycle Right Thumb Gear Shift Lever ($15.99)

JCOLUSHI Bicycle Cable Cutter with Universal 1×3m Bike Brake Housing, 2×1.8m Brake Cable, 1×4m Shift Cable Housing, 2×2.2m Shift Cable and Replacement Kit for Mountain and Road Bicycle ($16.69)

Handlebar, plus adjustable riser, grips

Wake MTB Riser Handlebar,31.8 mm Bike Handlebar,720mm/780mm Aluminium Alloy Mountain Bike Handlebar Bicycle Riser Bars Extra Long Bicycle Handlebars for Downhill Cycling Racing ($24.99)

FOMTOR 31.8 Adjustable Stem 90mm / 110mm 0~60 Degree MTB Adjustable Handlebar Stem for Most Mountain Bike Road Bike MTB (Only Fit 1.25″/31.8mm Handlebar) ($19.98)

SAPLIZE Bike Handlebar Grips, Multi Colors/Design Optional, Ergonomic Design, Aluminum Double Lock-on, Mountain Bike Grips, MTB BMX Downhill Foldable Urban Bicycles Grips, Scooter Grips ($6.99)

Seat, plus seat post, seat post shim, rack

Bike Seat Most Comfortable for Men and Women with Soft Cushion Universal Fit for Exercise Bike and Outdoor Bikes ($17.99)

CYSKY 25.4/27.2/28.6/30.4/30.8 SeatPost 350mm Bike Seat Post Suitable for Most Bicycle Mountain Bike Road Bike MTB MTN BMX (Aluminum Alloy, Black) ($15.99)

GANOPPER 100mm Long Seatpot Shim 22.2 25.4 26.6 27.2 to 28.6 30 30.4 30.9 31.6 31.8 33.9 34.9 36 Alloy Bicycle Seat Post Tube Adapter ($10.99)

CyclingDeal Bike Bicycle MTB Quick Release Adjustable Alloy Seatpost Mount Rear Pannier Rack Carrier for Touring and Commuting ($39.98)

Fenders, plus center-stand, lights, plus bell, mirror, cell phone holder

BlueSunshine Adjustable Road Mountain Bike Bicycle Cycling Tire Front/Rear Mud Guards Mudguard Fenders Set ($9.99)

BV Bike Kickstand, Center Mount Bicycle Stand – Length Adjustable, Foldable Double Leg for 24″-28″ Bikes ($20)

BV Bicycle Light Set Super Bright 5 LED Headlight, 3 LED Taillight, Quick-Release ($9.75)

Accmor Classic Bike Bell, Aluminum Bicycle Bell, Loud Crisp Clear Sound Bicycle Bike Bell ($5.99)

Hafny Bar End Bike Mirror, Stainless Steel Lens, Safe Rearview Mirror ($14.99)

Other tools – pipe cutter, zip ties, soldering kit, work stand, lube

Pipe Cutter [1/8″ – 1 1/8″] Tube Cutter Tool for Copper Pipe, Stainless Steel Tubing, Metal, Plastic, Brass – Copper Pipe Cutter – Compact & Tight Space Rigid Tubing Cutter Set for Plumbing ($10.99)

Cambridge ZipIts Nylon 6/6 UL Listed Cable Tie Kit 650 Pack Assortment of 4-in, 8-in, 11-in Self Locking UV Resistant Black Zip Ties, Contractor Quality and Strength ($14.09)

Aipudi Soldering Iron Kit Electric 60W 110V Adjustable Temperature Soldering Gun Welding Tools, Solder Wire Tube/Soldering Stand/5pcs Replacement Tips/Tweezers/Desoldering Pump/Wire ($14.99)

EZT 150mm Digital Calipers, Full Stainless Steel Electronic 6 Inch Digital Vernier Caliper, with Extra-Large LCD Screen, Auto-Off Feature, Inch and Millimeter Conversion Metal Measuring Tool Caliper ($18.99)

Bikehand Bike Repair Stand (Max 55 lbs) – Home Portable Bicycle Mechanics Workstand – for Mountain Bikes and Road Bikes Maintenance ($99.98)

Boeshield T-9 Bicycle Chain Waterproof Lubricant and Rust Protection, 4 oz ($10.99)

Posted in Uncategorized | Comments Off on Build #2 Parts

Useful Resources

I found a wealth of useful (and some not-so-useful) information about DIY e-bike building on YouTube. Below, I’ll share several links those videos I found most helpful:

Electric Bike Conversion Kit Options from Electric Mountain Bike Network

A budget Voilamart rear-hub build video from GoldGuy

And another from Side Project

And another from Expedition-Electric

And more: https://www.youtube.com/results?search_query=diy+rear+hub+%2B+voilamart

Hub Drive VS Mid Drive eBike motor systems from Blue Monkey Bicycles

US Electric Bike Laws Explained from Bolton Ebikes

Interesting nugget in this video at 3:46 where he says “A low speed electric bicycle (<750 watts, <20mph ‘when powered solely by the motor’, and operable pedals) shall NOT be considered a ‘motor vehicle’.” This is important because federal law trumps state law. Therefore, the state cannot classify this (Class 1 or 2) electric bicycle as a motor vehicle.

Also from Bolton Ebikes, How to maintain Lithium batteries for electric bikes

As I come across them, I’ll add more videos to this list…

Posted in Uncategorized | Comments Off on Useful Resources

E-Bikes and the Law

The weather’s great (well not really, it’s 20F outside today) and you’re ready to hit the bike trails with your shinny new e-bike! What could possibly go wrong?

Looks like Florida, but we have similar signs here in Doylestown.

So, you might wonder, “can I actually ride my e-bike on these trails?” Great question, and I’m glad you asked. The answer is, “it depends”. If you live in Pennsylvania, this is what the state says (pdf file):

  • E-bikes are defined as “pedalcycles with electric assist,” so long as the e-bike’s motor is under 750w, has a maximum speed of 20mph, and has operable pedals – the same rules of the road apply to both e-bikes and human-powered bicycles
  • E-bikes are not subject to the registration, licensing or insurance requirements
  • Helmets are not required but the age minimum for e-bike use is 16 years
  • E-bikes are allowed on sidewalks but it is unclear whether they are allowed on bike paths
  • PA State – E-bikes are permitted in Pennsylvania state parks and state forests where bicycles are permitted

Like I said, “it depends” – on your local bike path policies and enforcement.

Also worth reading, though it doesn’t really clear things up, is this:

Breaking News… According to the Bicycle Access Council of PA, Electric-Assist bicycles are now legal on Pennsylvania roadways as part of Act 154.

  • “Electric-Assist bicycles are now legal on Pennsylvania roadways as part of Act 154.
  • E-Bikes now will be allowed if: they include operable pedals, speed limit of 20 mph under power, motor rated at no more than 750 watts (1 hp), no more than 3 wheels, weight not more than 100 pounds, and not to be operated by persons under 16 years old.
  • This is not universally meant to cover electric-assist bicycles on non-motorized trails or shared use paths, which may still be prohibited by policy in accordance with the intended use design.
  • However, electric-assist bicycles have been included under the Americans with Disabilities Act (ADA) recently, so persons who are medically disabled may use them regardless of trail rules.”

Where does this leave us now that we’re confronted with the infamous “NO MOTOR VEHICLES” sign at the trail head?

Here’s my opinion: “Ride On”. You’re riding a bicycle, you’re being responsible by maintaining a reasonable speed for the given trail, you’re respectful of fellow bikers, walkers, etc. and use your bell and voice to let others know you’re approaching and passing, and you’re even friendly to the bicycle purist that sneers at you for ‘cheating’ by having a ‘motor’ on your bicycle, whether you’re using it or not! OR if you fall within the scope of the ADA (American with Disabilities Act), you might carry your handicap placard and the pertinent sections of the ADA and see if that’s a get-out-of-jail-free card. Again, it will all depend on local enforcement and their interpretation of the policies in place.

Better would be for those in charge of this sort of thing to clearly spell out what the rules are and their justification. Instead of “NO MOTOR VEHICLES”, state clearly that “Class 1 and 2 electric-assist bicycles are permitted and must comply with posted speed limits“. By definition, Class 1 and 2 e-bikes are power limited to 20mph, so this is a very reasonable thing to require.

  • Class 1 e-bikes are limited to a top speed of 20 miles per hour, and the electric motor works only when the rider is pedaling. A bike that has an electric motor that assists only during pedaling is called a pedelec.
  • Class 2 e-bikes are also limited to a top speed of 20 miles per hour, but they have throttles that work when you’re not pedaling. Most Class 2 ebikes offer electrically assisted pedaling alongside throttles.
  • Class 3 e-bikes can go up to 28 miles per hour and must have a speedometer

Why don’t local jurisdictions make this abundantly clear so they can provide reasonable enforcement for the safety of all trail users? I believe it’s because they haven’t engaged the community to understand the need for clearer rules, and enforcement has been nonexistent so the courts have yet to see the impact of weak, unenforceable policies. Meanwhile, there are a number of bad-actors (30mph e-bikes) that are creating a poor image for all e-bike riders.

My advice then, in the absence of sensible signage, is to not be one of the bad actors. Ride your e-bike like you would have ridden your regular bicycle in your younger years and no one gets busted for violating the “NO MOTOR VEHICLES” rule.

Disclaimer: I offer absolutely no guarantee that you won’t end up in the slammer after your lovely ride along the Neshaminy Greenway Trail – I discovered this one last Fall…

**update**

Stephanie J. Mason, the Doylestown Township Manager, has invited me to attend their Bike/Hike Committee meeting February 15 to discuss the topic of E-Bikes. In preparation for that meeting, I put together some notes intended to help the discussion move forward. My notes can be found here. In a future update, I’ll provide a summary of this meeting as it related to the use of electric bicycles in our community.

Posted in Uncategorized | Comments Off on E-Bikes and the Law

A Word About PAS

PAS (Pedal Assist System) is a ‘feature’ of most e-bikes on the market, but is optional when building your own bike. With my first e-bike, I did not install PAS and am very satisfied with using the thumb throttle to supplement pedal effort. My second build includes PAS and I have to say I’m not really a fan of PAS. My issue with it is that once you set the PAS level, when you start pedaling, the motor kicks in and depending on the level set, the bike might take off at a speed greater than you anticipated. Not good! I would prefer to modulate my starting-out speed myself.

My objective with this post is NOT to get into the legal implications (which I’ll cover in a future post) of PAS, but to convey my personal experience. I like riding bicycles and having a motor makes riding more enjoyable for me. I’m getting older, and promoting e-bikes for an aging population is a good thing, I think. But the concept and implementation of PAS just doesn’t cut it for me.

Posted in Uncategorized | Comments Off on A Word About PAS

Battery Best Practices

On the web, there’s lots of information about the care and feeding of current generation lithium-ion (Li-Ion) batteries (like this or this), but I’m going to boil all this information down into a few digestible points:

  1. Invest in a better charger than the one that came with your battery. My favorite (and affordable) charger is the Luna Charger 48V Advanced 300W Ebike Charger for $100, or this one, the 48v 3amp Luna Mini Charger. The Luna allows you to adjust the charging rate and percent charge, both of which are important to the longevity of your battery. You might need to purchase or build an adapter for your battery. The Luna comes with an XT60 connecter, which is not what most batteries use a charging port interface.
  2. DON’T charge your battery to 100% and let it sit for a long period of time unused!
  3. DON’T leave your e-bike battery out in the cold (or hot)! It likes ‘room-temperature’ like you do, for storage AND charging.
  4. DON’T use fast-charging unless absolutely necessary! Charging at 2 amps is better for your battery, but will take longer. Patience – your doing a good thing for your battery.
  5. Using the Luna charger, DO charge your battery to 80% (at 2 amps) four times, then to 100% for the fifth charge cycle. This assumes you’re running your battery down to about 20% before each charge. Charging to 80% will increase your battery life considerably (in case you’re interested). Then a periodic 100% charge will ‘re-balance’ the cells to ensure you have maximum charge across all cells. The only thing to note when charging to 80%, is this will reduce your expected range a bit. My experience with the Joyisi 14ah battery is I get about 45 miles on a charge at 80% and 60-65 miles at 100%.

Bottom line: Treat your battery well and it will repay your kindness with improved longevity and range. Just something to think about…

Posted in Uncategorized | Comments Off on Battery Best Practices

Tuning and Testing

Your new e-bike is built, your battery is charged, and you’re wanting to hit the road. Not so fast, there’s a bit of tuning required to make sure this e-bike is going to be safe to ride. As mentioned previously, having a bike stand or a way to get the bike off the ground will help getting your brakes and derailleurs tuned. So, in just 3 simple steps, you’ll be safely on your way to e-bike bliss!

  1. Let’s start with the brakes. Disc or rim, mechanical or hydraulic, make sure your brakes and brake cables are adjusted so a) the brake pads aren’t dragging on the discs or rims, AND that the cables are adjusted so the brake lever travel is correct and doesn’t bottom out on the handlebar.
  2. Next are the derailleurs. I adjust rear first, and I adjust it with the front derailleur in the center chain ring. Make sure the rear derailleur shifter travels from high to low settings cleanly and that the derailleur stops are adjusted so the chain doesn’t go past the highest and lowest gear. Once the rear derailleur adjustments are done, we’re going to check chain travel, then adjust the front derailleur. Move the rear derailleur to the smallest cog in the rear (highest gear) and the smallest gear in the front (lowest gear). What you’re looking for is tension on the rear derailleur without the chain touching the rear derailleur mechanism. If there is interference, then links must be removed from the chain. If not, then proceed with front derailleur adjustment. As with the rear derailleur, your looking for clean shifting from low to high chain rings, stop settings that keep the chain from going past the lowest and highest chain rings, and no drag between the front derailleur and the chain in each setting. I usually put the rear derailleur in the middle gear on the rear cluster when tuning the front derailleur. Once all is complete, test the full range on both front and rear an tweak as needed…
  3. Test your electronics. First, depending on which kit you purchased, there is usually a way to customize the controller settings. Familiarize yourself with this and dial your settings in as appropriate (here’s a video for the SW900 display used with the Voilamart controller – video). Next, a quick test will determine if you’re actually getting power from the battery to your rear wheel. With the rear wheel elevated, power on the battery and the display. Check you throttle function and if the rear wheel turns in the correct direction, then you have functioning e-bike.

This is time for celebration! Congratulations… you did it!

Posted in Uncategorized | Comments Off on Tuning and Testing

The Build Process

This could be a really LONG post, because my builds take a lot of time to complete, but it’s not going to be. I’m in no hurry to complete a build, and I think it’s fun solving problems as I go, ordering a different part for an application (which takes time), learning something new, etc. So to make this post as short as possible, I’m just going to review my thought process and mention some places where I had issues that took time to resolve. So here goes:

  1. You have your bicycle, e-bike kit, tools, and parts obtained from your inventory assessment – good start!
  2. Strip ‘er down! Remove the parts you’re not going to use in your final build, check your head and crank bearings (replace as needed). Check your cables (replace as needed).
  3. I start my rebuild with the wheels and brakes (assumes crank, fork and derailleurs are in good shape). On both of my rear-drive builds, I needed to add a shim to the derailleur side axle so the gear cluster provided by Voilamart would clear the chain stay. A washer obtained from the local hardware store did the trick.
  4. Next, install shifters, brake levers, and throttle (I prefer a thumb throttle over the one provided by Voilamart, though you’ll need to do some soldering for this mod) – helpful video. Install you new cables and cable guides as needed. Brake and derailleur tuning will happen later, so this is just to get things routed and arranged properly. Make sure you have an appropriate amount of play in you cable guides forward of the handlebars so the bars rotate freely.
  5. Figure out where you want to mount your controller box. My first build allowed me to locate the box below the top tube and above the battery. My second build required me to put the controlled on the luggage rack since there was insufficient space for it above the battery. Sort this out BEFORE you start routing wires (of which there are many).
  6. Route and secure all wires. This is a bit of an art since you want the wires to be out of sight, out of mind, but compromises must be made. Here’s a close-up of my rat’s nest (hence my reasoning behind the name for this website):
“Wire management” at its finest!

Assuming everything is connected the way it needs to be, it’s time for testing and tuning. You’ll want your battery to be charged and ready to go for the next step…

Posted in Uncategorized | Comments Off on The Build Process